The Gardenisto

The Gardenisto is passionate about aquaponics, hydroponics, horticulture, and traditional gardening. The Gardenisto shares his knowledge to help other enthusiasts in their own gardening endeavors.

Sprouts, The Easy Winter Garden

| October 16, 2015
Sprouts
Photo Credit: Keith Knoxsville
A Hen and a Drake Green Teal on the truck bed. Not a limit on anything, but a fun morning out.

Wheat Berry Sprouts
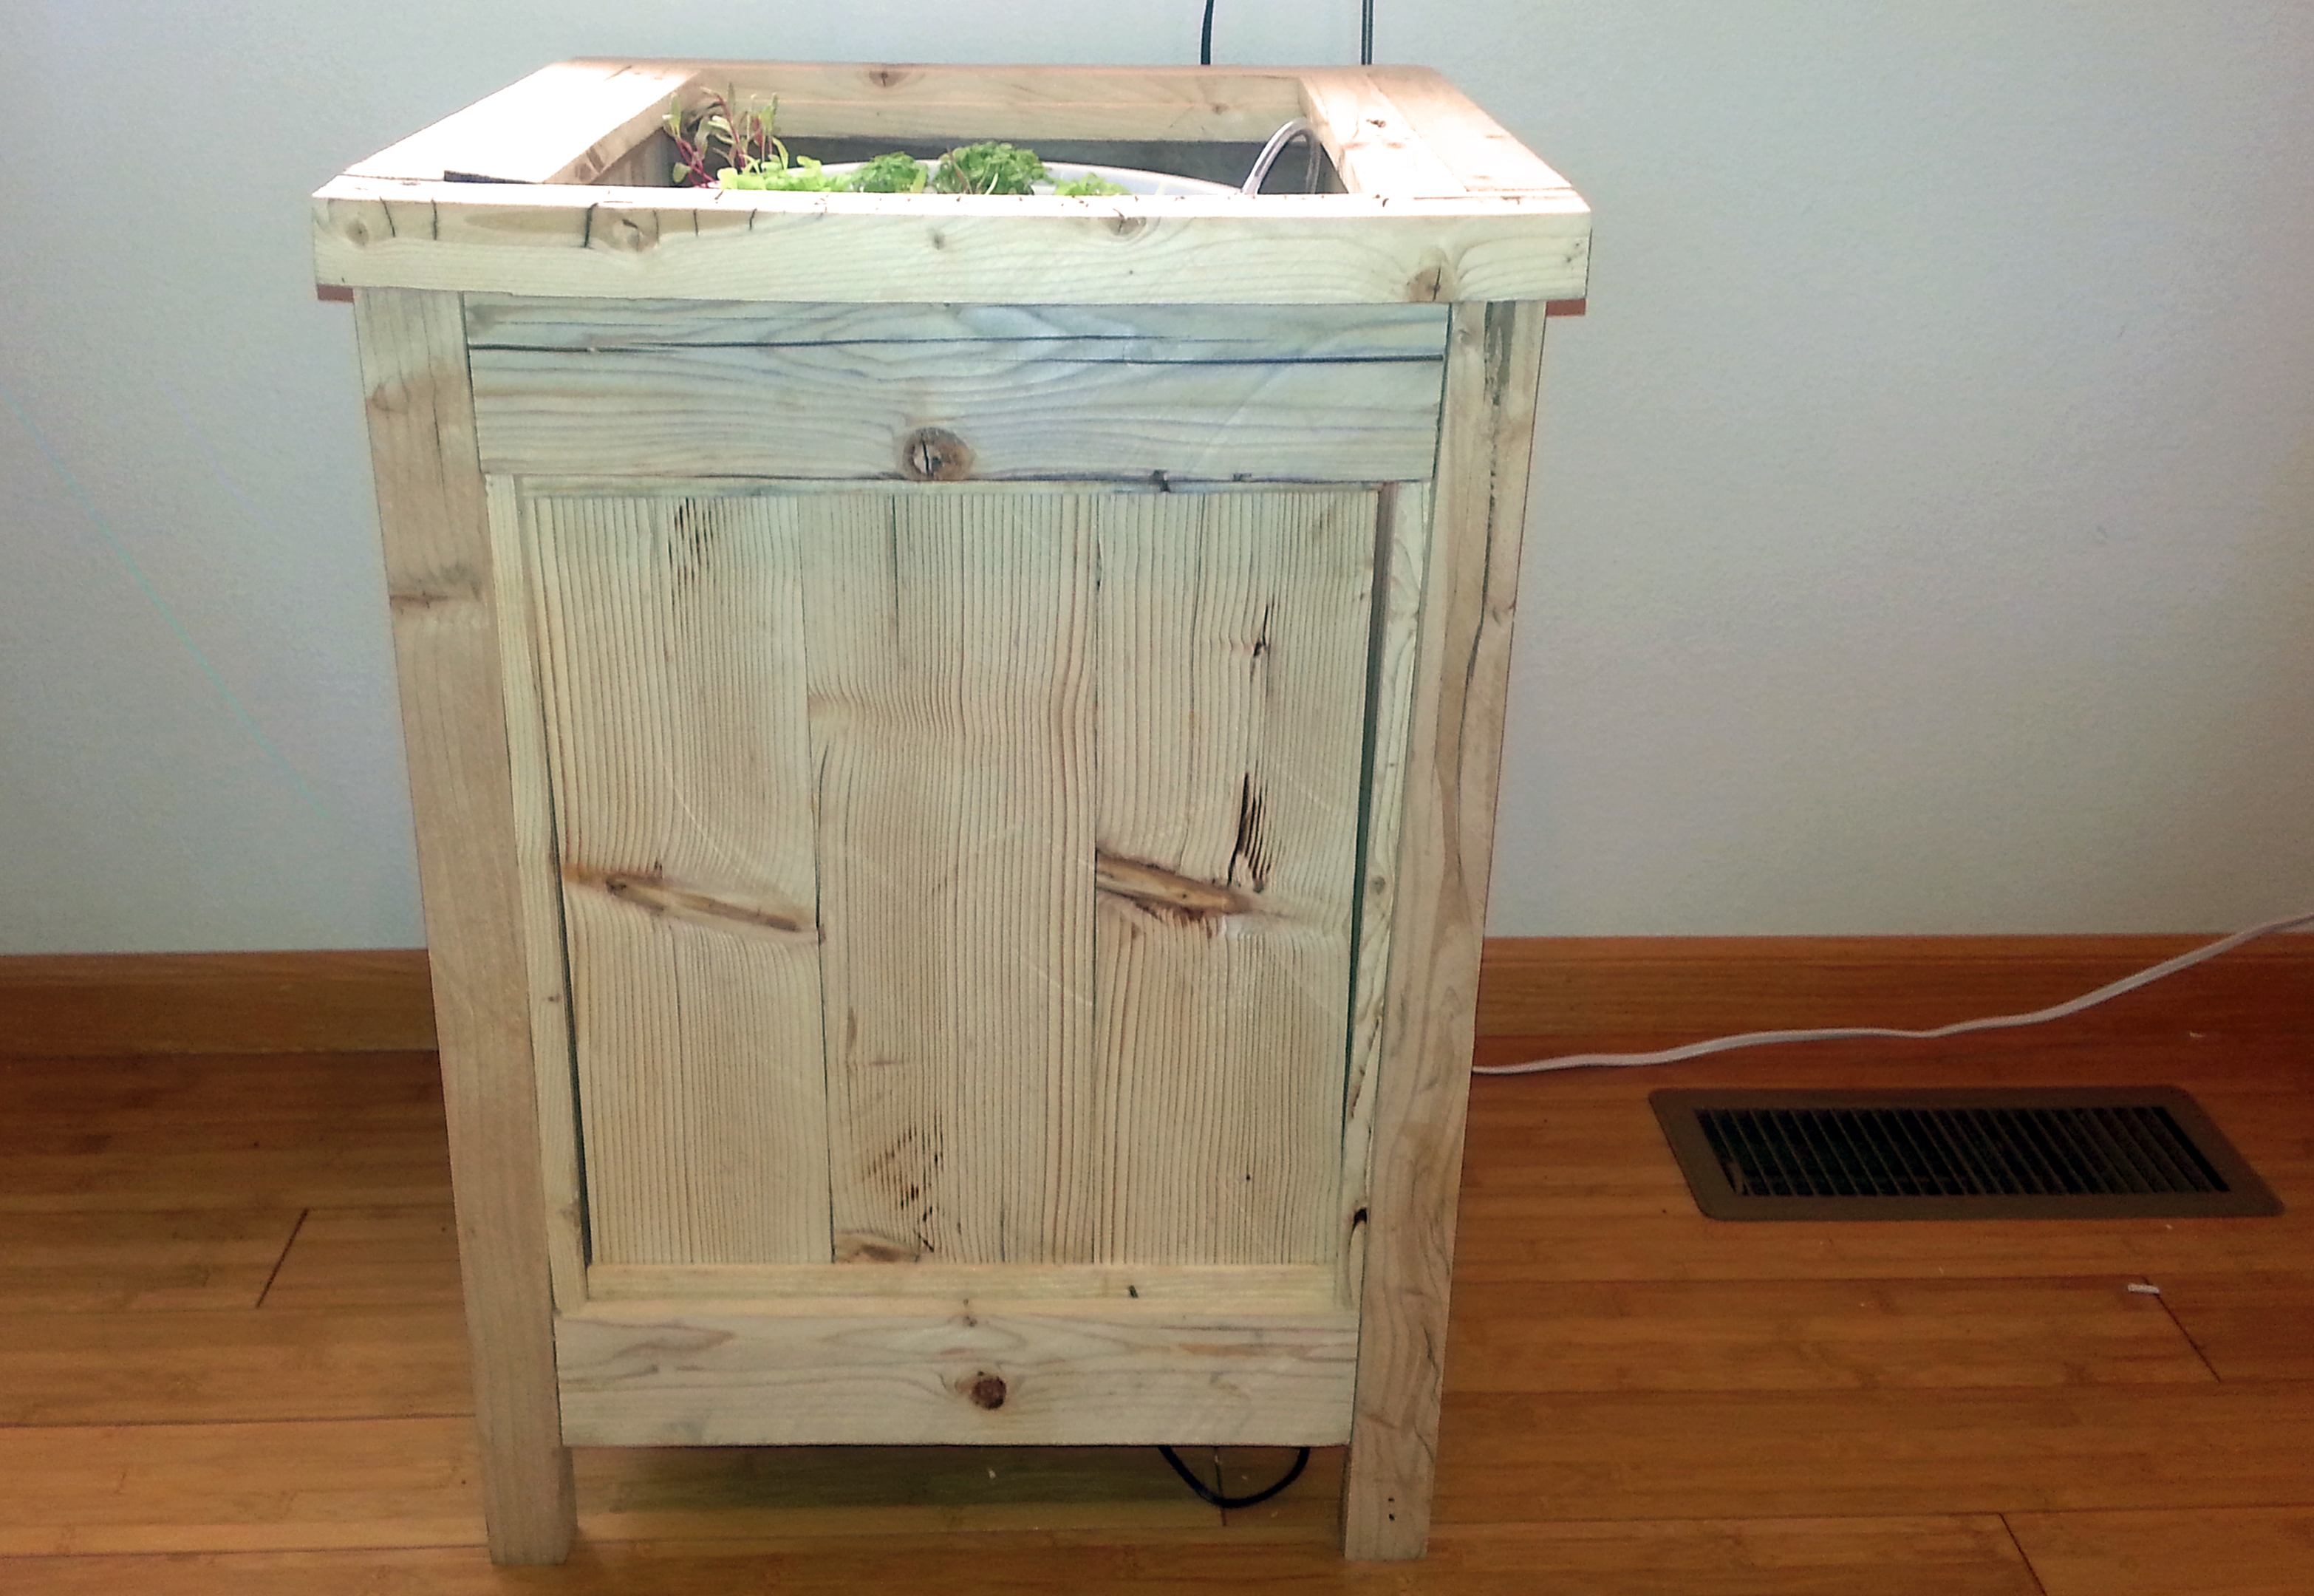
While sprouts seem like more of a summer sandwich garnish, they are easily grown indoors, and make an awesome winter crop for those of us that endure cold and unforgiving winters. Summer is nearly year round in Southern California, but at our Wyoming homestead we wanted a low maintenance way to get fresh greens and great nutrition, without losing our hard work to the bitter cold.

When you eat sprouted beans, seeds and grains, you consume a plant at a stage of development when it is exceptionally rich in proteins, amino acids, minerals, fiber, vitamins, especially vitamins(A, B-complex, C, and E) and enzymes that make them more bio available and digestible.

By sprouting at home, you aren’t limited to the often overpriced sprout selections on store shelves. Try some of these:

Adzuki
Alfalfa
Amaranth
Barley
Broccoli
Chick Peas
Clover
Lentils
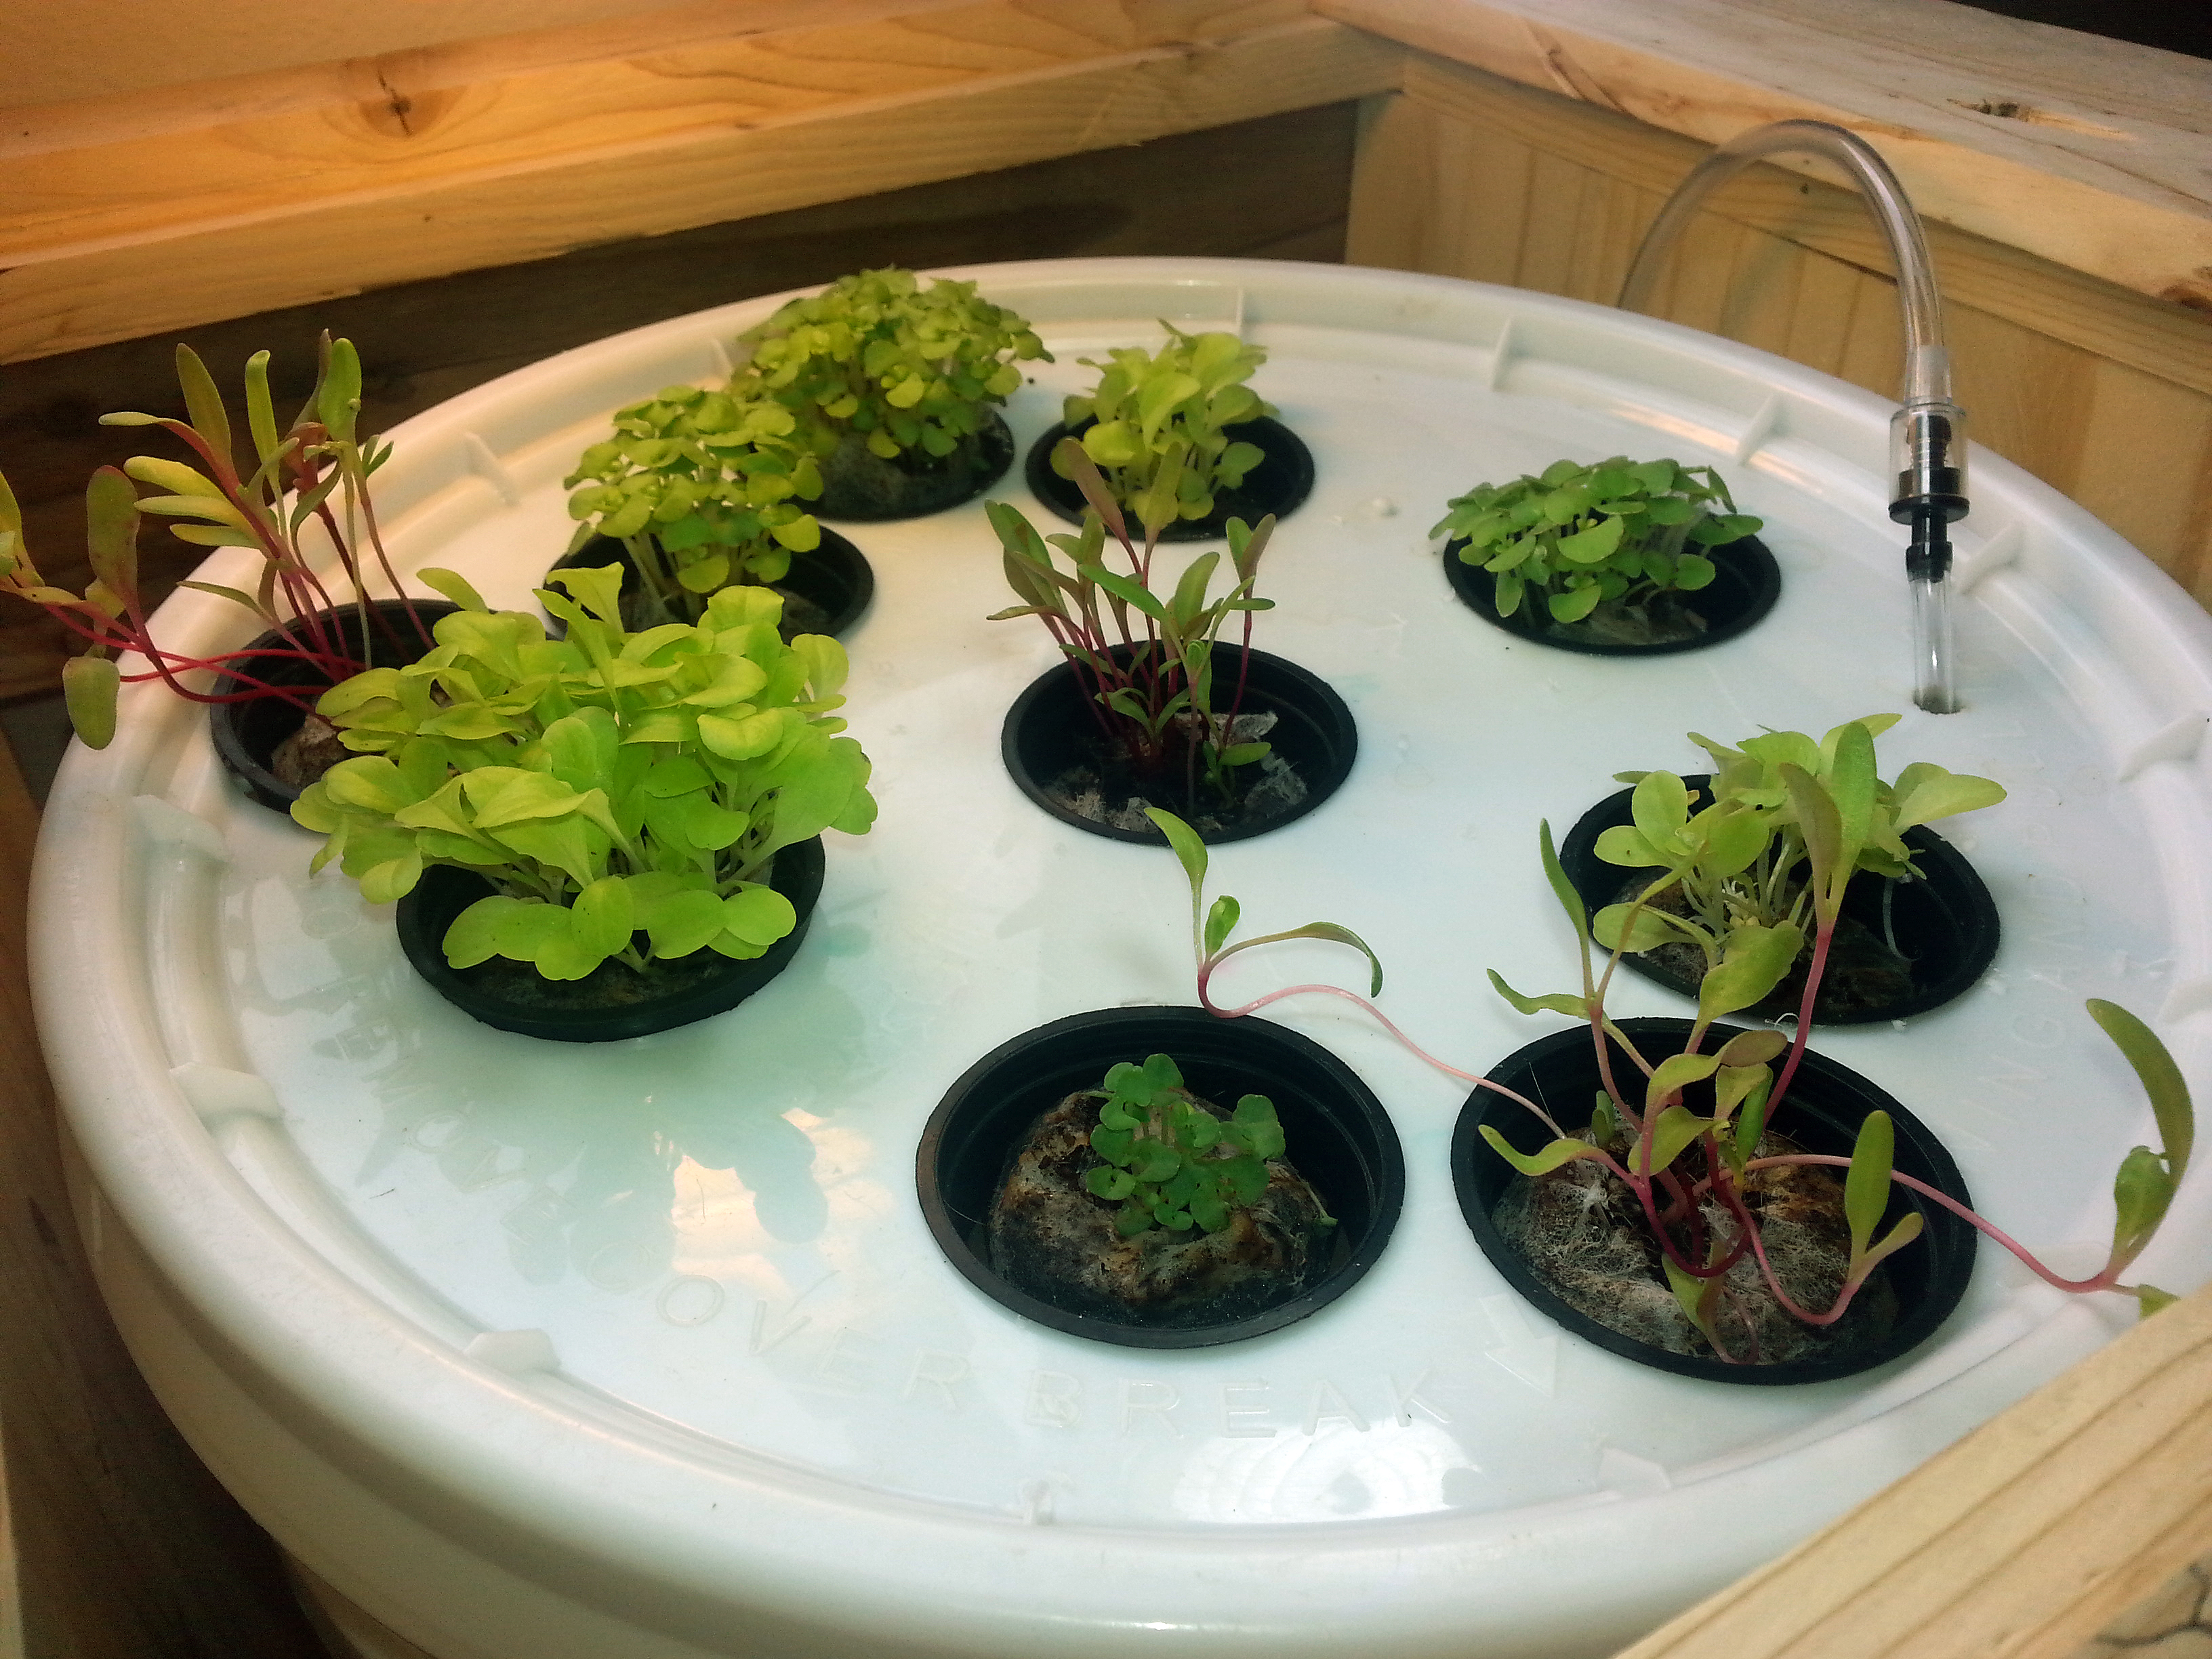
Most Micro Greens and Even leafy greens (kale, etc.)
Mizuna
Mung Beans
Radish
Rice
Sunflower
Wheat Berries
Wheat Grass

Getting Started:
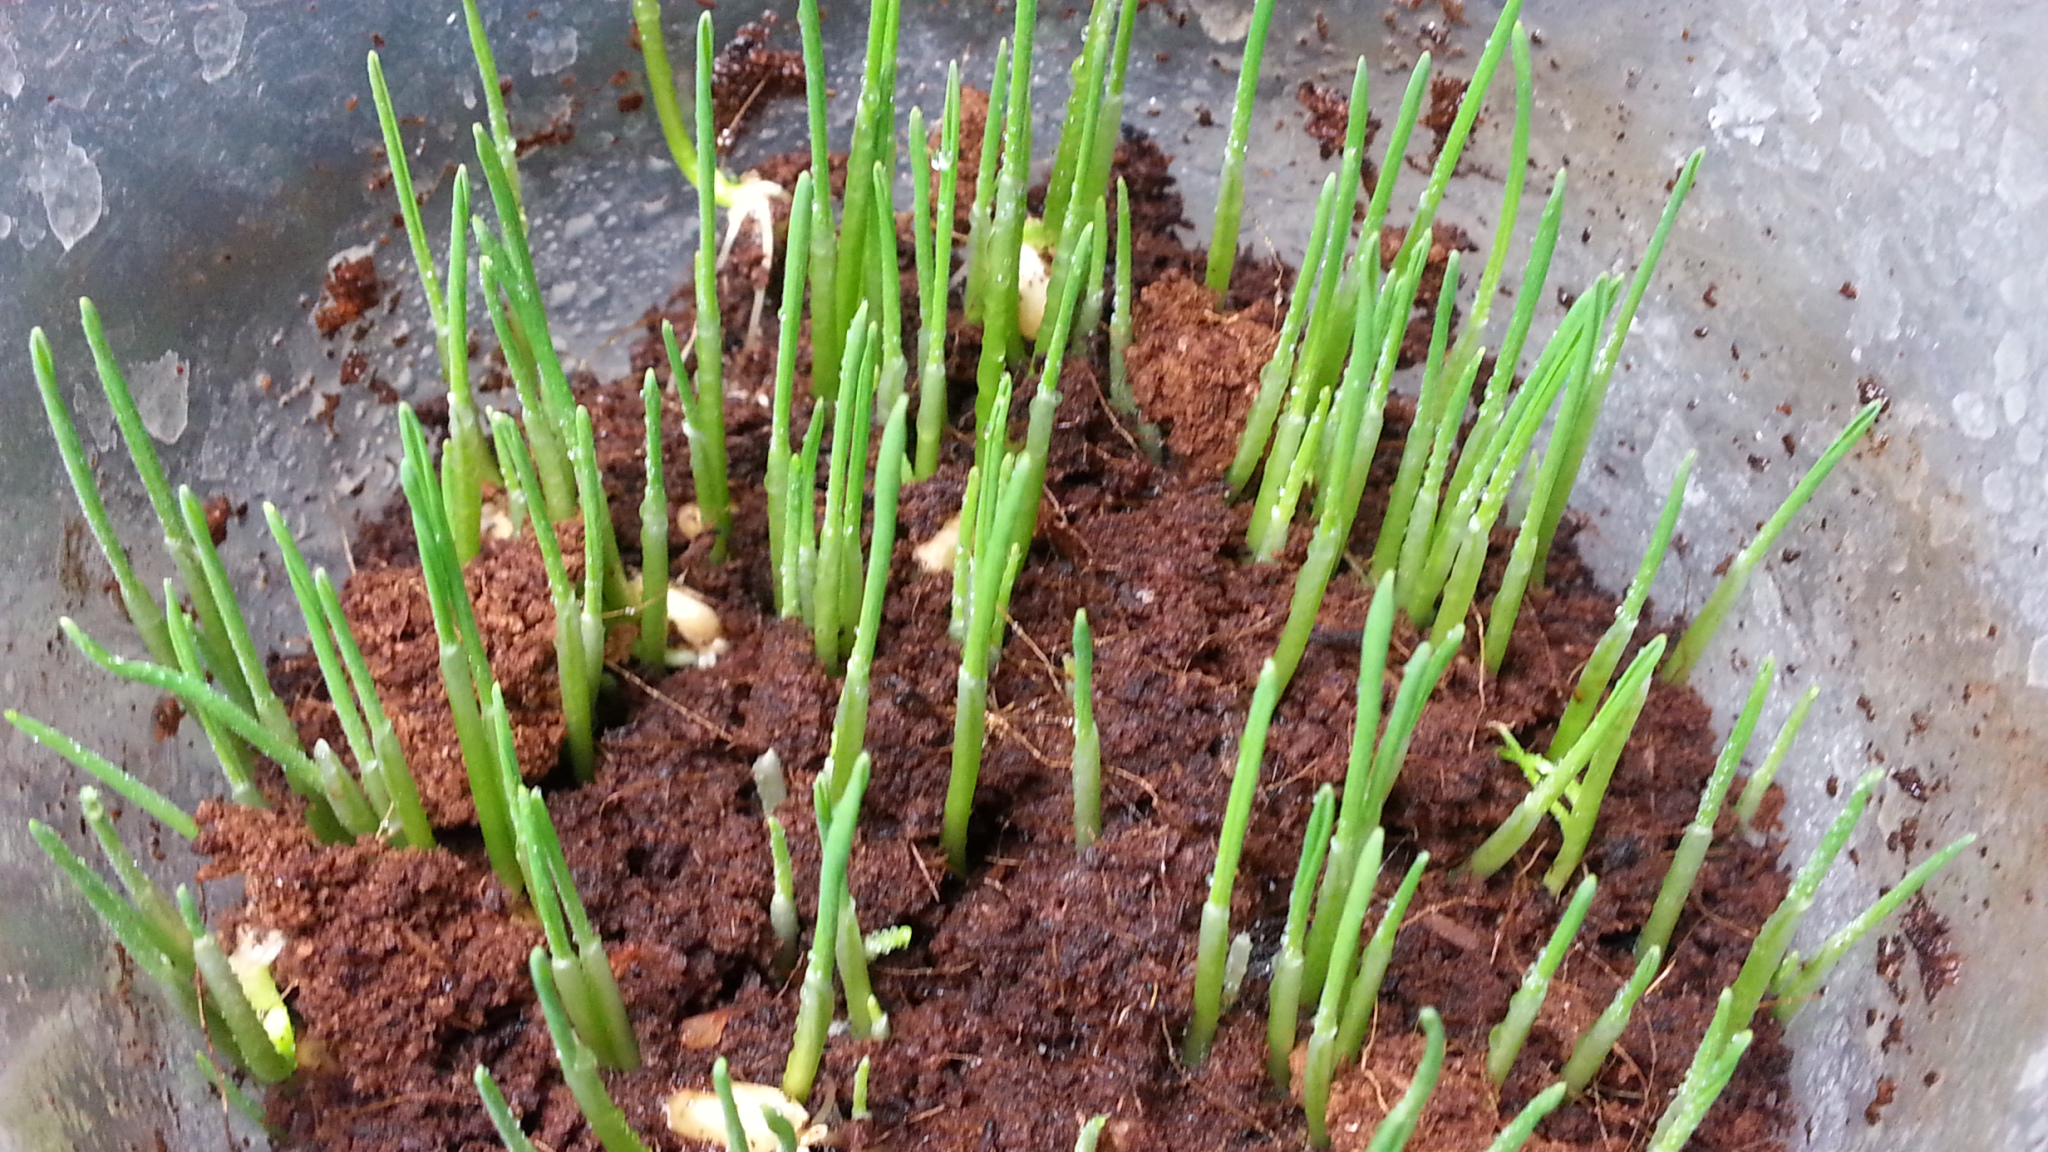
Sprouts are exceptionally easy to get started. All you need is a jar, cheese cloth, jar lid/rings or a rubber band, and your seeds of choice.

Microgreens Sprouting

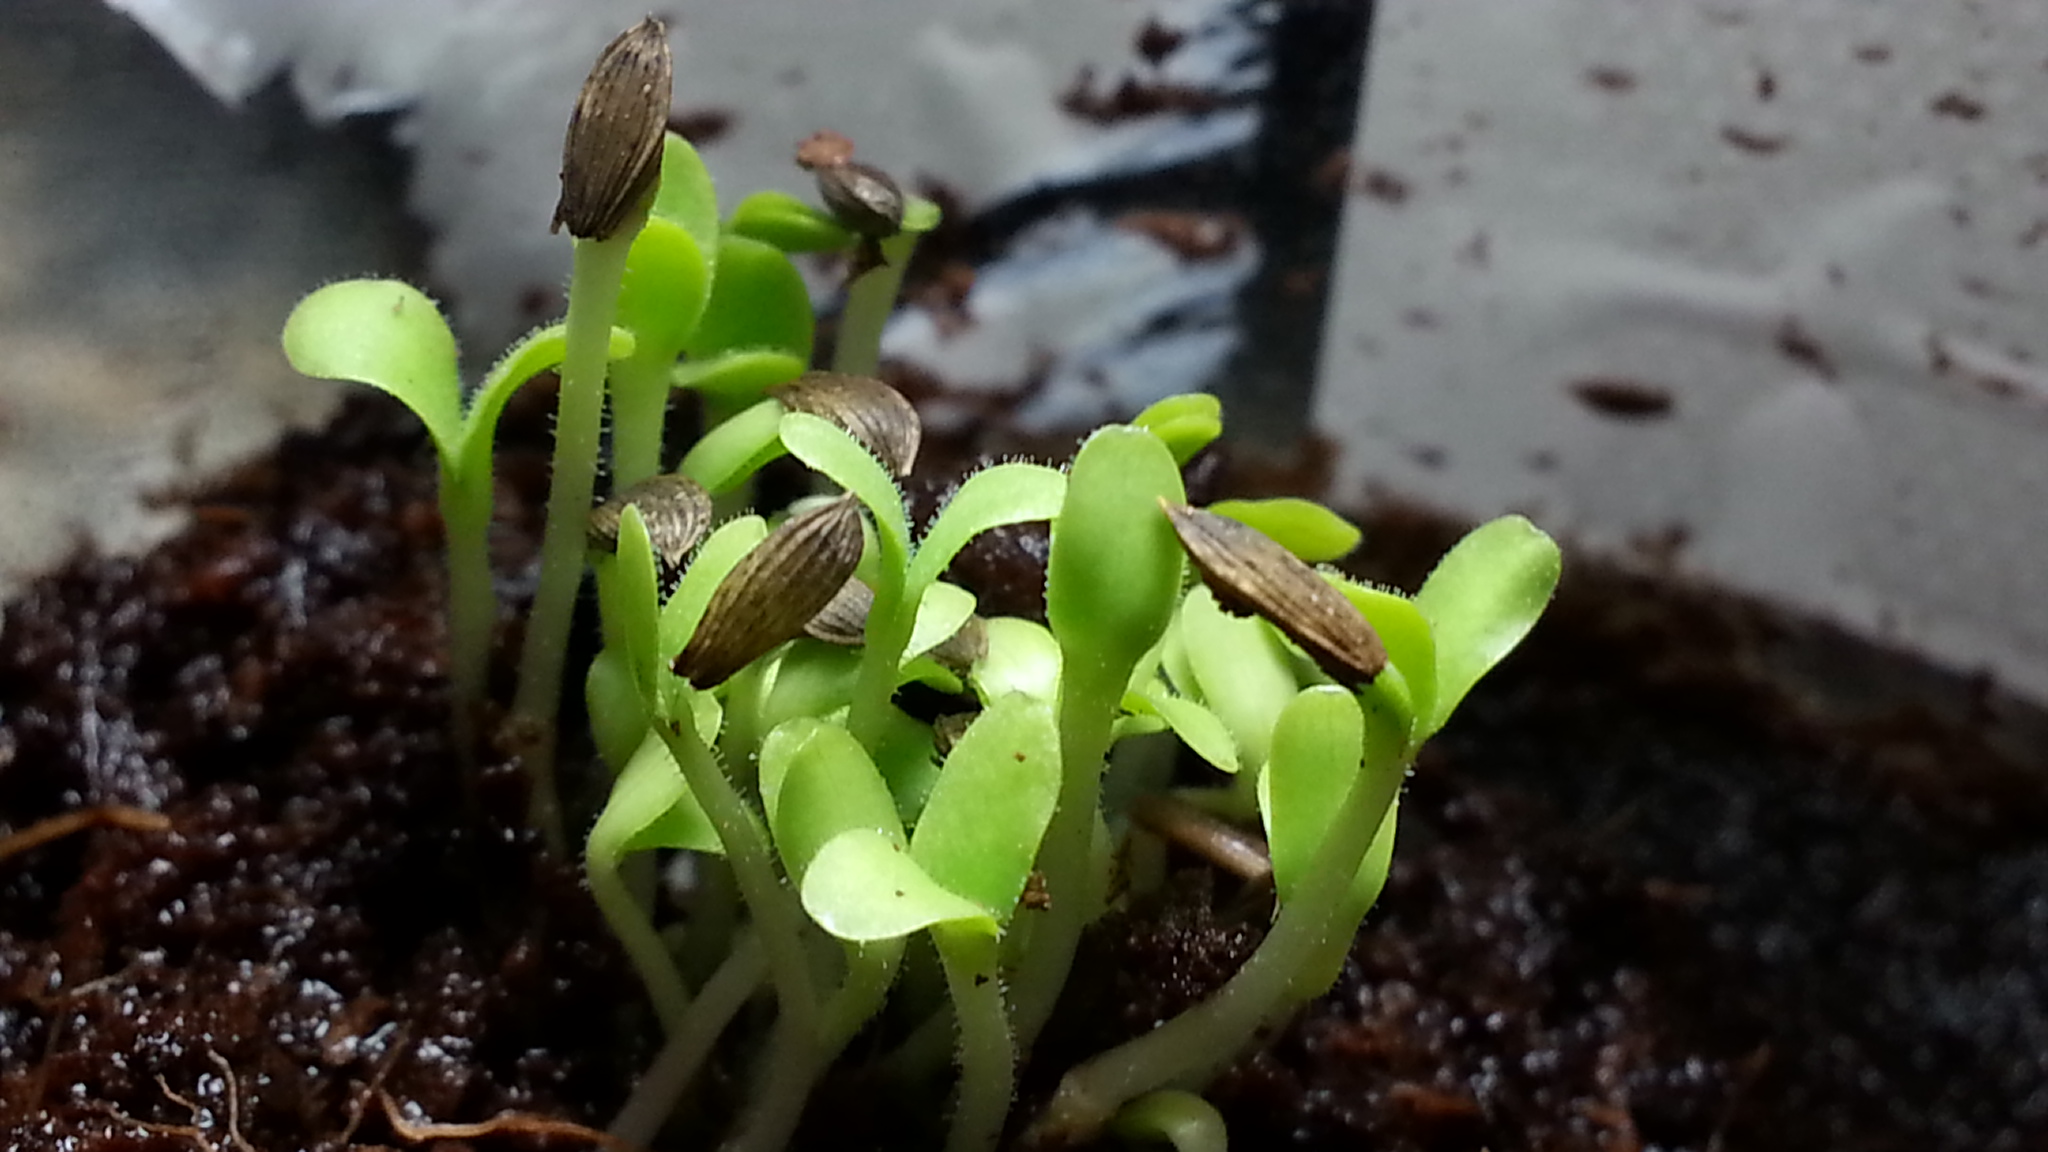
Place seeds or beans into the jar and secure a cloth over the top.

Wash your seeds or beans. We use only non-gmo organic seed, and will initially do a wash with a diluted food grade hydrogen peroxide or 1-2% bleach solution.

After a good initial rinse, let soak in lukewarm water until the seed has swollen(imbibed), then drain. Don’t do this for more than a couple of hours. If you do, replace the water, a couple times to avoid creating an environment for molds and fungi.

Now sit back and relax, the hard work is done. At this point, you will water your sprouts by rinsing with water a minimum of twice a day. Morning and evening works fine, perfect for a work schedule. 3 seems to work best if possible.

Leave your sprouts in a cool place with little sunlight. For us, thats one side of the kitchen counter. Only increase the indirect light to get a ‘greener’ sprout.

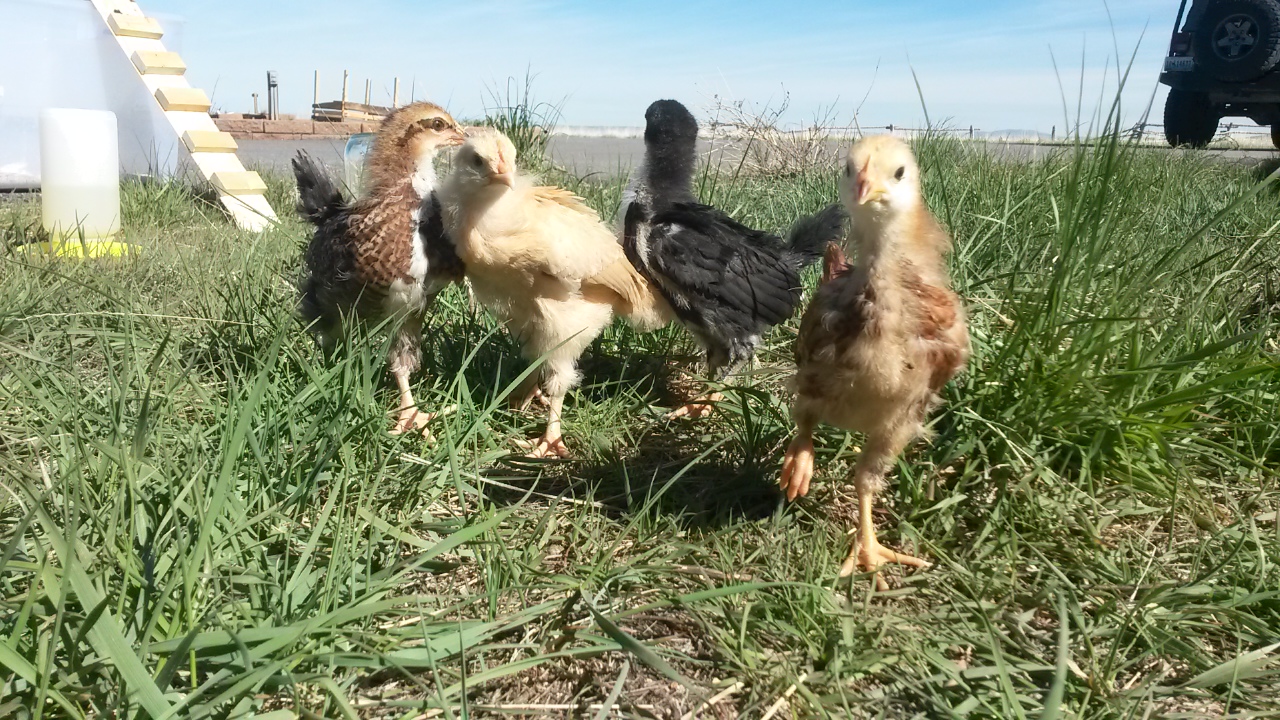
Eat when they look good! Your poultry, if you have any, will love them also.

Tags: , , | Comments

Quail Camera

| October 13, 2015
Photo Credit: Keith Knoxsville
A Hen and a Drake Green Teal on the truck bed. Not a limit on anything, but a fun morning out.

Quail_Baby_Coturnix

I set up a Kickstarter project to put together and support a Quail webcam for 2016, called Quail Cam. https://www.kickstarter.com/projects/1143260378/quail-cam

I will turn a credit card sized computer(BeagleBoard) and an IP camera into a 30fps 640×480 web stream of both quail hatches, and adult quail. I will publish the feed on a new satellite connection, and host the video stream from a dedicated url.

I wanted to share a hobby that I greatly enjoy, by turning it into an entertaining, and educational resource, available to anyone. When baby quail hatch, they are about the size of a quarter, are absolutely adorable, and amazing to watch develop.

Coturnix quail reach maturity in about 6-8 weeks, so I will run multiple hatches throughout the year, so that the entire development cycle can be observed by everyone.

It would be great if children and adults alike could reconnect with nature, and its adorable miracles, through the technology that is partially responsible for the disconnect to begin with. Please checkout the Kickstarter page, and consider supporting if you are able.

Thank you,
Ben

| Comments

DIY Quail Feed Ingredients

| October 12, 2015
Quail Feed
Photo Credit: Keith Knoxsville
A Hen and a Drake Green Teal on the truck bed. Not a limit on anything, but a fun morning out.

On the topic of DIY poultry and quail feeds, many naysayers will say its a waste of time and money. However, they may not have baby quail that require a very high protein content feed for the early stages of life, and probably don’t live somewhere where its hard to get a quality high protein feed. So, if you are not a naysayer, and looking for some help, here is a list of things to help you provide proper nutrition to baby quail, or just bulk your protein content.

The list is for readily available food items, from grocery, hardware, and pet stores, that can be used to bulk protein content of chicken feeds. Or perhaps you’ll use them to mix your own.

50%-56% Protein: Dry Meal Worms – Found in the bird feed section of stores, or pet stores. 5lbs on Amazon
40% Dry Protein: Soybean – Bulk food section at grocery store – 25lbs on Amazon
20%-22% Protein: Flaxseed – Bulk food section at grocery store – 25lbs on Amazon
20% Protein: Meatbird Chicken Feed
18% Protein: Finch Bird Seed – Found in the bird feed section of hardware stores, or at pet stores
16% Protein: Standard Adult Chicken Feed
13%-16% Protein: Wheat Berries – Bulk food section at grocery store
10% Protein: Dry Milo
9% Protein: Dry Corn

After measuring out ingredients to the right ratios on a food scale, we use a nut and spice grinder or old blender(dedicated to this process) to bulk the protein content of feeds. We also dust calcium, vitamins, and any other seed mixes to increase vitamin, fat, and oil contents of our feeds.

If you use the bulk soybeans, they should get a quick roasting in the oven. Otherwise, they will contain growth inhibitors, which is counterproductive to the effort of bulking your protein. Heat destroys the growth inhibitors in raw soybean. Just stick them on a pan in an oven for a bit, until they are evenly golden.

The naysayers can hate, but our quail frequently reach maturity at an early age, are healthy, and happy. The eggs our breeding quail lay are large, hatching rates high, and the health of newly hatched chicks great. Its worth it to us to make our own high protein quail feeds. It may not be for others, but we’d rather encourage than discourage you, and hopefully provide some help along the way.

If you have additional suggestions, please leave us a comment, and we’ll add it to the list. Thanks.

Tags: , , , , , | Comments

Free Range Chicken Eggs

| September 21, 2015
Fresh Free Range Eggs
Photo Credit: Keith Knoxsville
A Hen and a Drake Green Teal on the truck bed. Not a limit on anything, but a fun morning out.

True free ranging chickens, who are given a high quality feed, lay the best eggs. However, when it comes to finding the next best thing, quality eggs at the store, a consumer is faced with misleading egg labels.

The labels on eggs hardly mean what you’d expect them to mean.

wpid-wp-1442863194226.jpg

Cage-Free, just means a chicken isn’t forced into a tiny cage where it lives out its entire life. It doesn’t mean they have good quality of life, quality feed, or will ever see day light. They could be confined to poultry houses, which are basically large sheds, where the chickens are packed shoulder to shoulder their whole lives.

Free-Range, you may think is a chicken that has full access to the outside and forages freely. However, USDA regulations don’t specify the quality or size of an outside range. Nor do they specify the duration of time a chicken must have access to that outside range.

Certified Organic is a term independent of the Cage-Free and Free-Range terminology. A caged chicken can receive feed that is USDA certified as organic, and therefore the egg is considered organic. If you aren’t familiar with the organic certifications, or the listing of ‘made with organic ingredients’, they also both utilize grey areas that are designed to deceive consumers, whilst allowing large producers to more easily list their goods as ‘organic’.

Shady schemes of ‘non-medicated’ and ‘hormone free’ chickens, has even lead some poultry producers to treat chickens while they are still in the embryo.

So basically, unless you know how a chicken is raised, and what it is fed, you won’t have a good idea by just reading the labels.

Research your egg source and you may learn you aren’t getting what you think you are paying for.

A lot of people ask if its worth raising your own chickens. We think it absolutely is. If you have an opportunity to keep poultry, seriously consider it. If you can’t keep poultry, find a local person who raises chickens the way you’d expect, and get your eggs through them.

Tags: , , , | Comments

Coturnix Quail Hutch

| July 18, 2015
Blue Coturnix Quail Hutch
Photo Credit: Keith Knoxsville
A Hen and a Drake Green Teal on the truck bed. Not a limit on anything, but a fun morning out.

Quail_Hutch_Coturnix_BlueUnfinished Cotunrix Quail HutchCoturnix Quail Hutch Unfinished BackCoturnix Quail Hutch Inside

I had been planning on keeping quail for a while. After some consideration of breeds, I finally decided on Coturnix quail, and stuck a few eggs in the incubator. The count down had begun. I had between 14 and 26 days at the earliest and latest extremes to build a quail hutch. Like all the wood working I do, I try to take pride in my work. I wanted to build something that was attractive, and highly functional.

I decided two build a two compartment coffee table and quail hutch combo, appropriate for breeding quail, and keeping males separated.

The hutch includes the following features:

  • Vintage, antiqued two compartment coffee table design.
  • A sturdy and durable design. Yes you can sit on it, have coffee on it, etc.
  • A foot print of 4′ x 2′, with a separator for each half.
  • Hideaway bench seat style doors on top, taking up half the length of each of the two compartments.
  • 2 front doors, screened in with 1/2″ hardware cloth.
  • Secure latches all around.
  • 1/2″ hardware cloth floor, with a sliding poop tray.
  • Wiring with 2 ceramic bulb sockets. Allows for brooding, as well as heating in cold winters.

So far, the few quail we hatched love their home, and so do I. Its dual purpose, meets our needs, and functions as quality outdoor furniture. Its the kind of thing that the significant other doesn’t mind looking at everyday. I hope this helps you with your own quail Hutch build. If anyone is interested in owning one, I would consider drafting plans. I’d really like to do what I can to help out fellow friends, preppers, homesteaders, and backyard poultry keepers.

Tags: , , , , , , , | Comments

Backyard Chicken Coop

| May 6, 2015
Wyoming Lodge Chicken Coop
Photo Credit: Keith Knoxsville
A Hen and a Drake Green Teal on the truck bed. Not a limit on anything, but a fun morning out.

Keeping backyard chickens is a growing trend amongst everyday Americans, and for good reasons. Darn cute chicks, that will eventually provide fresh eggs daily! Add to that, the perk of avoiding purchasing lesser quality eggs from the grocery store. Who wouldn’t love that?

It’s been a few years since we had our own chickens, so we decided to get four little girls of our own with the idea to maybe add a couple more later. We needed a coop, and after looking at a bunch of prebuilt chicken coops that lacked desirable features for insanely high prices, there was no question that we would be building one ourselves.

We’ve built large coops before, more for utility than looks, but this one would be a bit different. We designed around our needs and desires: mobility, room for 4-8 chickens, easy to clean, safety from predators, ease of access to eggs, and an attractive elevated design.

We sketched out a few design ideas, decided on an appropriate size, a rustic trapper lodge look, complete with simulated copper roofing, buck antler mount, covered porch style entrance, and two box nesting box with hinged roof for external access.

Coop-Construction-1

Coop-Construction-2

Chicken Coop Lodge

Chicken Coop Lodge Side

Chicken Coop Nesting Box

Chicken Coop Lodge 2

Chicken Coop Wyoming Weather Vane

The girls (Meet them in this post) will have an 8 foot by 3 foot run to stretch their legs when they can’t free range. The 3 foot tall run is enclosed with 1/2″ hardware cloth.

The coop sits nearly 3 feet off the ground, is framed in 2×3 doug fir, includes an attached elevated nesting box, and conceals a plywood sliding poop tray. The exterior is finished in cedar, and roofed in galvanized metal that has been painted with a hammered copper paint. The front door is trimmed with 1 1/2″ furring strip, the same material that supports the front door awning, and covered with roofing material to match the main part of the coop.

4 1 1/2″ holes were drilled out for ventilation. Ventilation holes were placed in the top of the coop, two holes on each side of the coop, and screened in with a metal mesh to prevent unwanted guests. The vent holes also added an aesthetic touch of realism. The weather vane is a little tribute to Wyoming, and an aesthetic touch.

We did use as much recycled and salvaged material as possible. The galvanized roofing was purchased at a salvage scrap material shop, so were hinges, corner braces, tee braces, door handle, ceramic lamp bulb holder, and a power cable. Nearly everything was in its original packaging, and just a little dusty and aged. Buying materials from a salvage shop not only keeps perfectly good excess building scrap out of landfills, but saved about 75 dollars in chicken coop material costs.

The Chicken Coop Trapper Lodge cost less to build than the commercial offerings, fits our needs, and has the aesthetics we desired. Some items, like heavier 1/2″ hardware cloth were more expensive than cheaper poultry wire, but provide superior protection for our girls, and so we determined it was worth the spend.

We will probably add an electric wire perimeter, that cuts off when the door to the run is open, to prevent an accidental shock to the chickens, and provide added security against our local predators: snakes, coyotes, mink, fox, stray animals, and Racoons.

Tags: , | Comments

Meet The Girls – Baby Chickens!

| April 30, 2015
Meet The Girls
Photo Credit: Keith Knoxsville
A Hen and a Drake Green Teal on the truck bed. Not a limit on anything, but a fun morning out.

After a few years of being chicken and other poultry free, and wanting to have a small flock of chickens, we decided to get four chicks. The girls will more than likely show up in Gardenisto posts from time to time, like when I post up the chicken coop build, so we took a few photos and decided to introduce the girls. Here are the chicks, the weather finally permitting, on their first day outside.

The-Chicks-1

The-Chicks-2

The-Chicks-3

The-Chicks-4

The-Chicks-5

Meet HoopleHead a Buff Orpington, Joanie an Ameraucana, Red a Rhode Island Red, and Eightball a Black Australorp.

Tags: , , , , | Comments

Nightstand Plant Stand From Pallets

| April 27, 2015
Photo Credit: Keith Knoxsville
A Hen and a Drake Green Teal on the truck bed. Not a limit on anything, but a fun morning out.

I recently set up another 5 gal hydroponic bucket for growing herbs and greens. I wanted to grow them in the dining room under a sunny window, and needed to dress up the 5 gallon bucket so that it wouldn’t be an eyesore. So I decided to build a dual purpose nightstand and plant stand in one.

nightstand

nightstand-plants

plant-stand-construction

I didn’t want to spend money on lumber to build the plant stand, so I did what everyone else on the interwebs does, and built it from pallets. However, unlike many people who simply stack pallets or use pallets as is, I carefully removed the nails, and thoroughly inspected every piece of lumber before ripping every piece. I was very careful not rip too far under the weathered and expose wood, and was able to maintain the rustic colors, nail rust, oxidation, and character of old wood, whilst getting straight, and clean edged lumber in reasonable dimensions to work with. The end result is a rustic looking, and functional, dual-purpose night stand(when no hydroponic bucket is present), and hydroponics plant stand in one.

Check out the photos, enlarge them by clicking on them, and you’ll see the build process, the plants, and the completed stand. Hope it motivates some of you to try hydroponics, and know you don’t have to stair at ugly buckets.

Tags: , , | Comments

DIY Bookcase Industrial Traditional Rustic Part 1

| March 26, 2015
Photo Credit: Keith Knoxsville
A Hen and a Drake Green Teal on the truck bed. Not a limit on anything, but a fun morning out.

Bookcase

I wanted a flexible shelving unit to sprout seedlings, store items, conduct lab experiments, and I didn’t want an eyesore. I recently splurged on a new table saw, so I decided to build an industrial, traditional, and rustic inspired pine bookcase, over slapping together another ugly shelving rack unit.

New materials were used, but I stripped down a pine shelving unit I quickly slapped together last year, and hated, and salvaged what I could for the new bookcase. This helped me save on the cost a bit, and gave me an excuse to erase the old shelving unit monstrosity from my mind. The new bookcase also utilizes electrical equipment purchased for dirt cheap at a salvage store, ReStore. If you haven’t heard of ReStore, check them out! They are a chain of recycling shops run by Habitat for Humanity, and they help reduce waste.

This is more of a build log than it is a how to, but I will outline the bulk of materials, and general costs at the end of part 2 of the build. If anyone wants me to draft out the plans, I can probably do that, but the construction is fairly simple. The construction of the bookcase was done in 2 days, using a table saw, a router, and basic tools. I’ll get into modular shelving and the electrical work in part 2.

Step 1: Face Frame
The face frame was made from a 6″ board ripped in half for the sides of the face frame, a 3″ board for the top cross member, and 4.5″ board for the footer. The boards were joined with a lap joint glued, and reinforced by 5/8″ screws. The lap joints will ultimately be hidden in step 7.

Step 2: Sides
The sides are made from 12″ boards cut to a 6 1/2′ length. The bottom receives a dado that is level with the bottom of the face plate. The distance is adjusted the thickness of the supporting bottom board, which is 3/4″, for a full length of 35 1/4″.

A 3/4″ dado is made at the height of the first permanent shelf. A 3/4″ rabbit is made at the top to accept the top board/shelf.

At this point, its smart to run a router bit across the inside backs of the top, bottom, and side boards, so that a backing can be accepted later. We removed a 1/4″ of material, the 1/4″ depth of the backing material.

Step 3: Joining Sides
The top and bottom boards were slipped into their respective rabbits and dados with glue, squared, and reinforced with a total of 12 wood screws. The screws will ultimately be hidden in step 7.

Bookcase Glue Up

Step 4: Joining the Face
The face Frame was laid on the bookcase, glued, and secured with finishing brads. It was also secured with straps to help keep everything in place while work was being done. I later added a couple small subtle 45* cut corner braces that were secured inside the bookcase with glue and screws, to add strength.

Step 5: Fixed Shelf & Top Brace
Strips of 3 1/2″ salvaged boards were cut to 35 1/4″ lengths and glued into the fixed shelf dado. A rear gap of 1/4″ was left to accommodate for the backing.

A 3.5″ brace was added to the inside top of the cabinet to reinforce the cabinet, maintain a square, and give some surface area for which the backing can be secured.

Step 6: Backing
1/4″ tongue and groove pine siding was used to create a matching backing. It was cut to the 6 1/2′ height, minus the board thickness of 3/4″ all around, and a 1/4″ lip added all around to fit securely into the 1/4 rabbit created at the end of step 2. Glue, patience and finishing brads are used to secure the backing.

Step 7: Top and Bottom Trim
A top trim of 3″ and bottom trim of 4.5″ was mitered to 45* angles, glued and secured to the tops and bottoms of the cabinet. This is what hides, the ugly wood screws and the lap joints.

Step 8: Shelf Supports
Shelf supports were added by cutting trim to the depth of the bookcase, and secured with 5/8″ wood screws. Guide holes were drilled to prevent splitting.

Step 9: Lacquer
I chose to finish the pine with a clear gloss lacquer. I thought it preserved the pine the best, while maintaining a rustic, traditional, and industrial look.

Tags: , , , , | Comments

Elk Meatball Pho Soup

| March 2, 2015
Elk Meatball Pho Bowl
Photo Credit: Keith Knoxsville
A Hen and a Drake Green Teal on the truck bed. Not a limit on anything, but a fun morning out.

Elk Pho

Elk meatball pho soup is an improvised wild game version of the classic Vietnamese Pho noodle soup. Total preparation and cooking time is about 3 hours, but this is mostly because of the long simmer to make a quality soup stock.

Servings: 6
Cook Time: 3 Hours
Prep Time: 30 Minutes

Ingredients
Basil – 1 bunch (Thai variety if availabe to you)
Mint – 1 bunch
Cilantro – 1 bunch
Jalapenos – 2 small ones
Green Onions – 1 bunch
Limes – 1 to 2
Ginger – 2 palm sized pieces
Bean Sprouts – 1 lbs. (mung bean)
Onion – 1 small onion
Garlic – 3 large cloves
Star Anise – 5 pods
Cinnamon – 2 large sticks
Cloves – 5 (optional)
Red Pepper Flake – 1/2 teaspoon
Black Pepper – 1 teaspoon + a pinch.
Salt – 2 to 6 tablespoons of salt
Sugar – 2 to 6 tablespoons
Two Femur Bones (We used Beef bones, but others will work)
Ground Elk – 1-2 lbs.
Rice Noodles 1- 8 to 12 ounces dry weight

Fish Sauce – Used to finish while serving
Chili Sauce – Used to finish while serving
Hoisin Sauce – Used to finish while serving

Instructions
Stock:
Fill large stock pot with 7-8 quarts of water. This will be the broth, so use a quality filtered water.
Add two large femur bones 4-5 inches in length.
Slice the two pieces of ginger, add to stock pot.
Slice 3/4 of an onion, into about 8 pieces, add to stock pot.
Add 5 pods of star anise.
Add 5 cloves.
Add 2 large sticks of cinnamon.
Add 3 large cloves of garlic, crushed.
Add 2 tablespoons of Salt.
Add 2 tablespoons of sugar.
Add 1 teaspoon fresh cracked black pepper
Bring entire stock pot to a light boil. Let boil for up to 3 hours.
Keep stock pot mostly covered, but be careful to avoid boil overs.
After the femur bones have boiled for a while, and its safe to do so, sample the broth, and add more salt if necessary.
Check stock pot frequently, and add filtered water back to the stock as it reduces.
Adjust any ingredients during the boil to enhance any flavors to your personal preference.

At 2 hours into boil, prep Meatballs

Meatballs:
Finely chop 1/4 of an onion, add to mixing bowl.
Finely chop 1/8 cup cilantro, add to mixing bowl.
Finely chop 1/8 cup basil, add to mixing bowl.
Add a pinch of salt and black pepper.
Add 1/2 teaspoon of red pepper flake.
Add 1 to 2 lbs ground Elk to mixing bowl. (or substitute with meat of your choice)
Mix with hands, until ingredients are consistently distributed.

At 2.25 hours into boil skim broth.
Remove femur bones, large particles of ginger, and sieve out all smaller ingredients, as well as marrow that has escaped from the femur bones that cloud broth and build at the surface.

At 2.5 hours into boil, form and cook meatballs, prepare rice noodles.
Form meatballs by hand, and add to the now clear(ish) pho stock.
Bring water in a separate large sauce pan to a boil, add rice noodles to hot water ad let sit for ten minutes, then drain. This is typical preparation for a rice noodle, but some noodle instructions may differ, so follow your own noodle package instructions.

Right before serving, prepare garnishes
Garnish:
Slice Jalapenos
Rinse Basil, Cilantro, and Bean Sprouts
Slice lime into wedges
Rinse and slice a couple green onions into small rings
Get Chili sauce, fish sauce, and Hoison sauce ready to serve
Plate all garnishes

Serve
Meatballs should become buoyant right around the time that they are finished. As soon as the meatballs are cooked all the way through, the pho is ready for serving. Line up some bowls, use tongs to place cooked noodles into the bottom of the bowl. Ladle broth and meatballs over the noodles. Tear cilantro, mint, and basil by hand, and add to your pho in any quantities that you feel appropriate. Squeeze lime wedges, add chili sauce, maybe a few drops of fish sauce, add Hoisin sauce, jalapenos, green onion, and bean sprouts. Add only what you want, and the amounts you prefer, and enjoy.

Tags: , , , , , | Comments