DIY Plant Tissue Culture Media
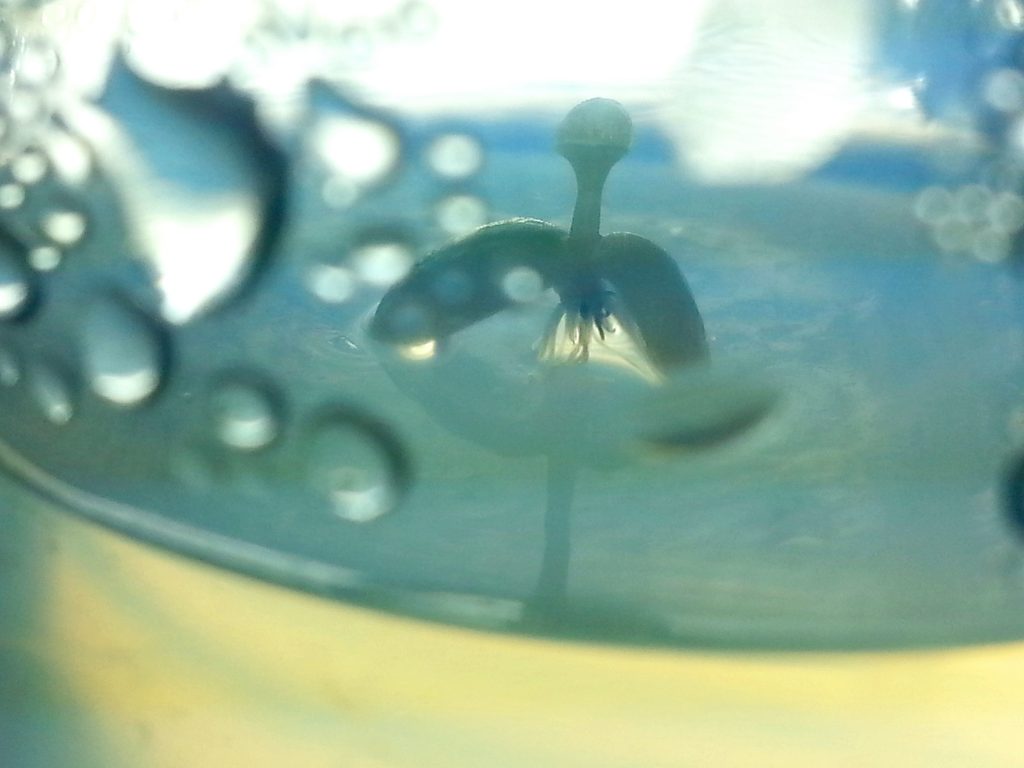
Photo Credit: Keith Knoxsville
A Hen and a Drake Green Teal on the truck bed. Not a limit on anything, but a fun morning out.
We’ve updated the DIY Plant Tissue Culture Media post to include an easier media solution. You will need the followiing:
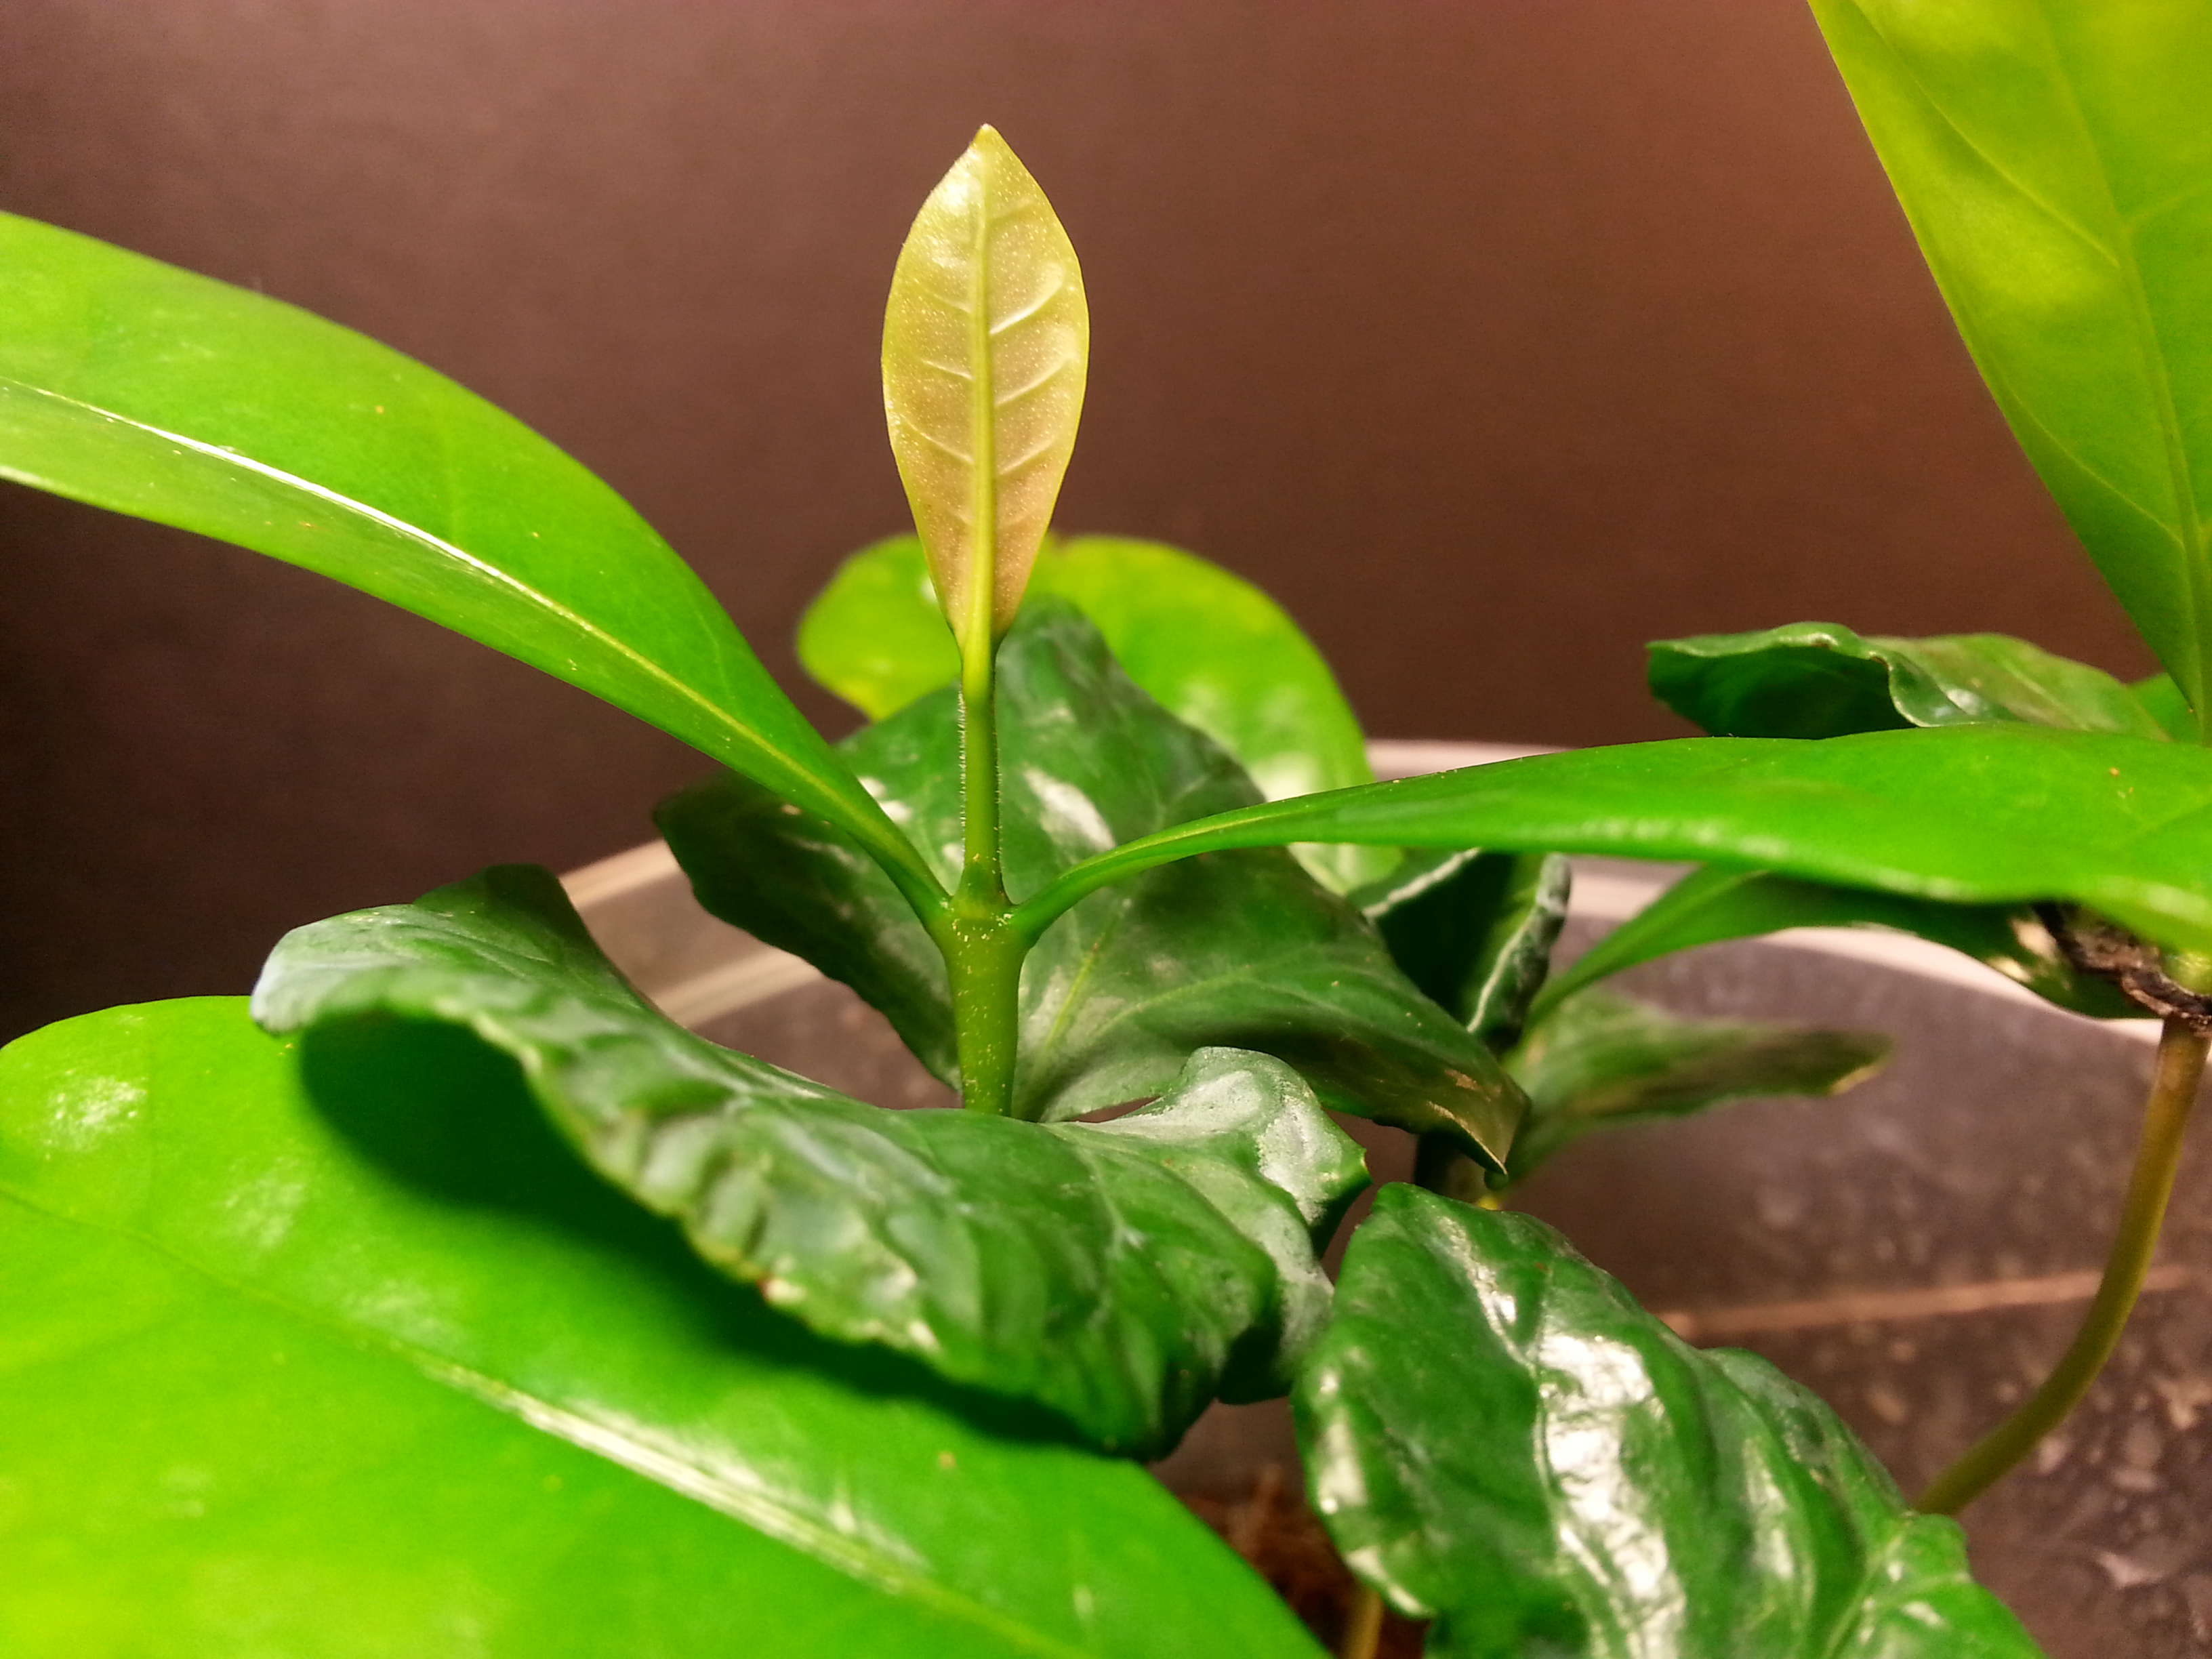
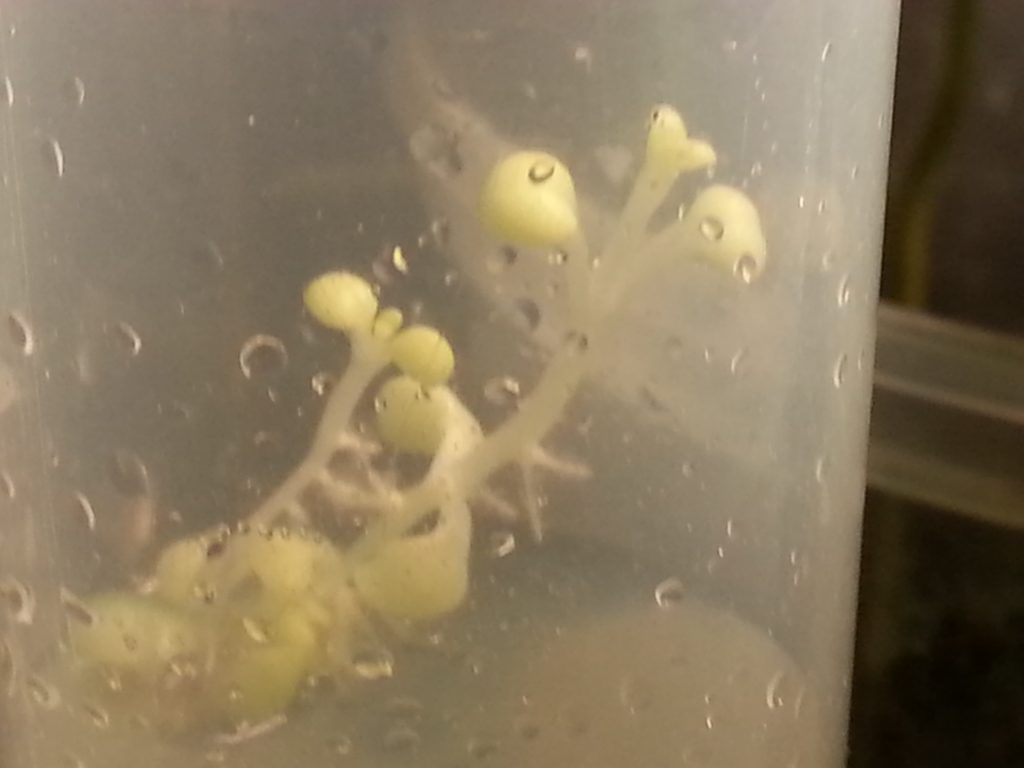
There are various types of tissues from which a plant can be cultured. Sometimes plant propagation requires multiple stages of tissue culturing, with different media, hormones, or different media consistencies.
Similar to sitting a plant cutting partially submerged in water on a kitchen window sill, sterile liquid media can be used, but most explants should not stay submerged in media or they will be deprived of proper gas exchange and fail to thrive.
Besides keeping all your instruments clean, and properly sterilizing media, the other difficulty is getting your recipe right. Making media can be a bit like the story of ‘Goldilocks and The Three Bears’. We needed to make media, test media, and adjust media to get the correct consistency, ph, and hormone balances.
Experimenting with small batches and making adjustments is the best way to settle in on a good media recipe. Not too firm or you’ll bind up the transportation of nutrients and deprive explants, and not too soft to the point the explant would sink and become deprived of oxygen.
Old Recipe
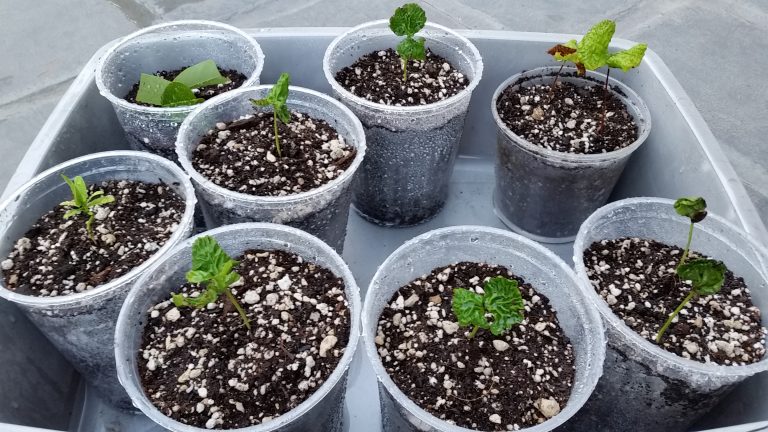
Our base recipe makes approximately 200ml of media. We are able to fill 10 1.5 oz vials about 1/3 full, or sufficiently fill 3 1/2 pint jars. More media can easily be created by multiplying all the values.
Media Preparation: Prepare the autoclavable vials, jars, or other suitable containers that will receive the media, and equipment to be used prior to preparing the media.
- Measure out the liquid components of purified water, coconut water, liquid nutrients, and any dissolved hormones.
- Heat and thoroughly dissolve sugar into liquids.
- Let cool and adjust ph. If you used PH adjusted fertilizers, this step will hopefully be unnecessary. Otherwise the use of ph adjusting chemicals may be necessary
- Heat the ph adjusted liquid.
- Thoroughly dissolve agar into liquids.
After all solids have been evenly dissolved, either pipette or carefully pour media into your tissue culture vessels.
Sterilizing Media: This step involves any of three methods, and depends on the tools available. They are Autoclaving, Microwaving, or Pressure Cooking. If you started by reading our Intro to DIY Plant Tissue Culture, and are working off of our equipment list, then you will likely pressure cook your media. As such, we’ve included basic procedures for preparing media with a pressure cooker.
Sterilizing Media: Pressure Cooking
The pressure cooker is sometimes abused to make destructive bombs. Why? Because some people are sick and deranged. Really though, because containing increasing pressure in any sort of vessel can be dangerous. To avoid, accidents, injury or death, PLEASE READ all of the instructions included with your pressure cooker, then read them again and again until you understand them.
- Fill the bottom of the pressure cooker with your pressure cookers recommended amount of media for a 3 to 25 minute cook time at 15psi.
- Place your autoclavable containers with media inside the pressure cooker. Do not seal or cover the containers with anything other than loose foil. A completely closed, or sealed container that cannot breathe will explode.
- Rapidly heat the pressure cooker to get it up to pressure. Depending on model, the pressure cooker should have some sort of lock that engages as the pressure rises to prevent opening.
- As soon as the steam pressure regulator starts bobbling, drastically reduce heat until the regulator bobbles gently.
- Start the stop watch or timer.
- The regulator should gently rock for the duration of the sterilization time, which can range from just a few minutes to 25 minutes. Time will depend on the volume of media. We manage to get 0% contamination from the volume of media that our base recipe will make, in only 5 minutes of pressure cook time.
- After cooking, remove from heat, and wait for the lock to disengage.
- Carefully, remove the pressure cooker lid when it is ready to be released.
- Without burning yourself, quickly close or tighten media jar lids that have synthetic filter disks. We do this very cautiously as the pressure cooker is still cooling, and the steam is still rising to keep any unwanted pathogens from entering the positive pressure environment of the cooling pressure cooker. Running the hood fan on the stove during this process also helps prevent the settling of any unwanted pathogens.
Improved Recipe
After some trial and error with the basic recipe, we observed some explant and media browning, and made some adjustments. We added citric acid to the media to prevent and treat phenol exudates from oxidizing.
Sterilization can be hard to maintain, using a good broad spectrum biocide, also known as Plant Preservative Mixture or PPM, to prevent fungal and bacterial growth can make a huge difference.
High moisture levels in our culture vessels seemed to affect our explants in early trials. In later trials we added autoclavable synthetic filter disks to our jars, and adhered them with high temperature RTV gasket maker/sealer. In other cases we taped over a small holes in the lid of our vials with an adhesive micropore filter.
Tags: micro propagation, plant tissue culture, tissue culture, tissue culture media
|
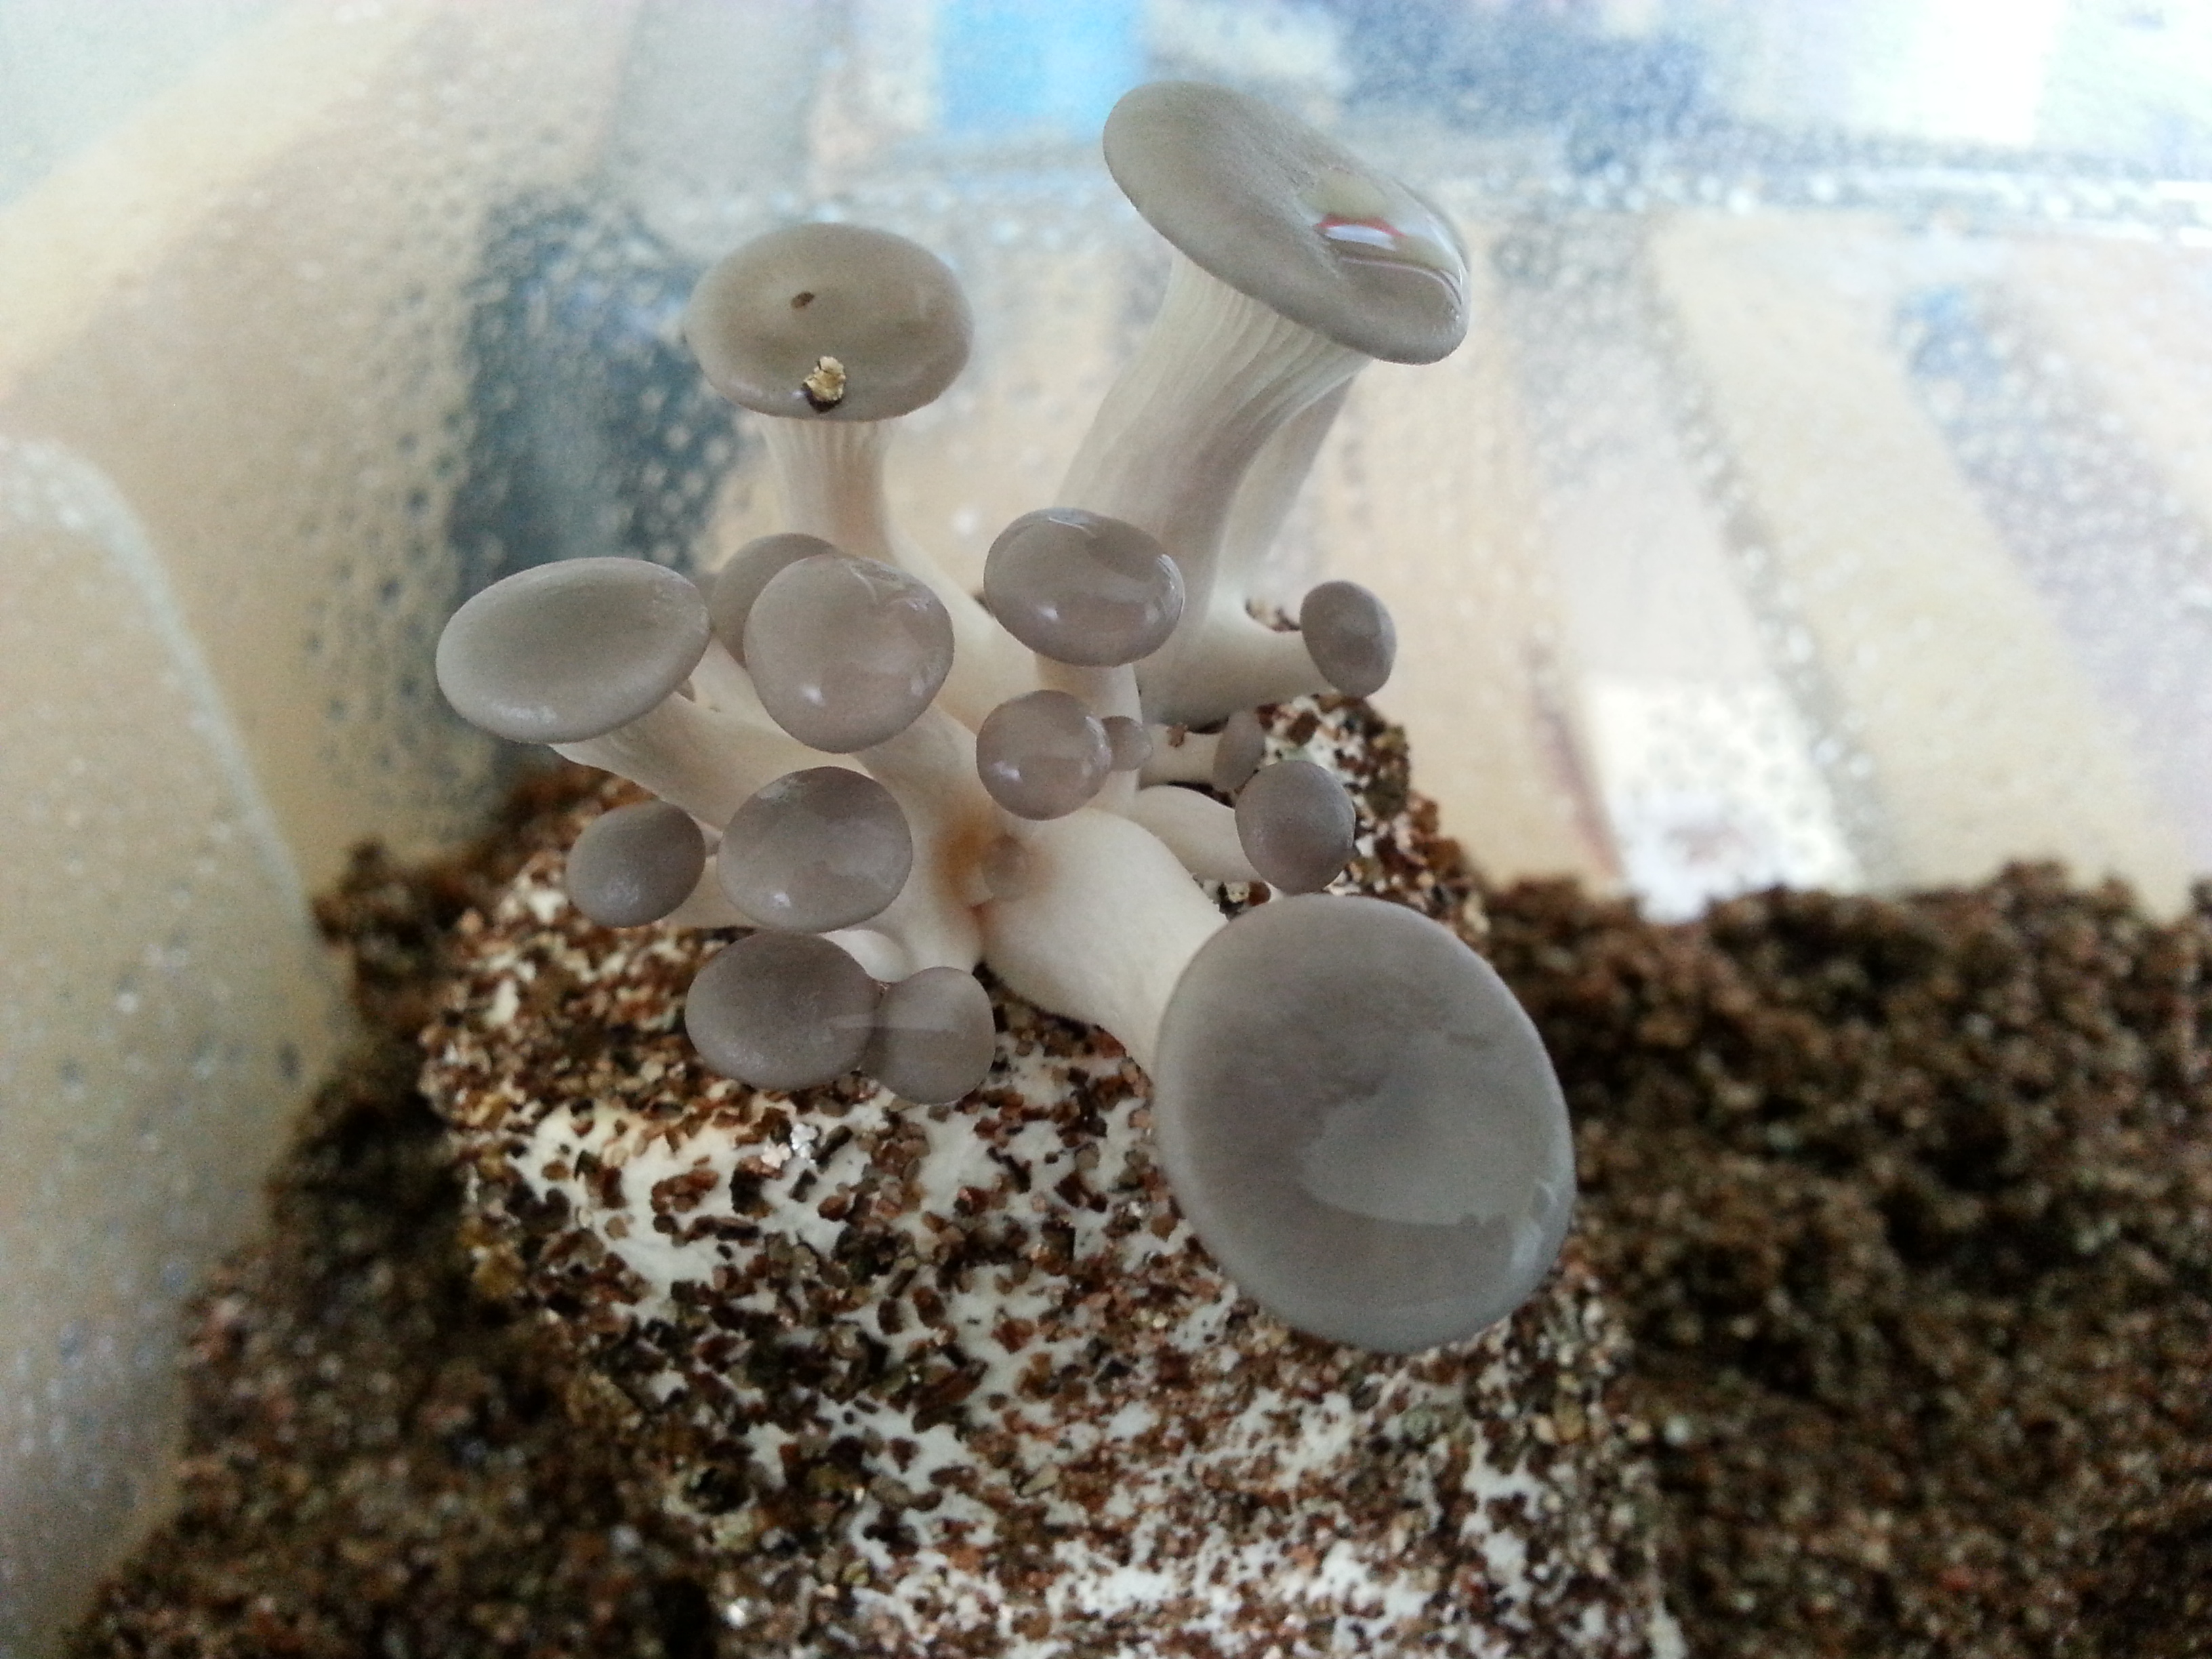 Growing mushrooms is a great alternative for those without garden space or access to a community garden. But before growing your own mushrooms, its a good idea to understand some basics about mushrooms, fungi, and the mushroom life cycle.