DIY Bookcase Industrial Traditional Rustic Part 1
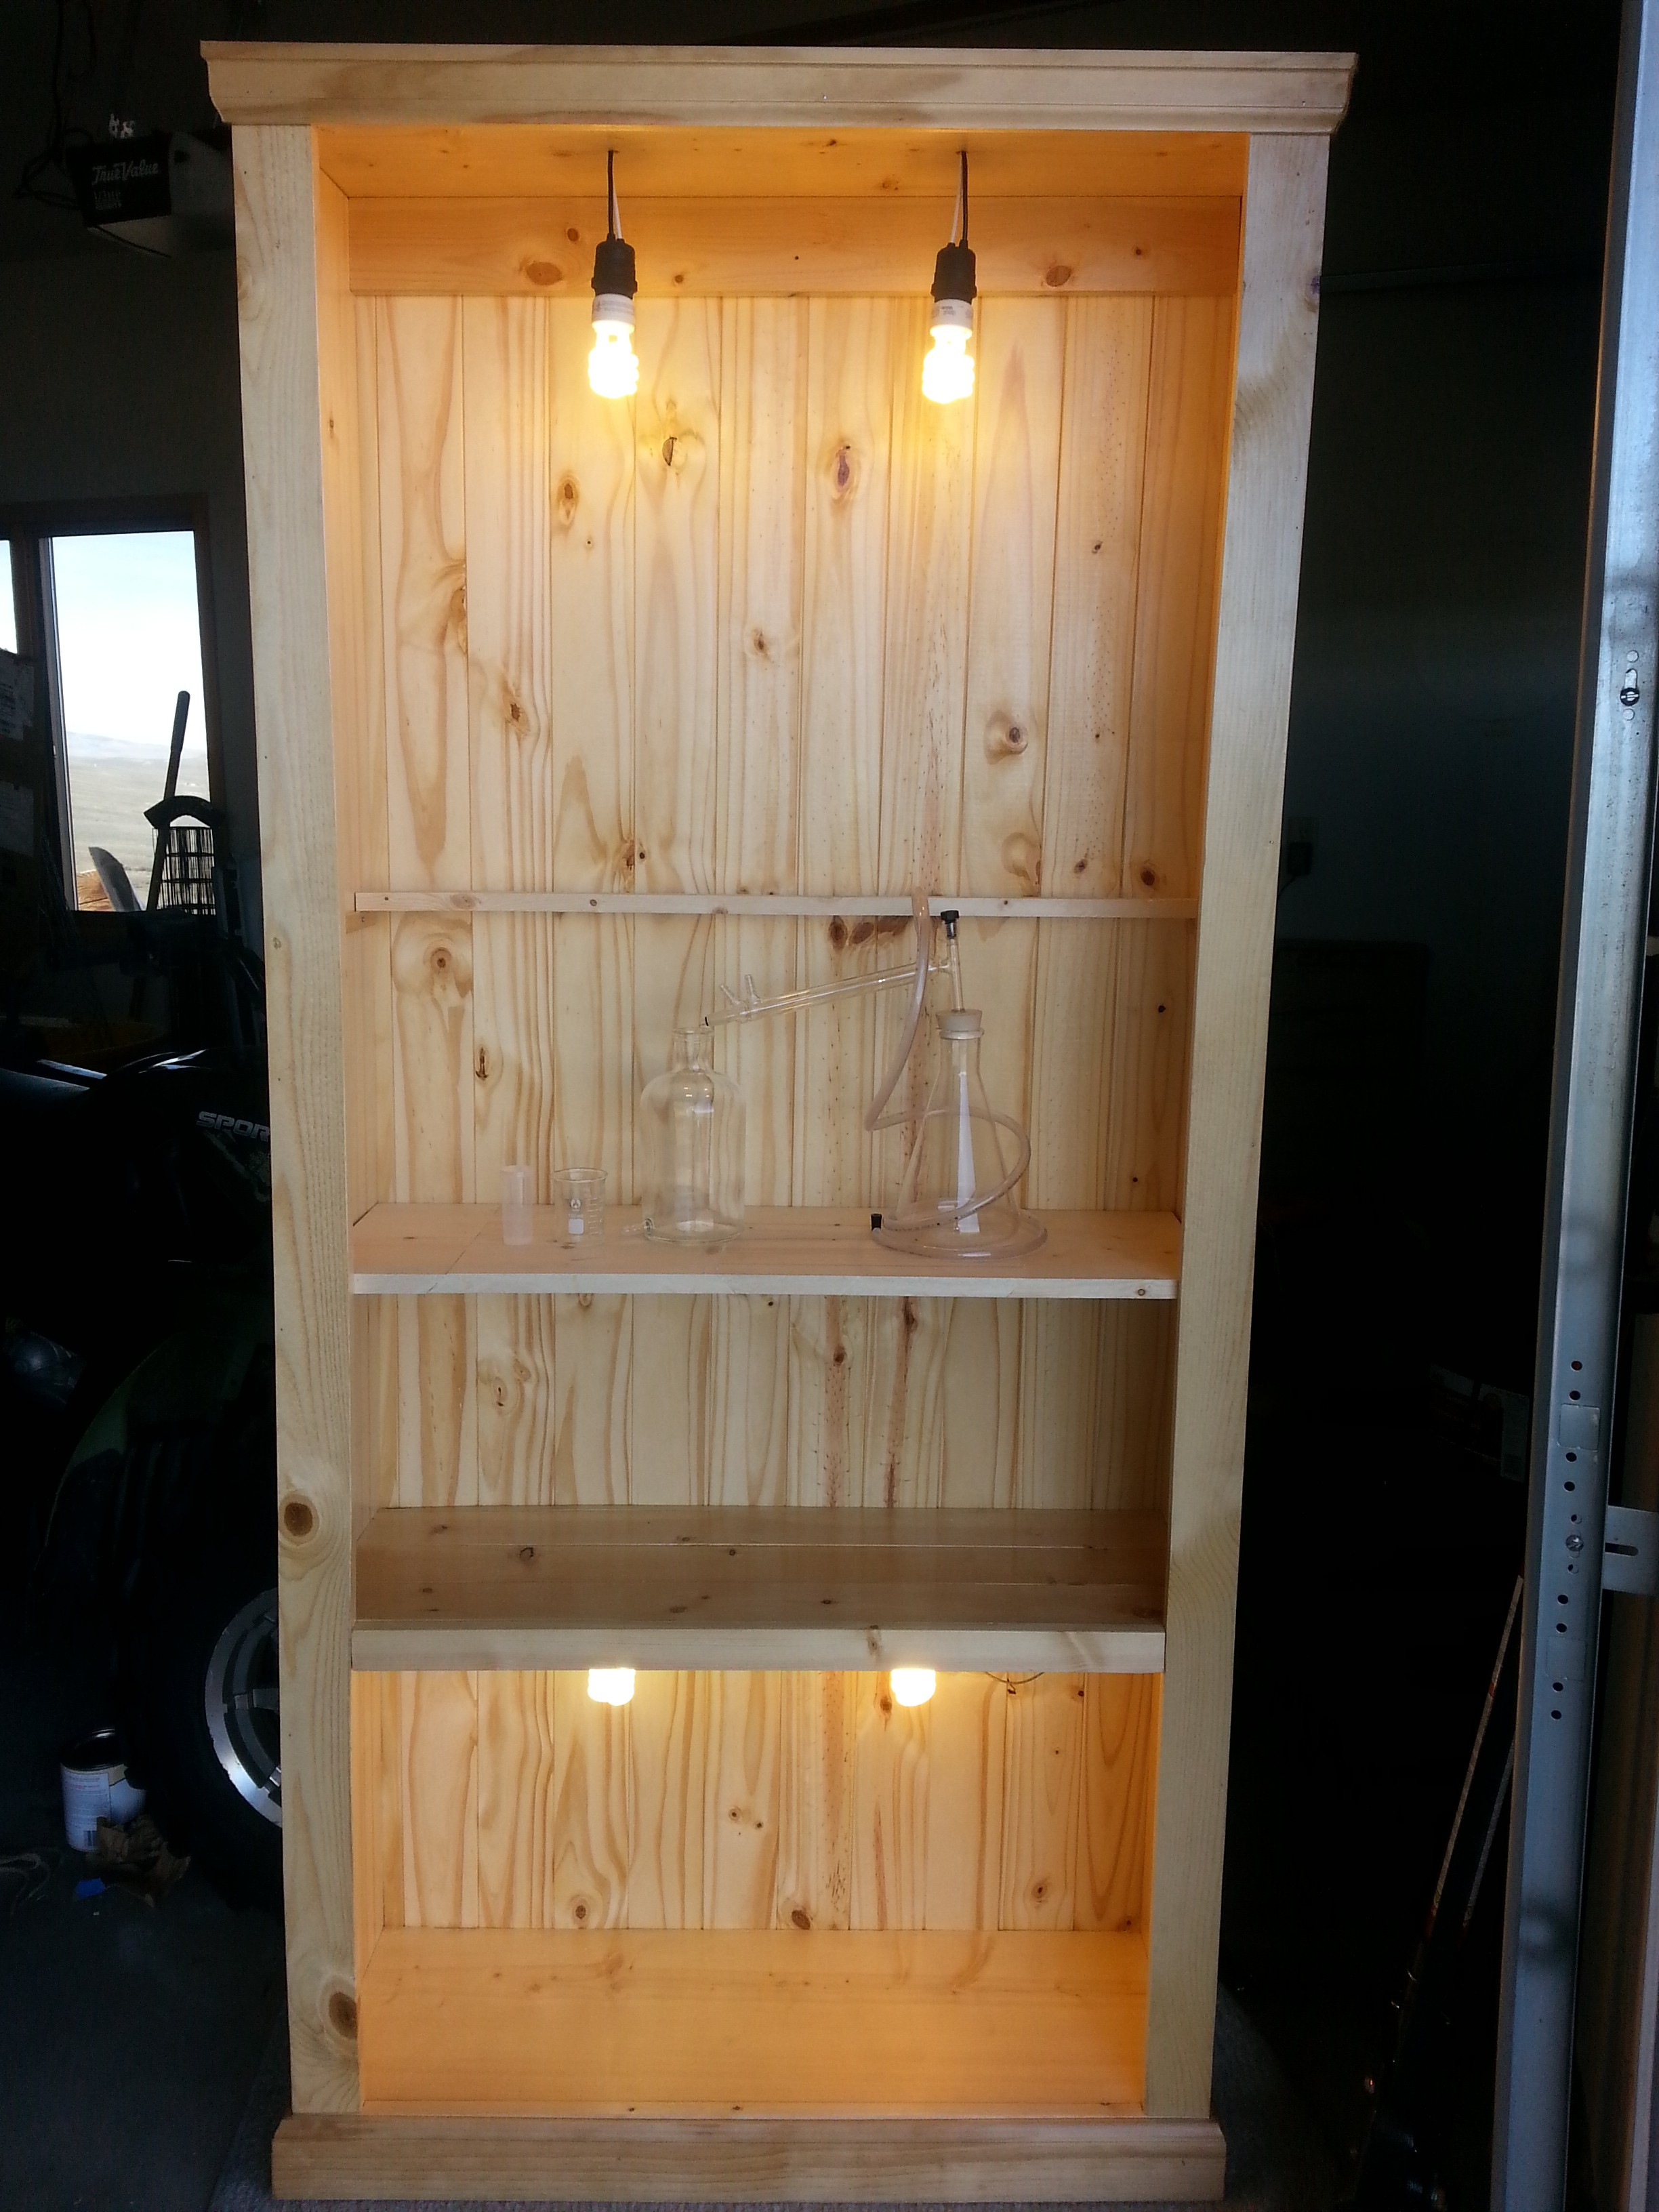
I wanted a flexible shelving unit to sprout seedlings, store items, conduct lab experiments, and I didn’t want an eyesore. I recently splurged on a new table saw, so I decided to build an industrial, traditional, and rustic inspired pine bookcase, over slapping together another ugly shelving rack unit.
New materials were used, but I stripped down a pine shelving unit I quickly slapped together last year, and hated, and salvaged what I could for the new bookcase. This helped me save on the cost a bit, and gave me an excuse to erase the old shelving unit monstrosity from my mind. The new bookcase also utilizes electrical equipment purchased for dirt cheap at a salvage store, ReStore. If you haven’t heard of ReStore, check them out! They are a chain of recycling shops run by Habitat for Humanity, and they help reduce waste.
This is more of a build log than it is a how to, but I will outline the bulk of materials, and general costs at the end of part 2 of the build. If anyone wants me to draft out the plans, I can probably do that, but the construction is fairly simple. The construction of the bookcase was done in 2 days, using a table saw, a router, and basic tools. I’ll get into modular shelving and the electrical work in part 2.
Step 1: Face Frame
The face frame was made from a 6″ board ripped in half for the sides of the face frame, a 3″ board for the top cross member, and 4.5″ board for the footer. The boards were joined with a lap joint glued, and reinforced by 5/8″ screws. The lap joints will ultimately be hidden in step 7.
Step 2: Sides
The sides are made from 12″ boards cut to a 6 1/2′ length. The bottom receives a dado that is level with the bottom of the face plate. The distance is adjusted the thickness of the supporting bottom board, which is 3/4″, for a full length of 35 1/4″.
A 3/4″ dado is made at the height of the first permanent shelf. A 3/4″ rabbit is made at the top to accept the top board/shelf.
At this point, its smart to run a router bit across the inside backs of the top, bottom, and side boards, so that a backing can be accepted later. We removed a 1/4″ of material, the 1/4″ depth of the backing material.
Step 3: Joining Sides
The top and bottom boards were slipped into their respective rabbits and dados with glue, squared, and reinforced with a total of 12 wood screws. The screws will ultimately be hidden in step 7.

Step 4: Joining the Face
The face Frame was laid on the bookcase, glued, and secured with finishing brads. It was also secured with straps to help keep everything in place while work was being done. I later added a couple small subtle 45* cut corner braces that were secured inside the bookcase with glue and screws, to add strength.
Step 5: Fixed Shelf & Top Brace
Strips of 3 1/2″ salvaged boards were cut to 35 1/4″ lengths and glued into the fixed shelf dado. A rear gap of 1/4″ was left to accommodate for the backing.
A 3.5″ brace was added to the inside top of the cabinet to reinforce the cabinet, maintain a square, and give some surface area for which the backing can be secured.
Step 6: Backing
1/4″ tongue and groove pine siding was used to create a matching backing. It was cut to the 6 1/2′ height, minus the board thickness of 3/4″ all around, and a 1/4″ lip added all around to fit securely into the 1/4 rabbit created at the end of step 2. Glue, patience and finishing brads are used to secure the backing.
Step 7: Top and Bottom Trim
A top trim of 3″ and bottom trim of 4.5″ was mitered to 45* angles, glued and secured to the tops and bottoms of the cabinet. This is what hides, the ugly wood screws and the lap joints.
Step 8: Shelf Supports
Shelf supports were added by cutting trim to the depth of the bookcase, and secured with 5/8″ wood screws. Guide holes were drilled to prevent splitting.
Step 9: Lacquer
I chose to finish the pine with a clear gloss lacquer. I thought it preserved the pine the best, while maintaining a rustic, traditional, and industrial look.

Leave a Reply