The Gardenisto

The Gardenisto is passionate about aquaponics, hydroponics, horticulture, and traditional gardening. The Gardenisto shares his knowledge to help other enthusiasts in their own gardening endeavors.

Get Rid of Fungus Gnats

| March 2, 2021
Photo Credit: Keith Knoxsville
A Hen and a Drake Green Teal on the truck bed. Not a limit on anything, but a fun morning out.

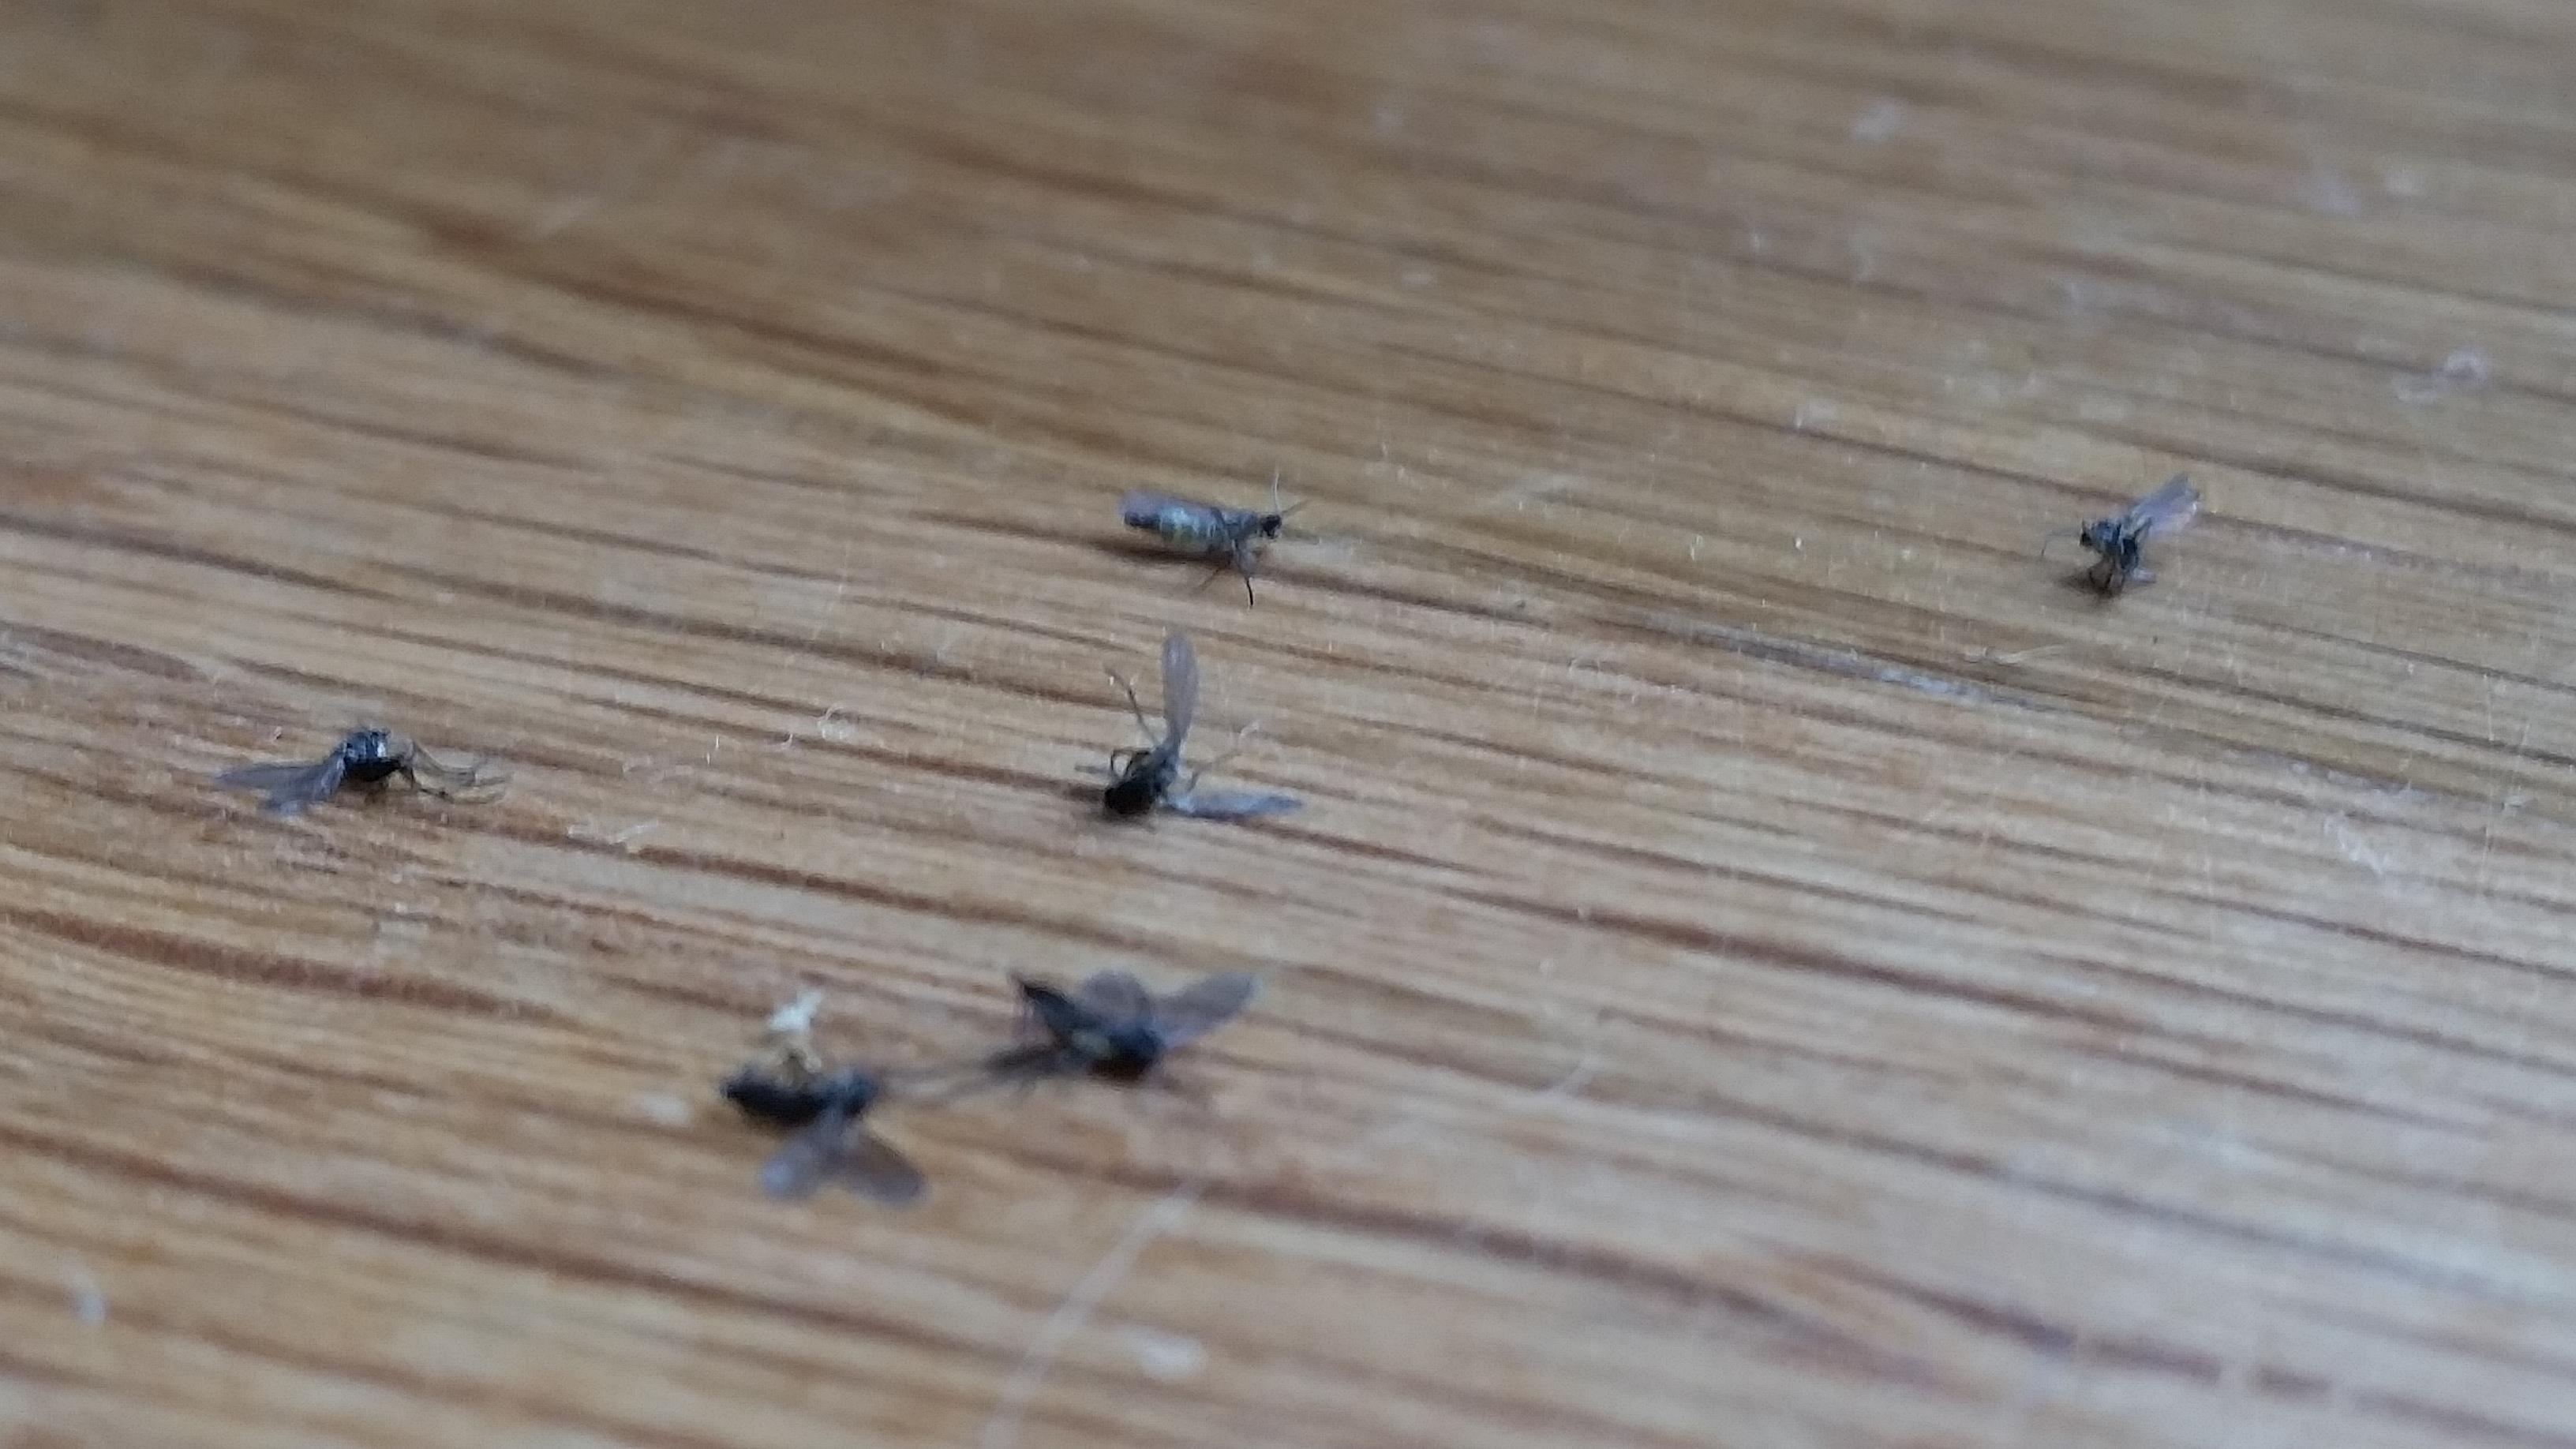
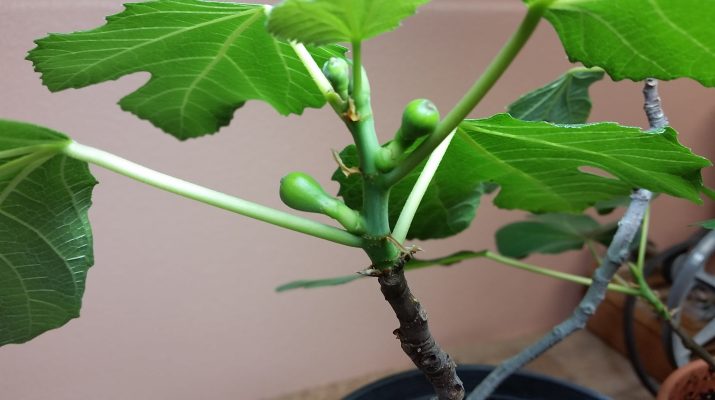
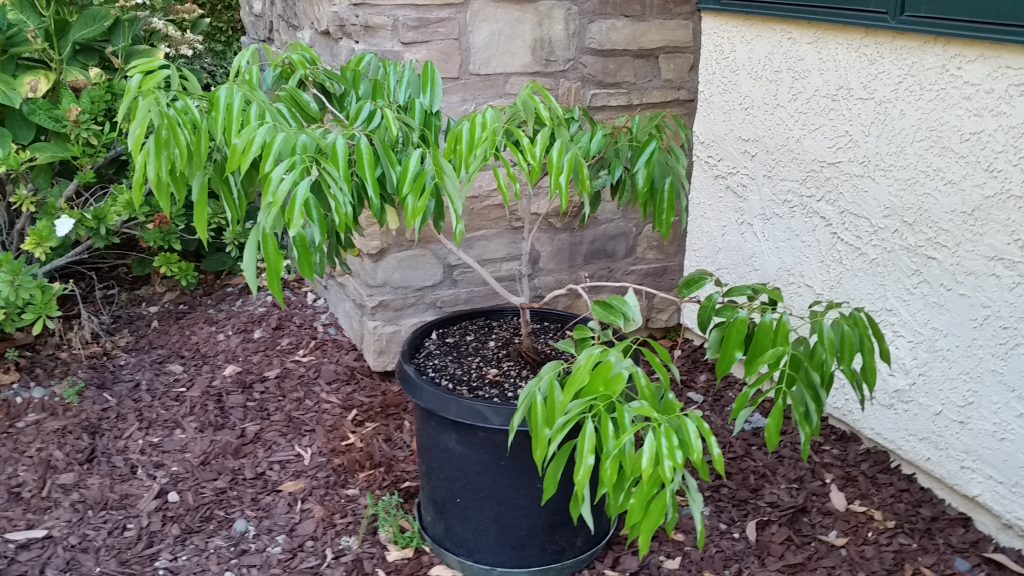
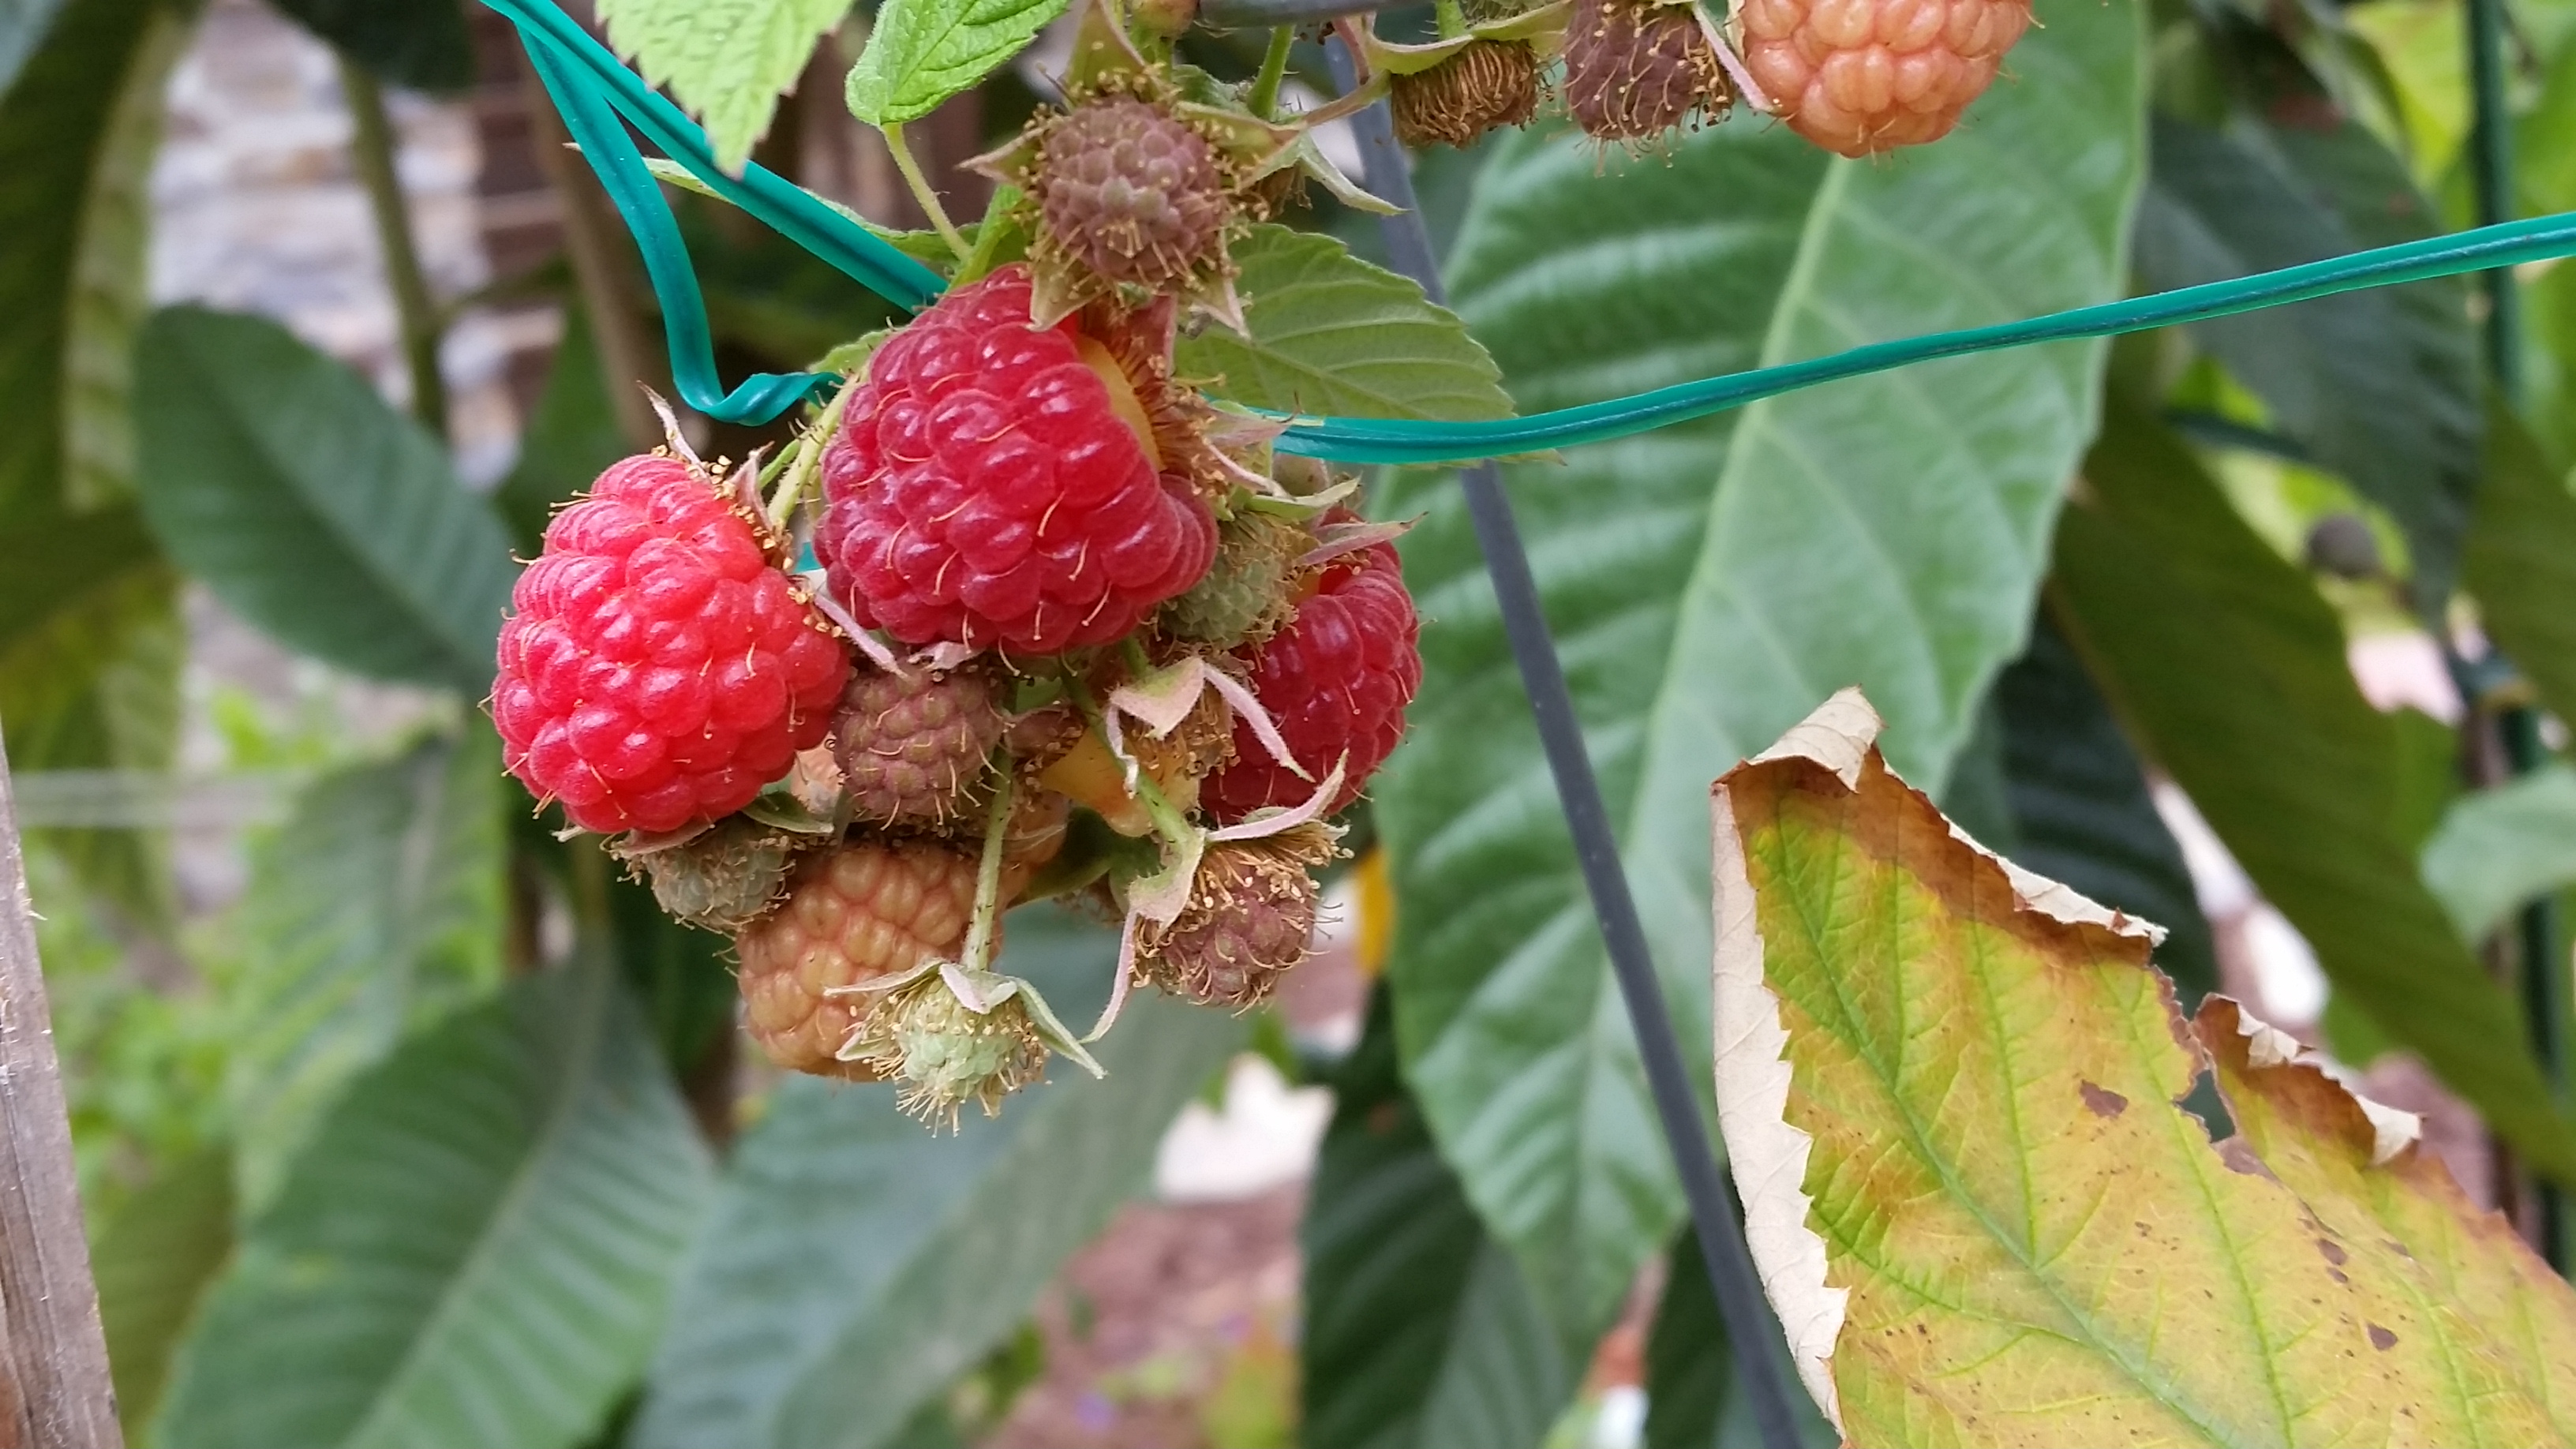
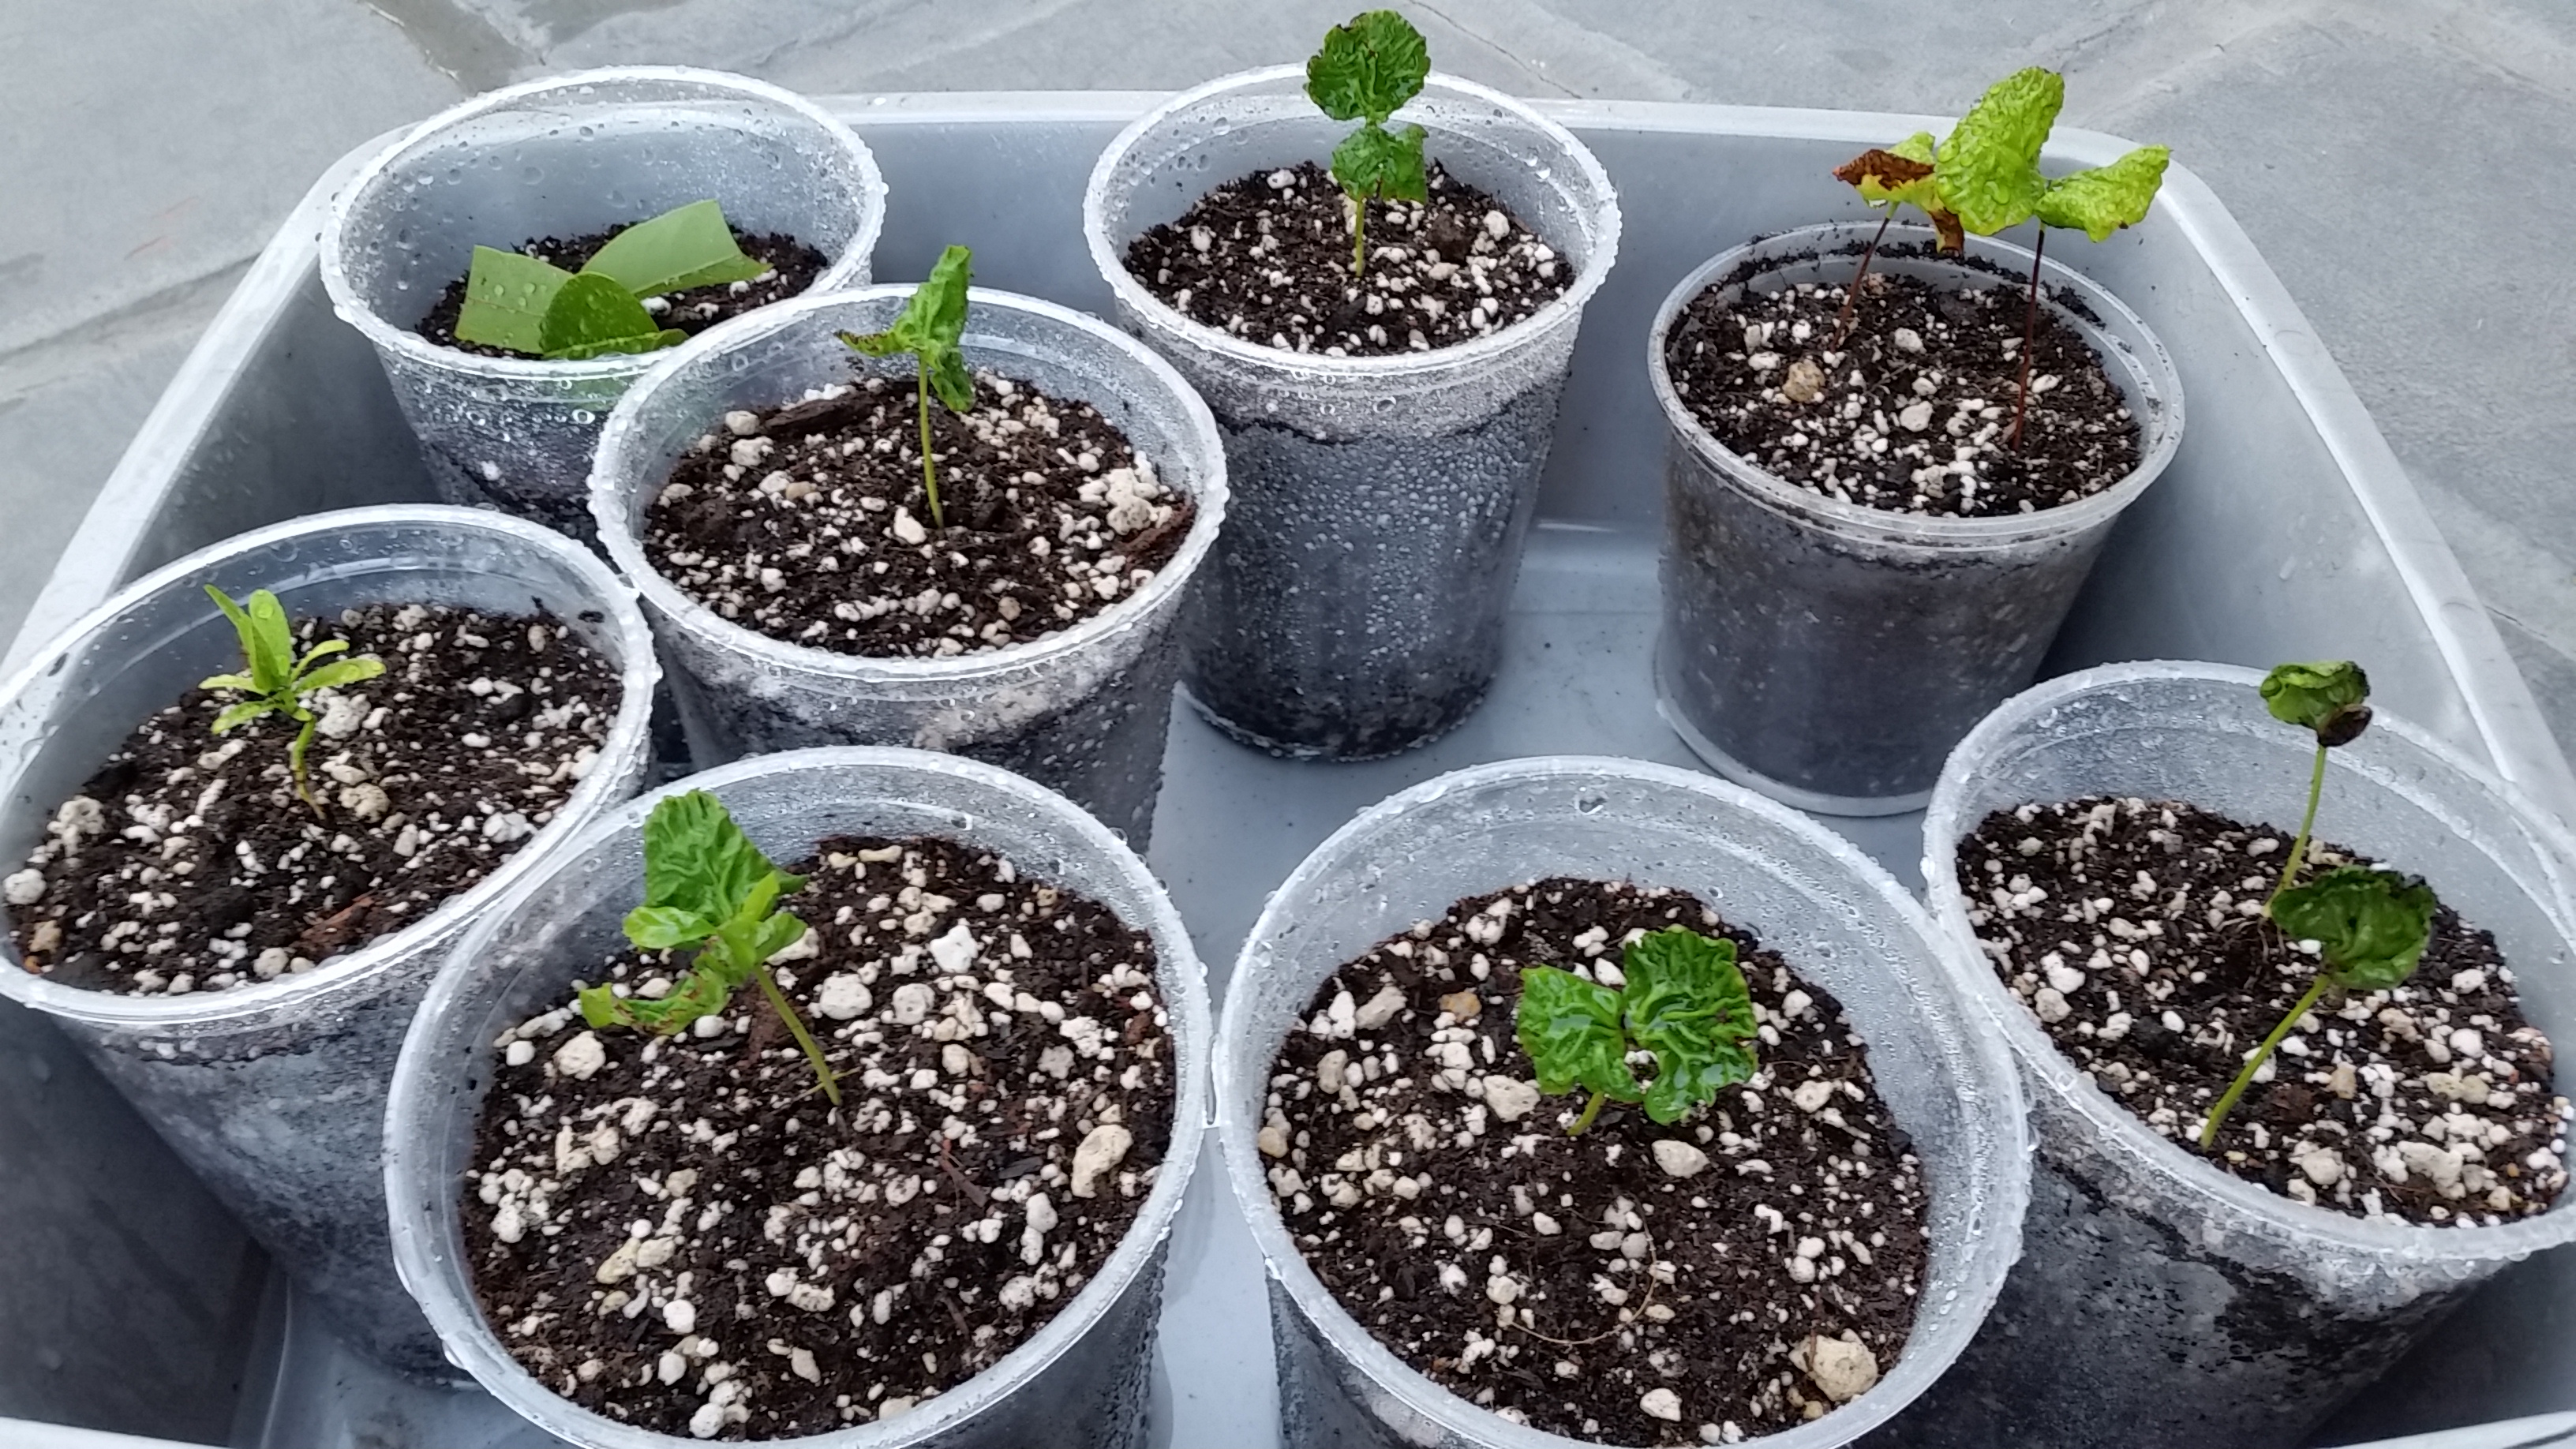
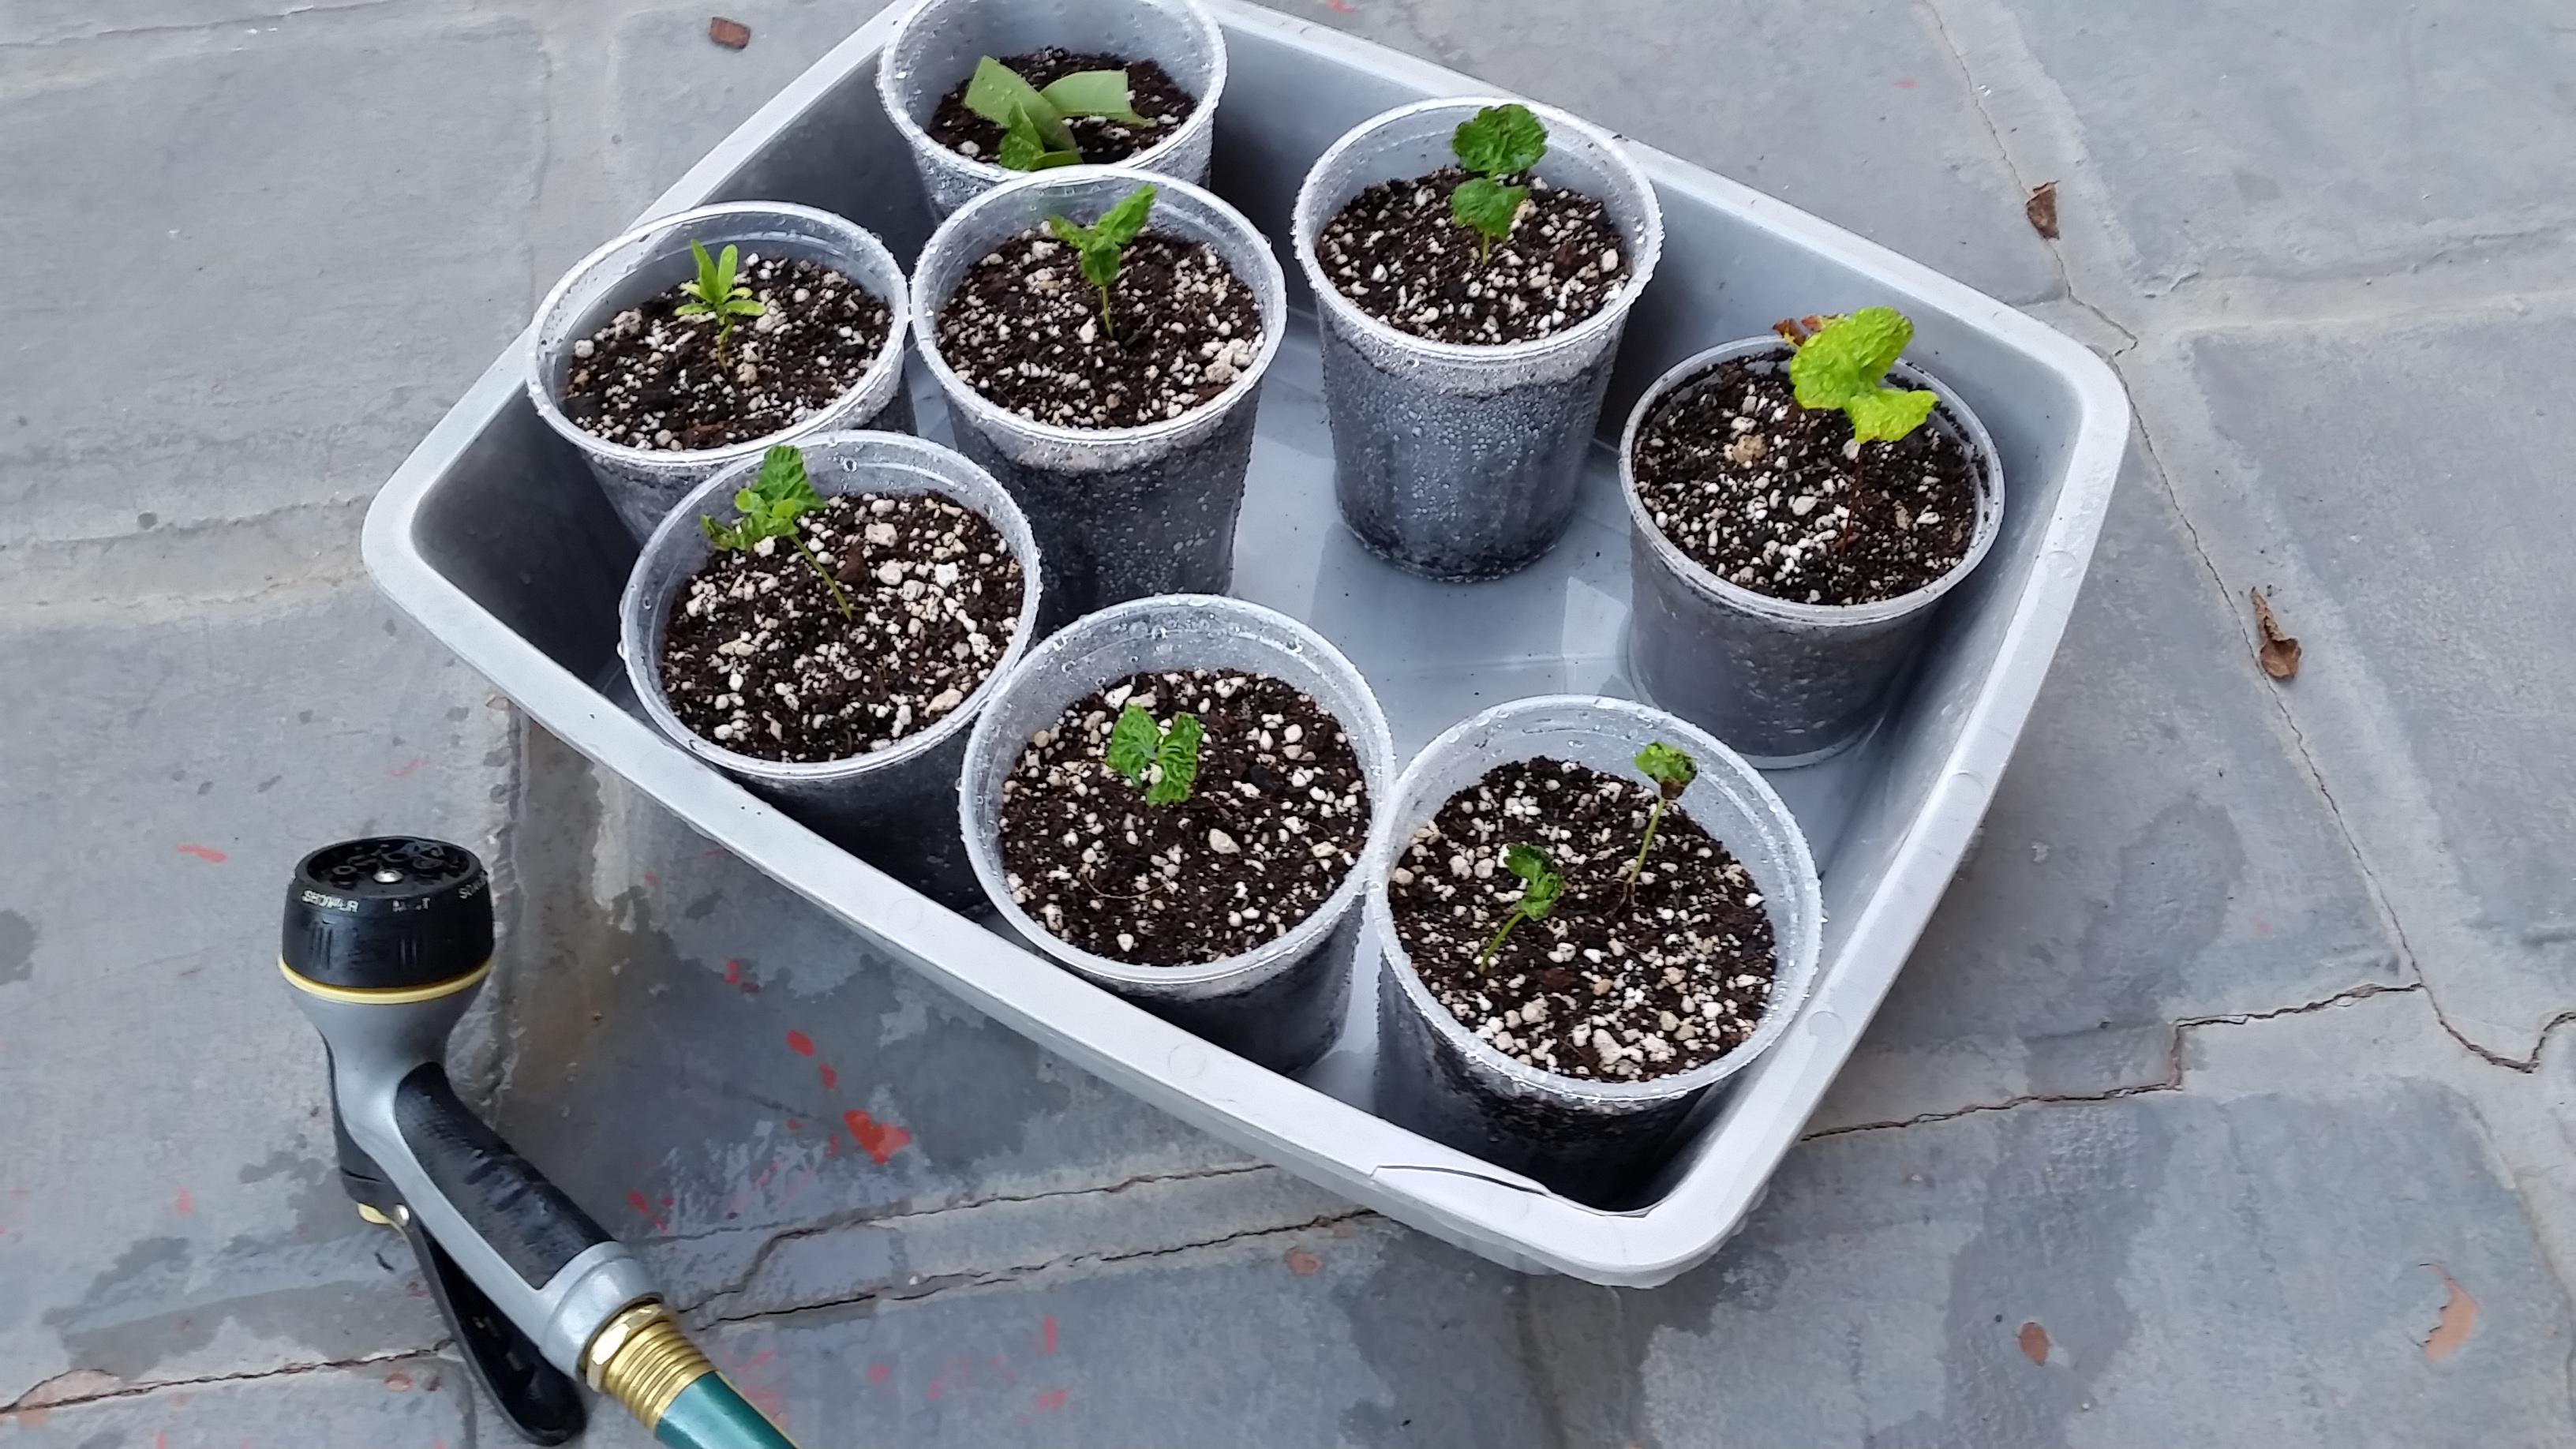
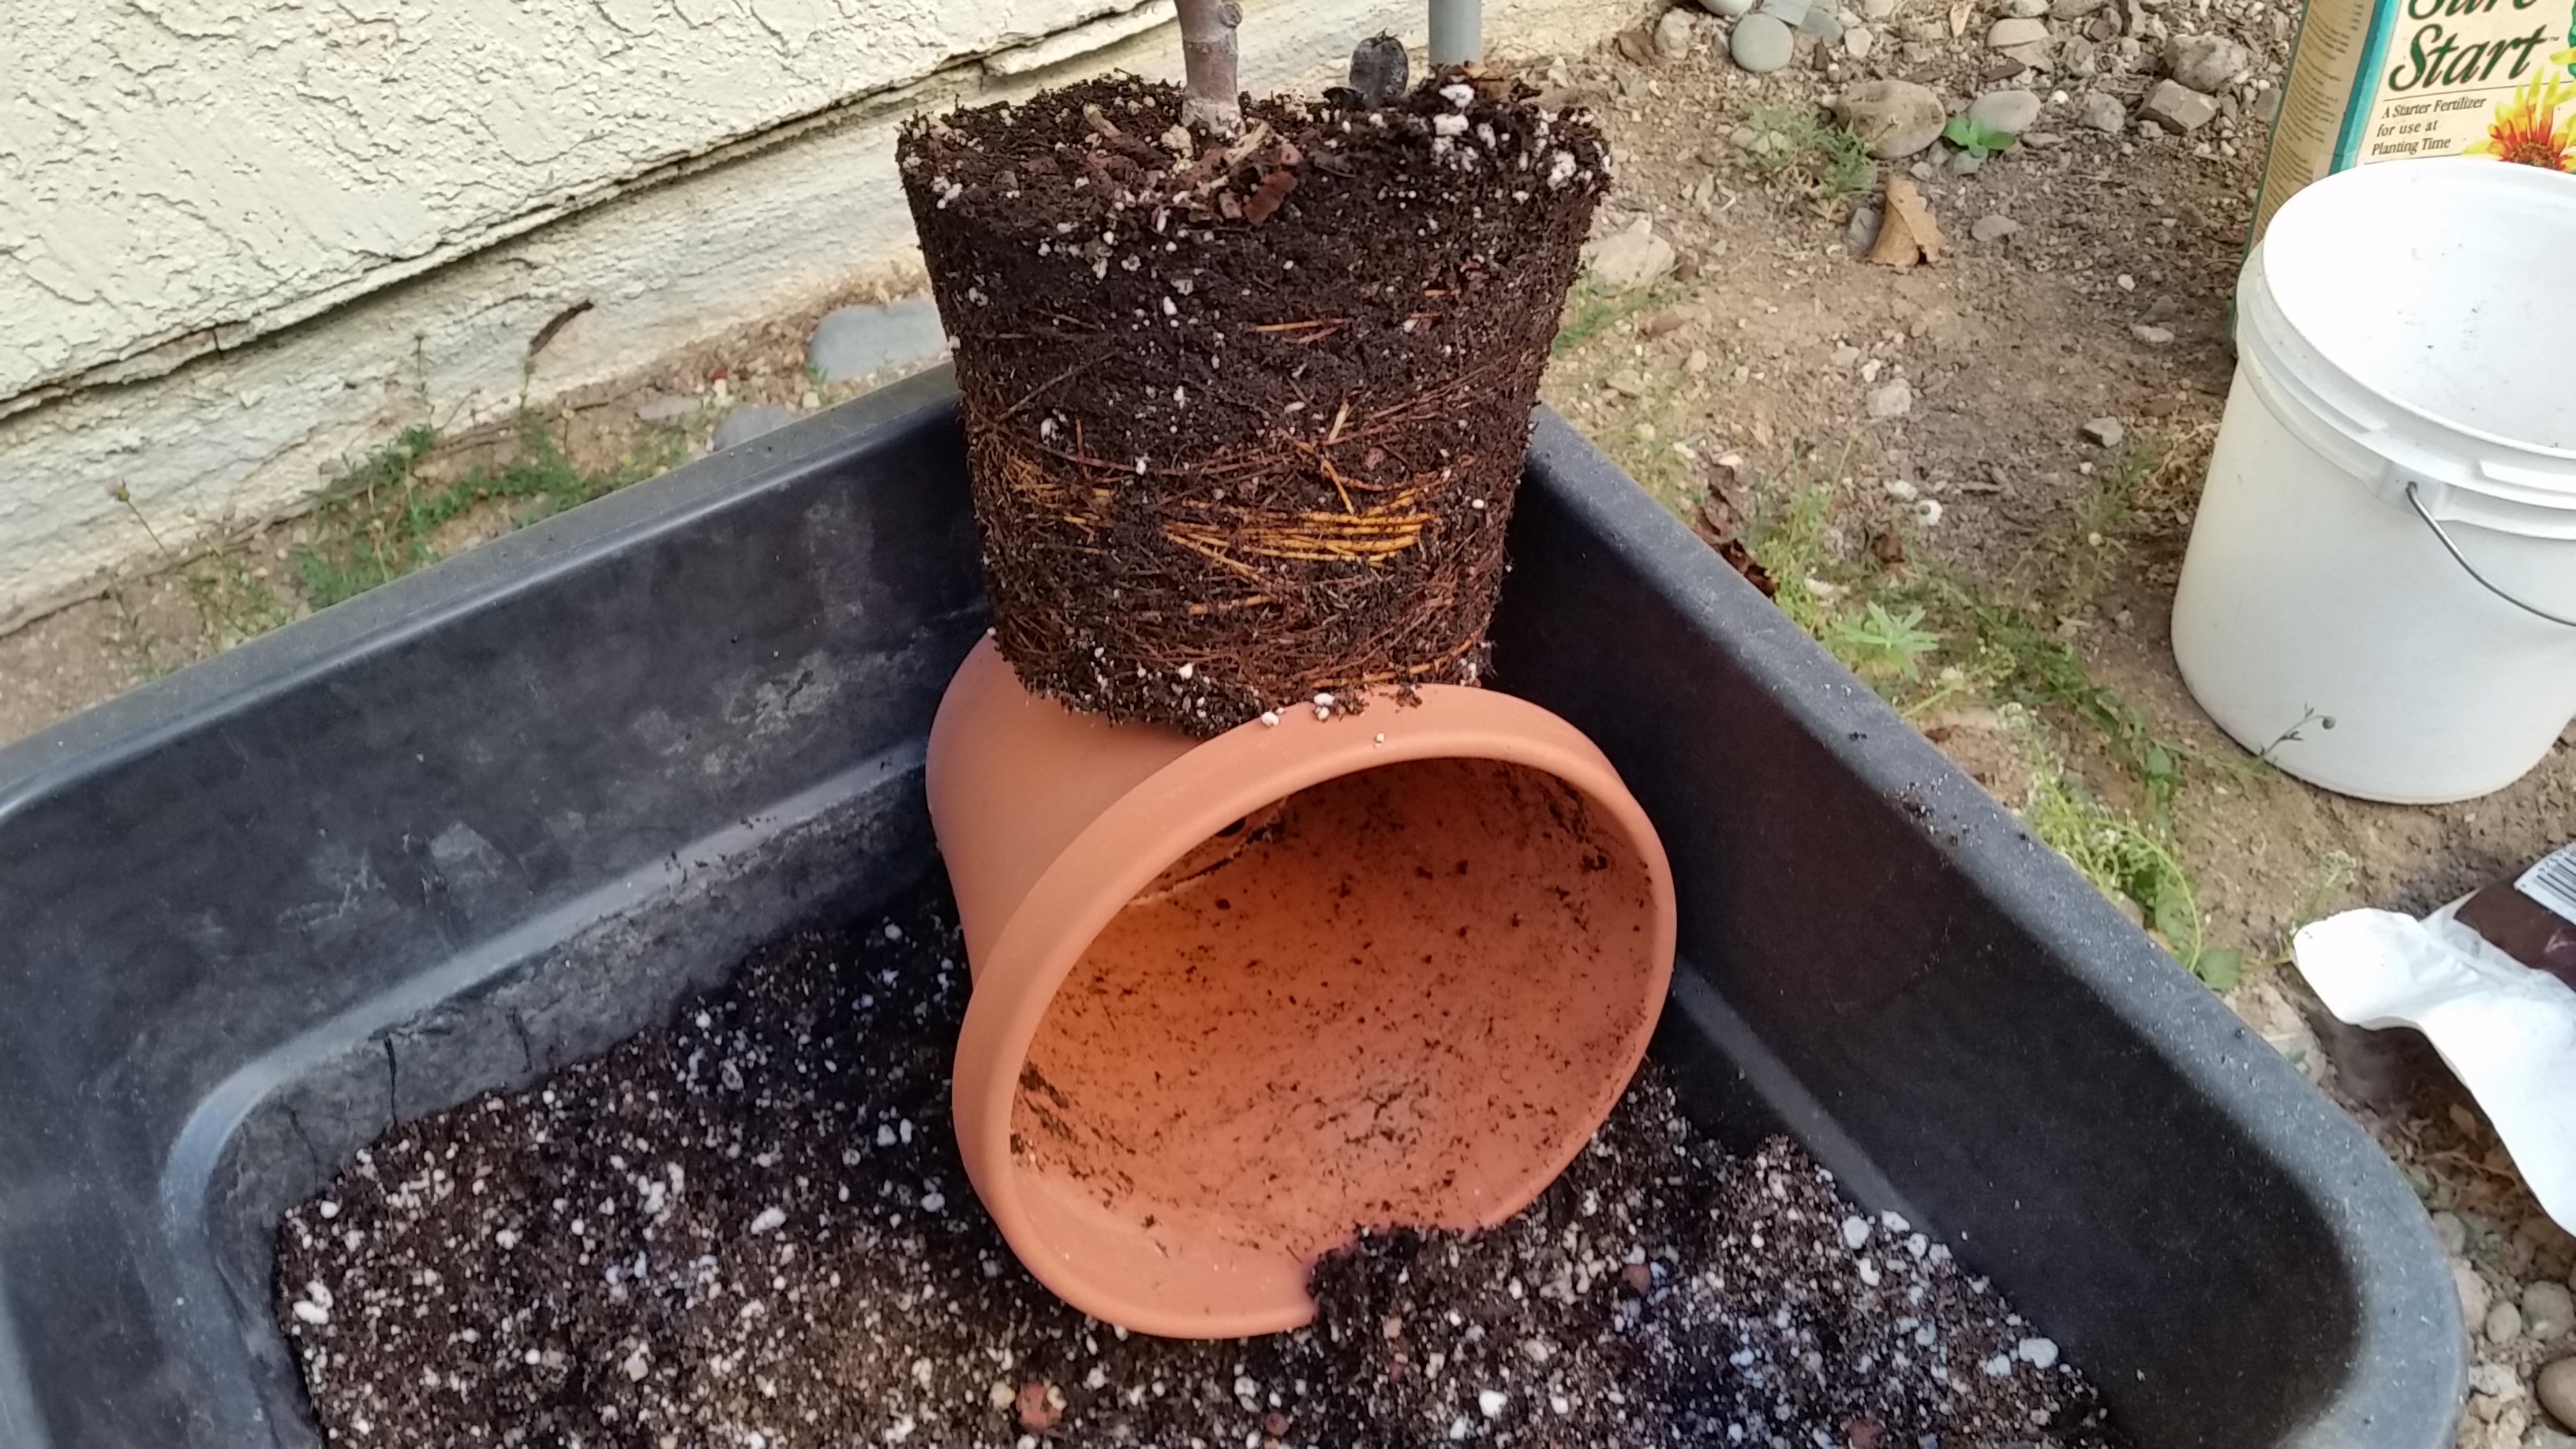
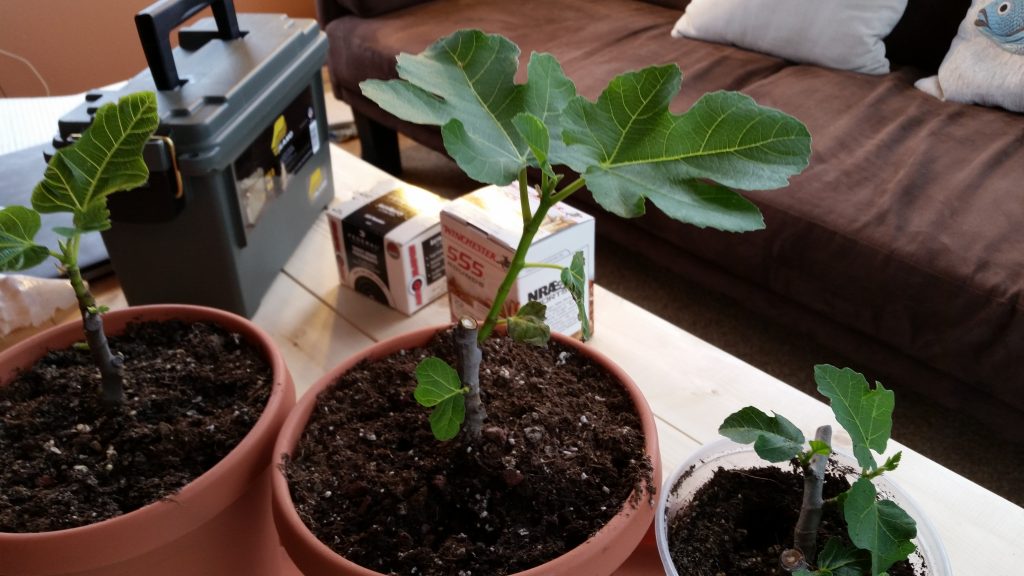
Want to get rid of fungus gnats for good? A few years ago, I had an outbreak of fungus gnats, worse than I’d ever seen before. My best guess is that a big box store ‘living Christmas tree’ brought them home in the soil. My dormant figs that were sitting in the corner of the living room became totally inundated with them.

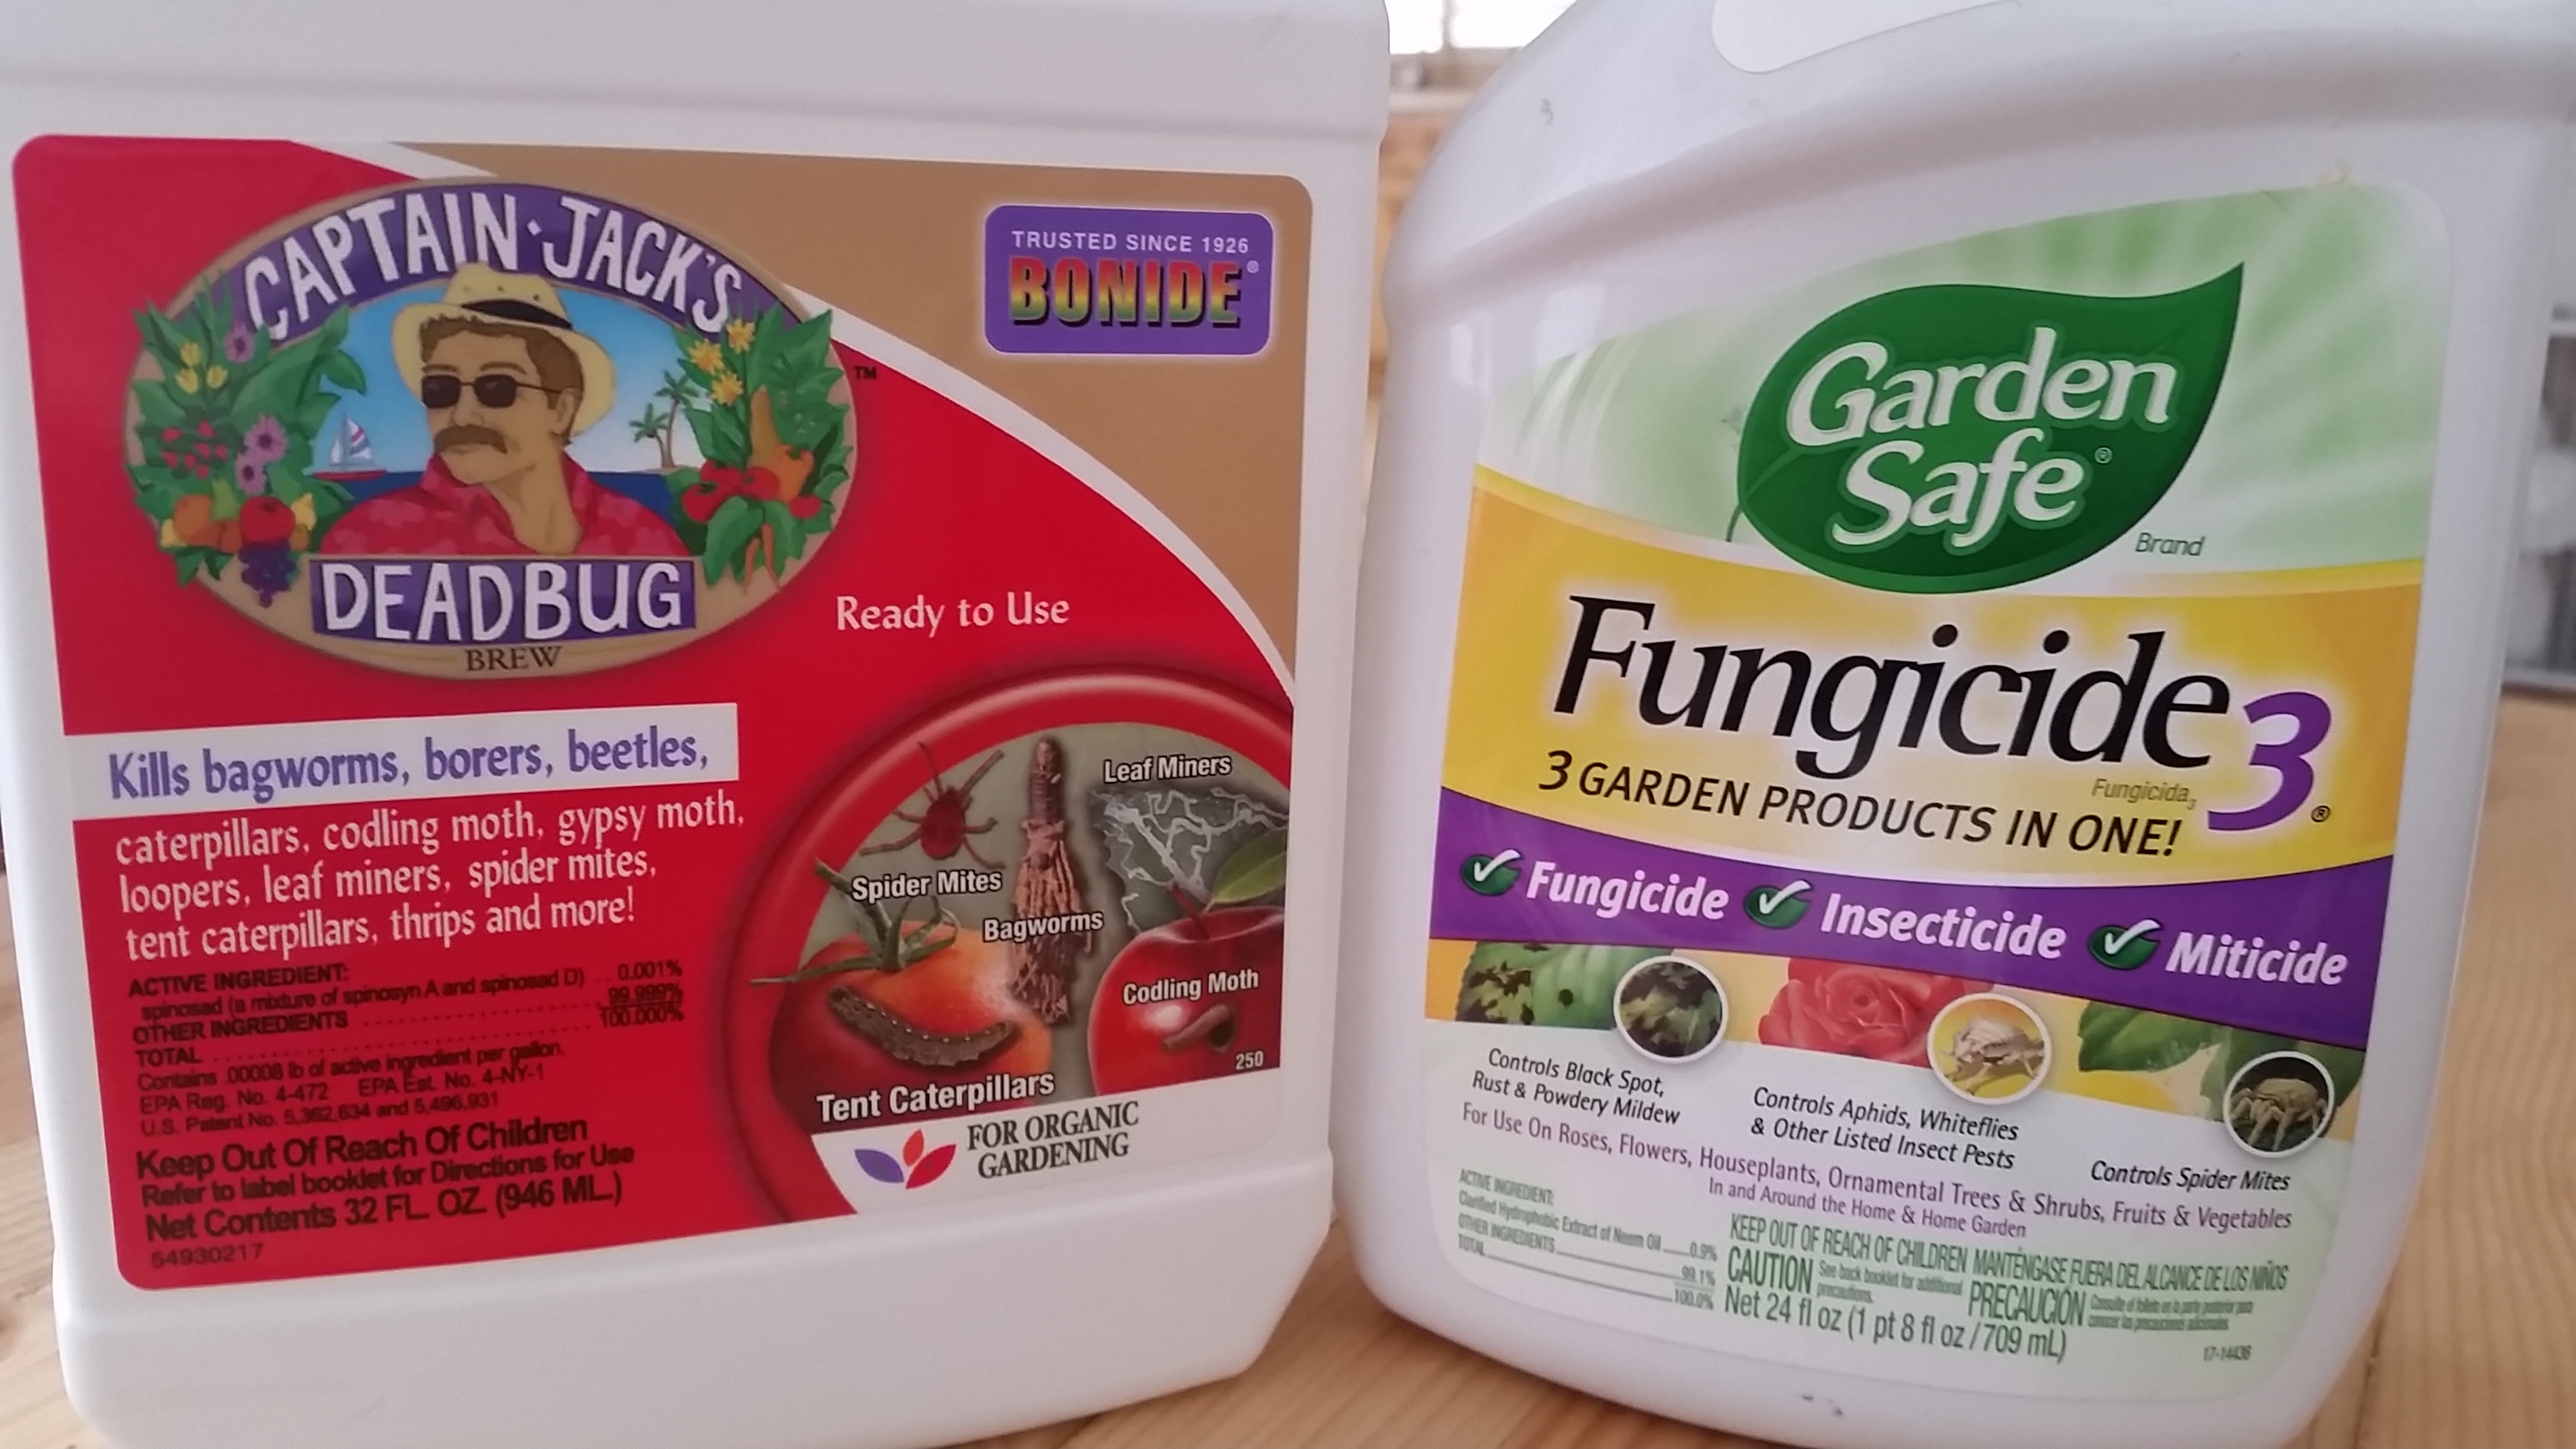
A little bug awaits his fate… Captain Jacks Dead Bug Brew, by Bonide! fungus gnat living

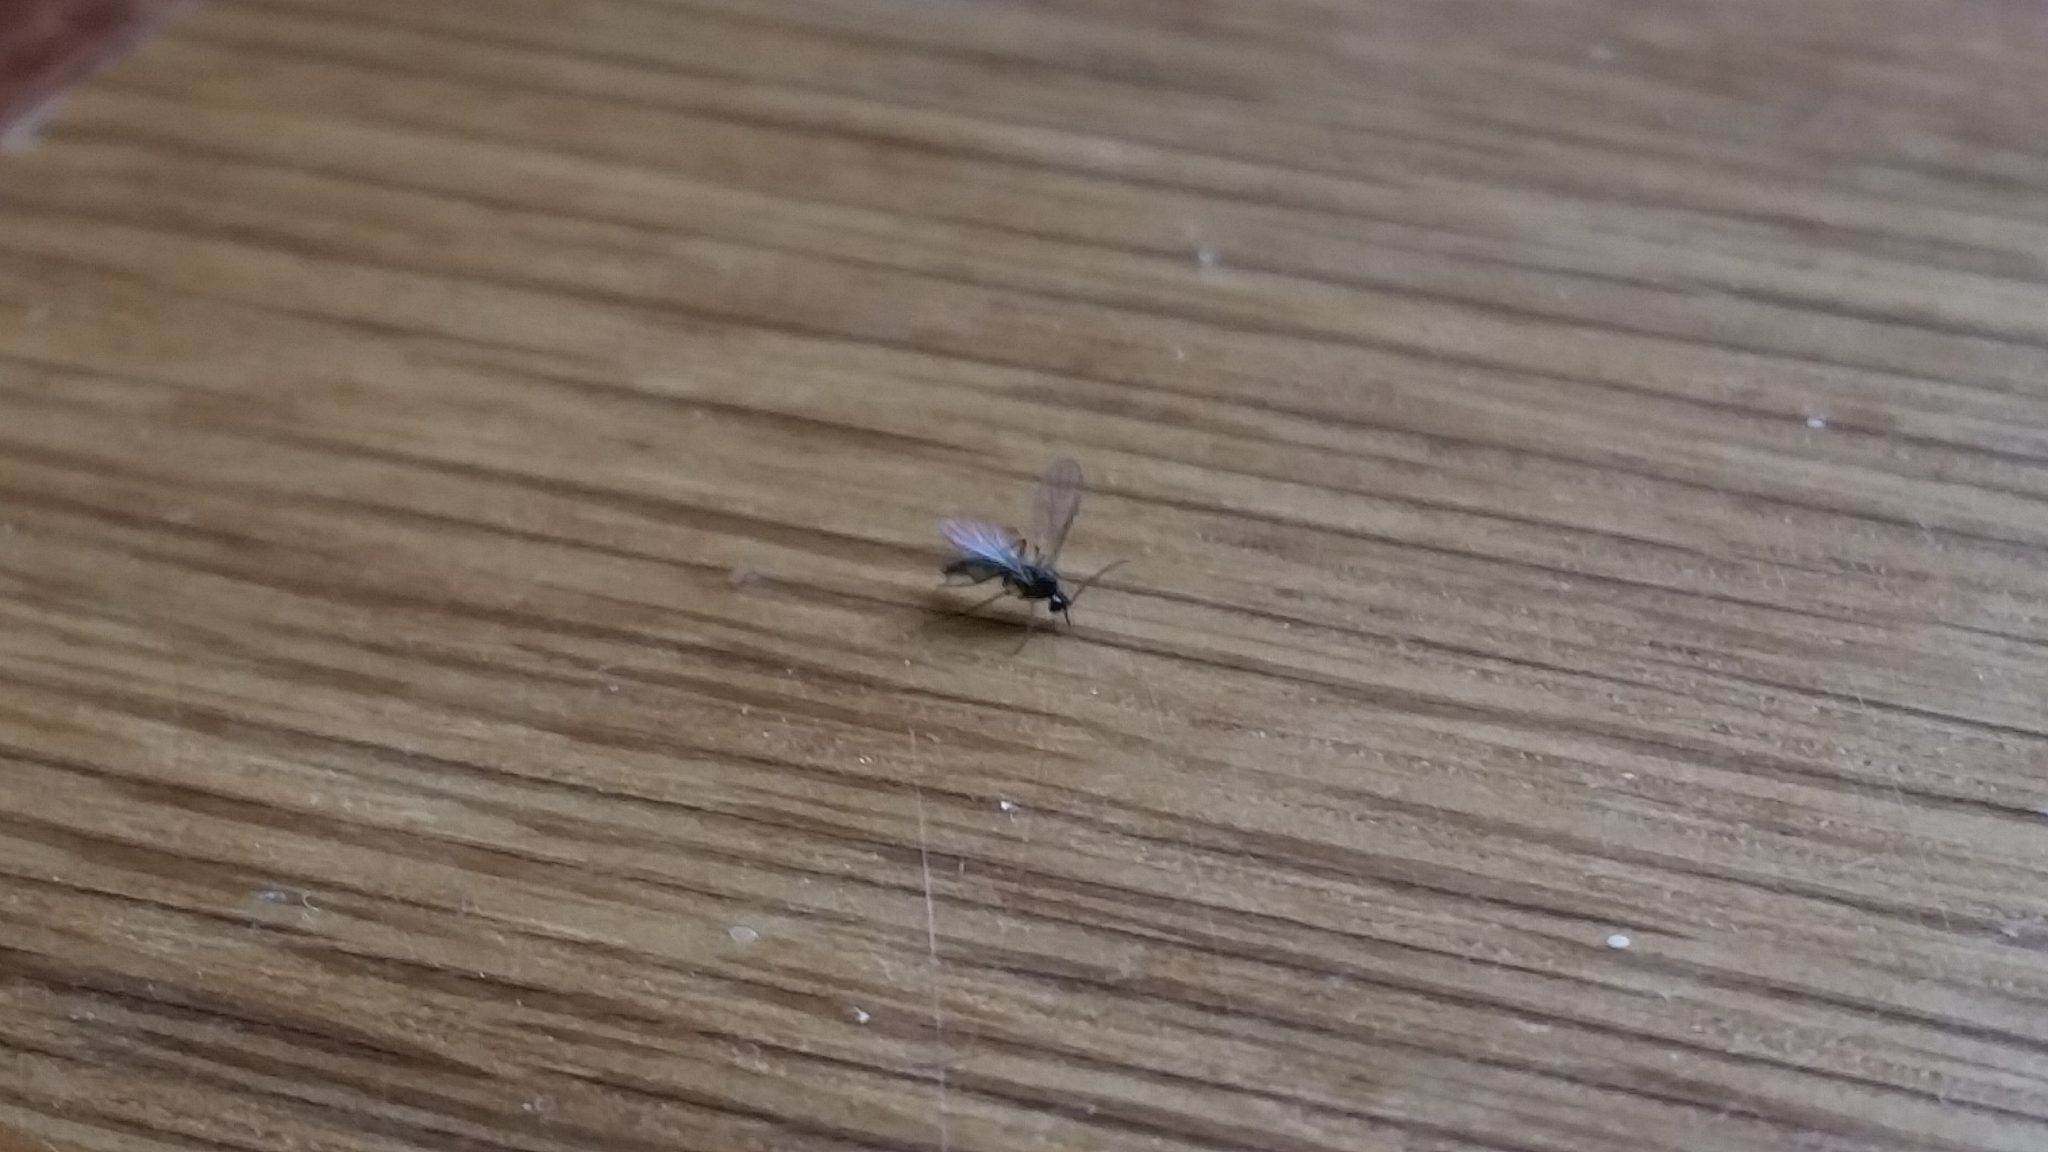
Although I’ve never seen fungus gnats do anything extremely detrimental to a plant, perhaps I’ve just never let it get to that point. Fungus gnats are nasty little buggers, and incredibly annoying inside a household.

I’ve read and tried all the home remedy approaches to the problem. Use of a potato, a sand topsoil topping, apple-cider vinegar traps, etc. None of them work like a specific and liberal attack with organic plant safe bug spray, Fungicide3 by Garden Safe, and sticky traps.

What I used to get rid of them was a direct application of organic Spinosad spray, Captain Jacks Dead Bug Brew, by Bonide, to the surfaces of the pots. I made sure to scrape away the top surface of the soil and give a thorough spray to the soil as well. I paid particular attention to drainage holes.

Spraying causes fungus gnats to die, or flee before dying. Fleeing gnats are attracted to sticky traps, which are only good for catching adults, but aids in controlling the problem overall, by preventing their spread.

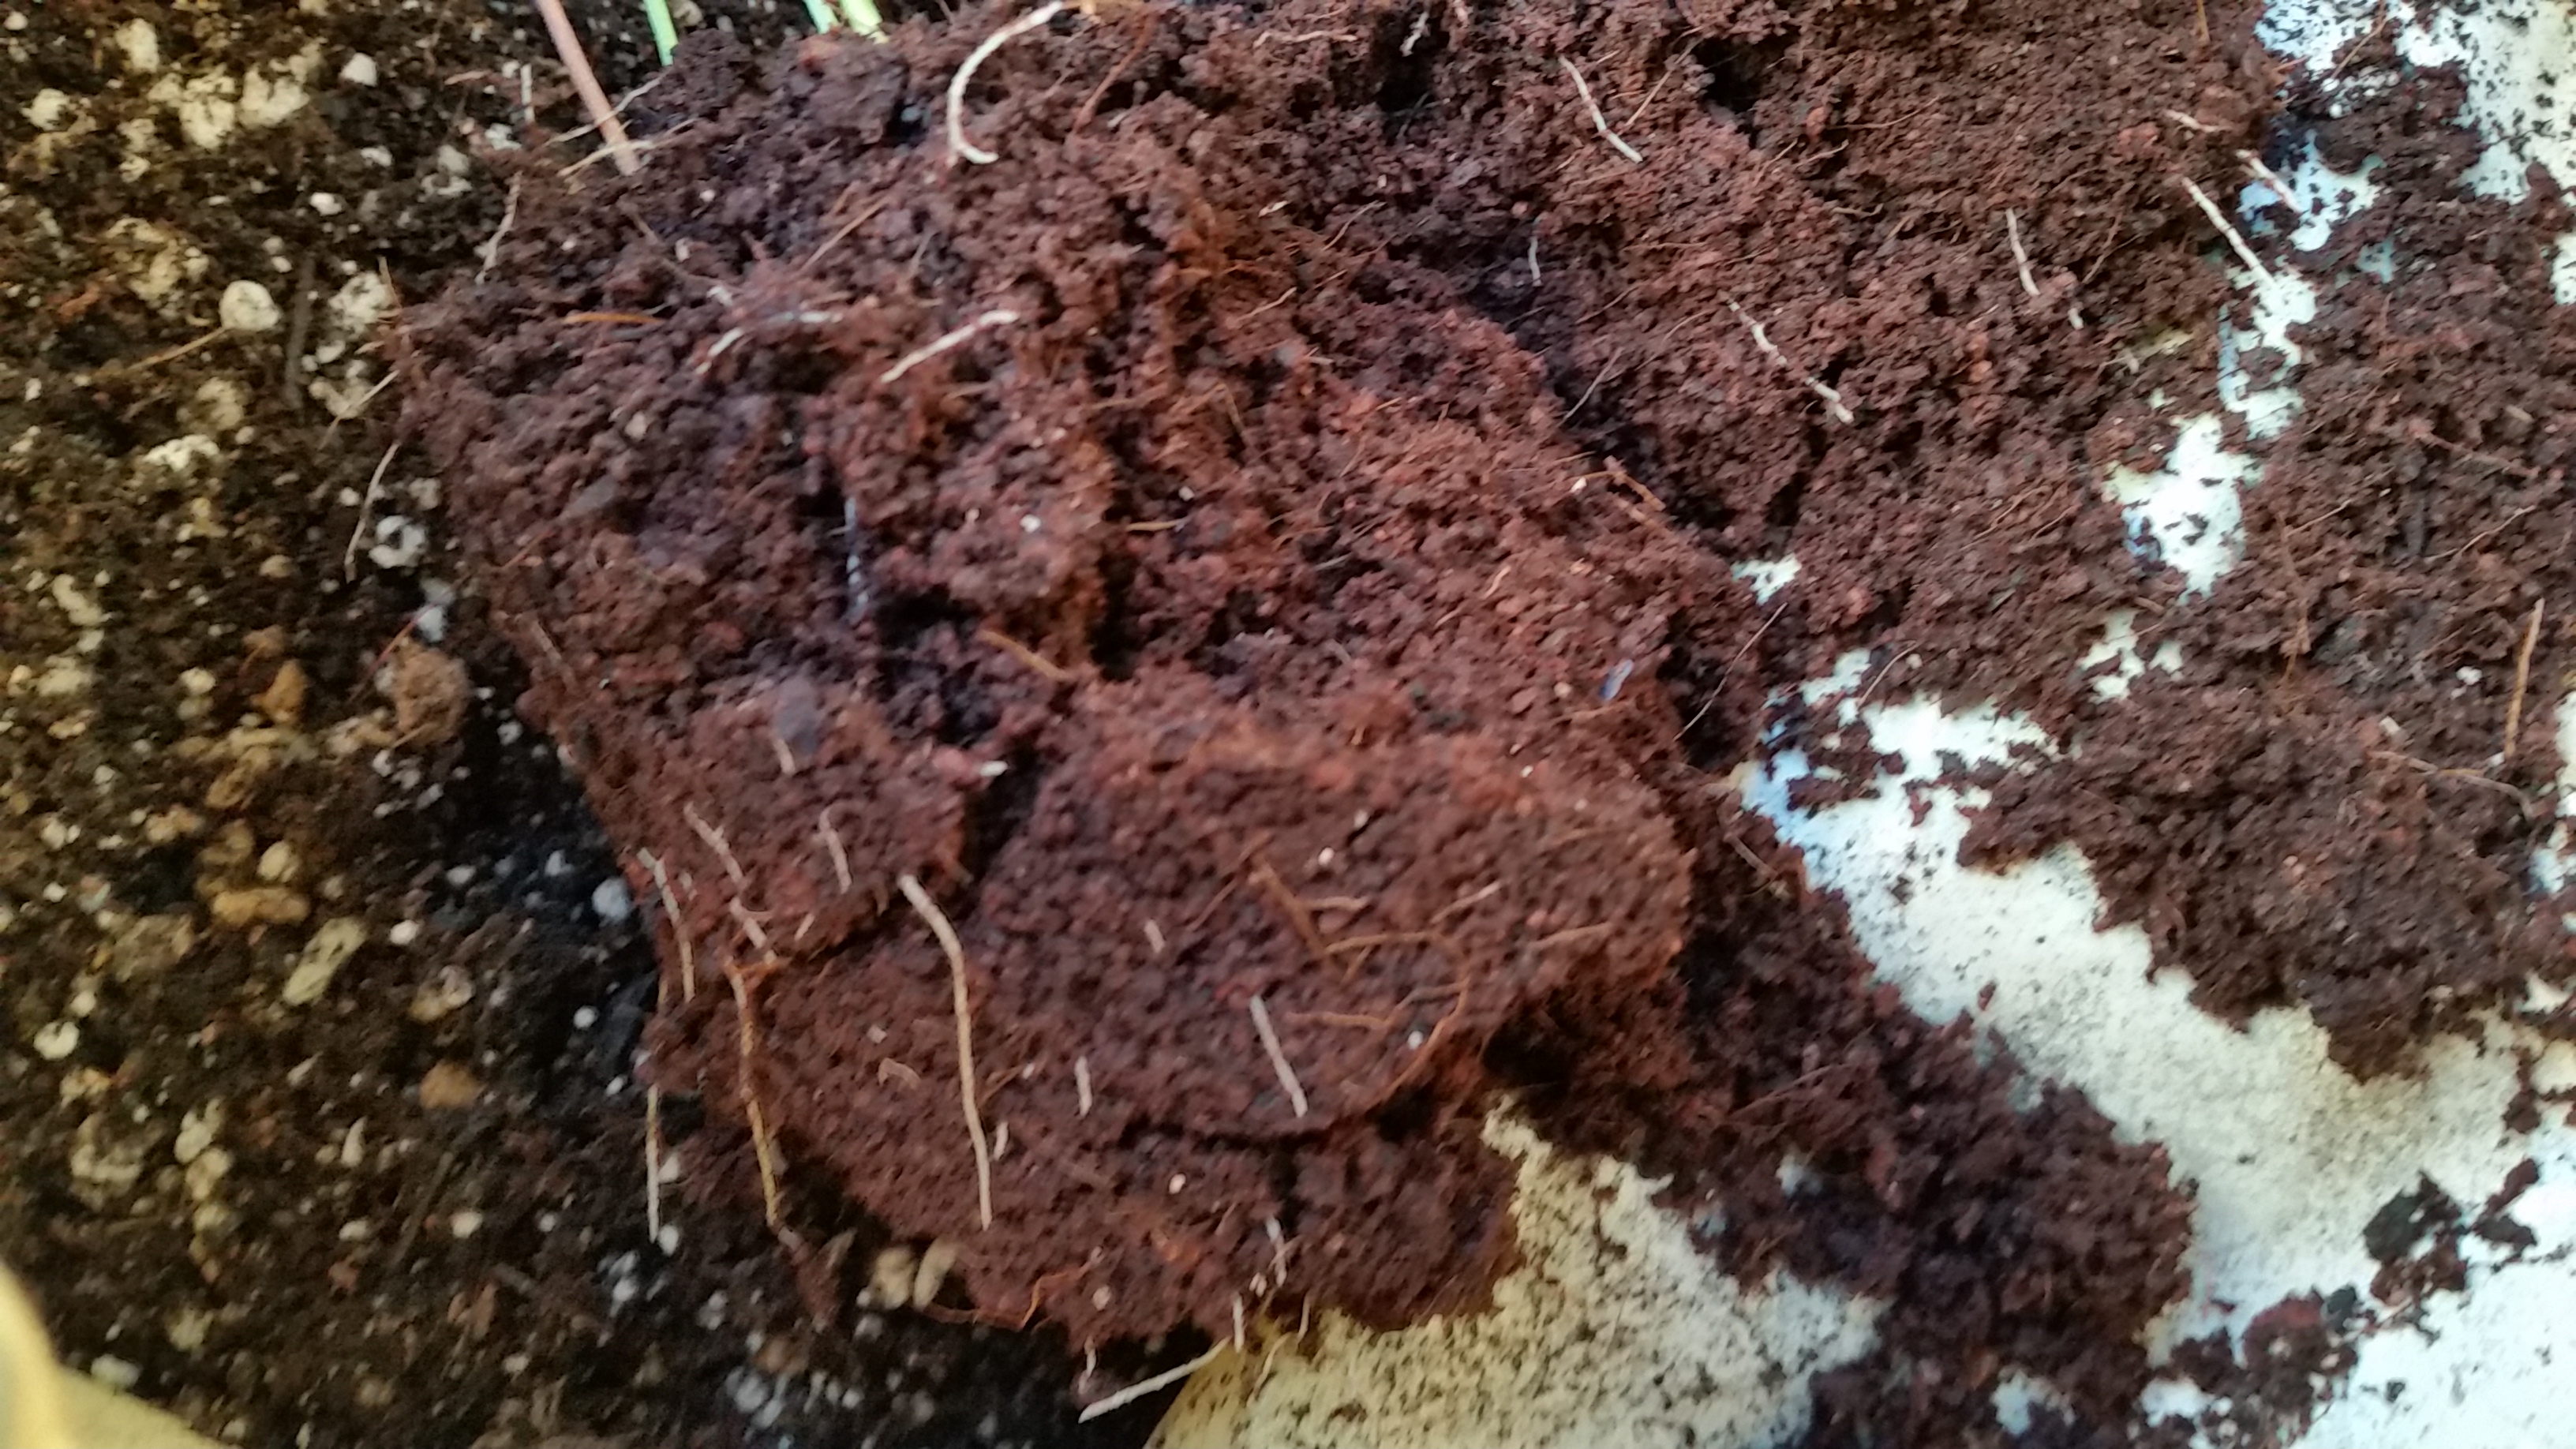
These two measures work directly on the adult fungus gnats as well as larval fungus gnats, but does not control the source of the problem, fungus growing in the soil. Fungus growing in the soil is what feeds the fungus gnat larvae. Maybe a bloom on one plant caused spores to spread like wildfire. Over-watering or warm temperatures could also have exacerbated the problem, which is something to be mindful of in the future. Regardless of why or how it happened, its controllable with Fungicide3.

Fungicide3 is a Neem oil based 3 in 1 fungicide, insecticide, and miticide spray. It is effective on contact, and controls other issues, like Powdery Mildew, Black Spot, Rust, Spider Mites, Aphids, and Whiteflies.

There is no question the combination of Spinosad, Neem Oil, and sticky traps gets the job done. Its also a completely organic solution, and in my experience, these treatments don’t have negative or adverse effects on plant health.

Fungus Gnat Killing Fields

Tags: , , , , , , , , , , | Comments

3D Printed Pot Drainage

| June 17, 2019
Photo Credit: Keith Knoxsville
A Hen and a Drake Green Teal on the truck bed. Not a limit on anything, but a fun morning out.

3D printed pot drainage is exactly what it sounds like. I wanted to retain more soil and improve cheap 1 gallon pots. In the past, I’ve cut coco coir, Rockwool, and even moss and stuffed it into the over-sized pot drainage on those cheap black 1 gallon pots. I’ve glued mesh screens, I’ve placed rocks, bark, and Hydroton into the bottoms of pots to keep soil from spilling out the drain holes. I’ve tried everything, and I’m sure you have too.

While those other methods work, they quite frankly suck. They either add weight, and or take up space, or are simply more work, time, or cost than they are worth. Some cause a capillary action that can lead to overly wet pots and root rot.

So I’ve come up with a much better solution. I 3D printed pot drainage plugs. They pop into the rectangular drain holes molded into 1 gallon pots, and stay put with pressure. They are really just a grate with 3 slits, keeping averaged sized soils and potting mediums from spilling out, yet still allow ample drainage.

They also are nice for deep bottom watering, where soil always ends up in the reservoir you set your plants into.

If you are interested in some pot drain filter plugs, or the 3d print files, let us know in the comments. If you are in the market for a 3D printer, and this sold you on buying one I recommend one of these two, the Delta 3D Printer, or the Creality Ender 3 3D Printer. The Delta gives more vertical print room, but is mechanically a little more complicated and difficult to calibrate than the time test and proven Ender 3.

Tags: , , , | Comments

Desktop Aquaponic Tank Part 1

| April 5, 2018
Photo Credit: Keith Knoxsville
A Hen and a Drake Green Teal on the truck bed. Not a limit on anything, but a fun morning out.

I’ve put together the first operational version of the 2.5 gallon desktop aquaponic tank I’ll be working on and experimenting with for a a little while.

My goal was to create an interesting and functional aquaponic system that was compact enough to reside on a desktop, was low cost, and had very little commercial moving parts, so to speak.

3D Print U Siphon 40mmRough 3D Print U Siphon3D Printing U Siphon3D Printed Airlift Hooked UpAirlift Hooked Up Acrylic Top3D printed airlift moving water3D Printed Airlift Unassembled3D Printed Uptake Filter3D Printed Uptake Filter AirliftTop View Aquaponic Tank LidDesktop Auaponics Preview

The features I wanted were:

  • Affordable
  • Small 2.5 Gallons
  • Capable of growing a 2″ net pot, and some duckweed
  • 3D printed parts
  • Ebb and flow system utilizing a 3D printed airlift, and 3D printed Bell or U-Siphon
  • Open and shareable data and design
  • An Arduino based microcontroller to control tank environment
  • DIY Heating element (controlled via arduino)
  • DIY Temperature Control (via arduino)
  • DIY LED Lighting (controlled via arduino)
  • DIY Supplemental automatic fish feeder.
  • Cool looking

My design utilizes acrylic and a little acrylic glue, to create a tank lid and combination filter/grow bed, that measures 3.5″ long by 4″ wide by 3″ tall.

The water is moved above the tank surface into the grow bed/filter by way of a 3D printed airlift and gravel filter, and drains 1/3 of a liter (1.43 cups) every 1 minute and 20 seconds through a 3D printed U Siphon.

I originally made a bell siphon, but it didn’t function as consistently as I had hoped. So I decided to 3D print and use a simpler U-Siphon.

The test setup is pretty successful, simple in its use of an airlift, and meets the basic design goals I had. I also started testing out some LED options and the thing is looking pretty cool.

I’ll provide clearer pictures of the design in part two. The 3D Print STL files are available below. I’m providing them gratis, but please credit the Gardenisto site. Thanks.

Tags: , , , , | Comments

Delta 3D Printer

| February 14, 2018
Photo Credit: Keith Knoxsville
A Hen and a Drake Green Teal on the truck bed. Not a limit on anything, but a fun morning out.

Got a Delta 3D Printer for prototyping various projects. I’m especially excited to fab parts for drones and a desktop aquaponics project I am bringing back to life.

I bought a new Delta 3D Printer kit, aka Kossel. I bought it on Amazon because I figured it would offer the best customer protection should I have a real issue with it. I’ve been in the market for a 3D printer for a while, and have read and watched endless reviews on 3d printers.

UPDATED 2 -14 2018:
Since the time of the original post I have updated all the firmware Marlin, and the calibration functions, including skew adjustments in recent releases have made the printer much more user friendly. As do a whole host of calibration prints with instruction. I have also replaced my rods with ones I fabricated my self for 20 bucks. I was able to ensure they were rigid, higher quality than the original, and absolutely the same exact length. I’ll post on that later.

I’ve used my 3d printer for fpv camera mounts, drone parts, standoffs, tensioners for the 3d printer rods, custom electronic enclosures, LED holders, button mounts, spare and improved replacement parts, and even a couple cake toppers for family and friends.

I chose a delta style printer as opposed to the traditional Cartesian style of printer, because of the compactness, and relative to size, large print area. The Delta Kossel is a RepRap or based on a RepRap principle. It effectively means you can reproduce the majority of mechanical parts(not motors, or extrusions, or circuit boards), thereby using your machine to build replacement parts, or a machine for a friend. Here is more info on that: http://reprap.org/wiki/Kossel

Kossel 3d PrinterControl Rods Delta 3d Printer3d Printer Delta Assembling Base3d Printer Delta Assembling 13d Printer Delta Assembling 03d Printer Delta CornerParts Bags 3d PrinterRats Nest of Wires
Paste Good InstructionKossel 3d Printer Side

You can read a lot about Delta style versus Traditional Cartesian style printers, but in a nutshell a delta has a few advantages. The printed object never moves, the parts are lighter, the print area to size is larger. Less weight on moving parts can translate to improved accuracy on prints, while also increasing speed. There are some disadvantages however, namely complexity. Calculating angles and offsets, and calibrating a machine can be much more difficult than simply measuring an X, Y, and Z on a Cartesian system.

On the Delta Kossel 3d Printer by FLSUN, the motors, stepper boards, extruder, and other parts are not premium, but they are pretty standard, which is plenty good for most applications. Because the industry is rapidly evolving, I expect to replace some of these parts, possibly with one’s I’ve printed, or fabricated myself anyhow.

If you want a decent 3D printer, don’t mind a project, and are willing to invest time to understand calibrate, and configure hardware and software specific to a Delta, the Kossel Delta 3D Printer by FLSUN is a good option.

If you want plug and play, or the ease of a normal 3 axis Cartesian style printer, then the Delta is not really for you.

Buy it on Amazon or just check it out. Buying through links on the Gardenisto, helps support the site and new content. Thanks.

Tags: , , , , | Comments

ESP8266 IoT Temperature Sensing

| January 27, 2018
Photo Credit: Keith Knoxsville
A Hen and a Drake Green Teal on the truck bed. Not a limit on anything, but a fun morning out.

I needed to get accurate temperature readings of a cold room for data logging, so I put together this schematic and code. I ultimately logged that data over wifi to a web server, which was made fairly easy by the ESP8266’s integrated wifi, but that’s a post I’ll share later.

This is the basic circuit schematic and code to get the sensing job done. It can be adapted to manipulate relays, or just monitor a growing environment. All the parts are inexpensive and fairly easy to use. The code is straight forward, and instead of printing results, they can be used to toggle other GPIO pins.(turn things on or off, etc) If you haven’t set up your Arduino environment to handle connecting to and uploading to the ESP8266 board check out this link on Github – https://github.com/esp8266/Arduino.

The Parts
Makerfocus 2pcs ESP8266 Module ESP-12E NodeMcu LUA WiFi Internet New Version Development Board (cp2102) – Makerfocus 2pcs ESP8266 Module ESP-12E NodeMcu LUA WiFi Internet New Version Development Board
Ocr TM 5 Pcs NTC 10K 3950 Ohm Waterproof Digital Thermal Temperature Sensor Probe 1M – Ocr TM 5 Pcs NTC 10K 3950 Ohm Waterproof Digital Thermal Temperature Sensor Probe 1M
A 10k Ohm resistor – 10K Ohm, 1/4 Watt, 5%, Carbon Film Resistors (pack of 100)

The Schematic:
esp8266 temperature probe

The Code:
byte NTCPin = A0;
#define SERIESRESISTOR 10000
#define NOMINAL_RESISTANCE 10000
#define NOMINAL_TEMPERATURE 25
#define BCOEFFICIENT 3950

void setup(){
Serial.begin(9600);
}
void loop(){
float ADCvalue;
float Resistance;
ADCvalue = analogRead(NTCPin);
Serial.print("Analoge ");
Serial.print(ADCvalue);
Serial.print(" = ");
Resistance = (1023 / ADCvalue) - 1;
Resistance = SERIESRESISTOR / Resistance;
Serial.print(Resistance);
Serial.println(" Ohm");

float steinhart;
float farthat;
steinhart = Resistance / NOMINAL_RESISTANCE; // (R/Ro)
steinhart = log(steinhart); // ln(R/Ro)
steinhart /= BCOEFFICIENT; // 1/B * ln(R/Ro)
steinhart += 1.0 / (NOMINAL_TEMPERATURE + 273.15); // + (1/To)
steinhart = 1.0 / steinhart; // Invert
steinhart -= 273.15; // convert to C
farthat = (steinhart*1.8) + 32;

Serial.print("Temperature ");
Serial.print(steinhart);
Serial.println(" oC");
Serial.print("Temperature ");
Serial.print(farthat);
Serial.println(" F");
delay(1000);
}

Tags: , , | Comments

DIY Drone/Quad Part 2 – Transmitter

| January 26, 2018
Photo Credit: Keith Knoxsville
A Hen and a Drake Green Teal on the truck bed. Not a limit on anything, but a fun morning out.

In this part of the DIY drone/quad build, we are working on a transmitter. It would have been nice to have an R/C transmitter and receiver on hand, but I didn’t so I put one together from parts on the build sheet from Part 1 of these posts.

I mounted everything to a sheet of plexiglass, but you could use any easy to shape material. I plan to place all my components inside a 3d printed case, but that’s another post.

The parts we’ll use are (1)Arduino Nano, (1)nrf24 module, (1)Battery Holder Or Battery Pack, (2)joysticks, (1)3.3v regulator, and a handful of jumper wires, or you can solder everything together. I also held some things in place with zip ties while prototyping. Adding a switch is optional if you use jumper wires. My prototype on/off switch was a matter of plugging in the power wire to the Arduino VIN pin.

Here is the wiring diagram for the transmitter. We’ll upload and test code via the Arduino IDE later.

What are we doing?

  • We are simply using an Arduino to interpret x and y axis inputs from each joystick. These will be our Throttle, Yaw, Pitch, and Roll.
  • We are sending that signal via the nrf24 radio.
  • The 3.3v regulator is required to supply steady 3.3 volts, and steady amps to the radio, which the Arduino 3v out pin cannot do on its own.
  • A switch is used for on and off power.
  • You might also notice I am adding a power wire to the pin D4. This is optional, I used it as a hardwired way to ensure the Auxiliary 1 channel signal was always set to high. This can have a switch, and probably should have a resistor added, or could be done arbitrarily in the code later. What it does in the end is turn on the stability, AKA ‘angle mode’ on the drone, making it much more flyable off the bat.

Need to step forward or backwards? Use the links for the build series below:

  • Program the transmitter, receiver, and flight controller with an Arduino IDE <- Software Using code called Multiwiiv – Part 6
  • Calibrate the Motors with Multiwii code – Part 7
  • Adjust settings and calibrate our gyro via Multiwii GUI AKA a graphical interface/software for your computer – Part 7
Tags: , , , , | Comments

Turning a New Fig Leaf

| January 25, 2018
Photo Credit: Keith Knoxsville
A Hen and a Drake Green Teal on the truck bed. Not a limit on anything, but a fun morning out.

It’s been a difficult couple years for the Gardenisto garden and web publishing effort. I started all my experiments, propagation and production in a zone 9b in California, and then had to co-locate my experimenting and propagating interests between California and Wyoming for nearly 3 years. I then had to co-locate those efforts between California and Idaho for the last 9 months.

That co-location had me spending the majority of the year away from the California garden. But that’s going to change soon. I’ll be back in California for at least 75% of the time, and I’m excited to get the garden in full swing. I’ll literally be turning a new leaf, and I’m even more excited about that, than I am the figs leafing back out.

Hope 2018 has as many exciting life changes and prospects for everyone, and their connections with the horticulural science that surrounds them.

Tags: , , , , | Comments

DIY Drone/Quad Part 1 Intro

| January 10, 2018
Photo Credit: Keith Knoxsville
A Hen and a Drake Green Teal on the truck bed. Not a limit on anything, but a fun morning out.

In this short series of posts, I will show you how to build your own drone, with a transmitter, complete with joysticks, a receiver to receive your instructions, and a flight controller to control the stability and flying characteristics of your quad/drone. The complete build is under 200 bucks, plus or minus a few miscellaneous items.

I also want to make clear, that to use this build guide, a basic knowledge of soldering, electronics, fabrication, and programming, will be necessary. This is not for everyone, but its not beyond learning how to do these things either. While I don’t want to make the build sound complicated, I don’t want to over simplify it either. Expect and or be willing to learn, test, experiment, and be patient; and the experience should be rewarding.

I needed a platform for doing aerial surveys of large agricultural properties for a work contract. Since I have a programming background, experience working with micro-controllers, IOT applications, fabricating, and a history of working with radio control vehicles, it made sense to build a drone from opensource hardware. Building your own drone is actually quite affordable compared to some of the commercial options. With patience, and some tweaking its possible to build a reliable drone.

The drone is a quad copter design that uses arduino microcontrollers for the receiver, the transmitter, and flight controller, an mpu6050 sensor for stabilization, nrf24l transceivers for communication, (4)30amp escs, (4)2212/13 1000kv motors, (4) 10×4 props, (2) 3000mah 30C li-po batteries, and a large frame built from whatever you have on hand. Or you can build it from cheap wood materials.

The cost when finished and flying is less than 200 dollars. Compare that to a much more expensive drone, that you’d never really want ‘modify’ or make your own because of the risk you might damage it. Of course, a more expensive version from more expensive parts can be made. But it hurts a tad less when you crash less expensive materials.

The programming that controls the quad is open source code, uploaded via the Arduino IDE, and configured via Multiwii Software(software that helps you visualize and set settings on the quad/drone). Its based primarily on the hard work and public contributions of many generous programmers, and developers.

To Summarize, We will:

  • Program the transmitter, receiver, and flight controller with an Arduino IDE <- Software Using code called Multiwiiv – Part 6
  • Calibrate the Motors with Multiwii code – Part 7
  • Adjust settings and calibrate our gyro via Multiwii GUI AKA a graphical interface/software for your computer – Part 7
  • Go Fly

In the interest of full disclosure, I make an affiliate commission if you use the links below. So if you find this build log helpful, and want to support more quality posts, then use the comprehensive list of Amazon links below, Thanks.

Electronics Parts List:

  • (4) 2212/13 1000kv motor + 30 amp ESC – http://amzn.to/2BiJhyE
  • (3) Arduino Nanos (receiver board, flight controller, transmitter board- http://amzn.to/2G5Rg5R
  • NRF24L 2.4g transceiver set (will actually transmit and receive signals) – http://amzn.to/2F03Lyc
  • mpu6050 (gyro accellerometer to keep us stable) – http://amzn.to/2F1RXeS
  • (2) 3000mah 30c Lipo Battery – http://amzn.to/2COdaZj
  • 10×4 props w/aluminum hubs (included in motor esc kit
  • (2) 3.3v voltage regulators (provide the right voltage and stable current to the transmitter and receiver) – http://amzn.to/2F1mSrO
  • Power distribution board with Deans Type Plugs – http://amzn.to/2DvWfz7
  • Joysticks (this is a 10 pack for the price of 2, you only need 2 – http://amzn.to/2G50kbc
  • 120 piece Jumper wire set – http://amzn.to/2DqX8of
  • 6AA Battery Box to power the transmitter. However the ideal power source would be a 7 to 12v MAX battery for the Arduino to provide stable power
  • A mix pack of zip ties ranging from 4 inches up to around 10 – Wally World has some fun colors.

Frame Parts List:

These are parts for a wood framed version, its easy to make, and parts can be acquired at a Homedepot, Lowe’s, and any craft store that sells 3mm birch. I went to Michael’s.

  • (2) 36″ 1/2″ square hardwood dowels
  • (2) 200mm x 100mm x 3mm birch plywood
  • (8) 4cm x 6cm x 3mm birch plywood pieces
  • A large variety of 4-40 or m3 screws and nuts
Tags: , , , , , , | Comments

Potting Up & Garden Updates

| August 13, 2017
Potted Lychee Tree
Photo Credit: Keith Knoxsville
A Hen and a Drake Green Teal on the truck bed. Not a limit on anything, but a fun morning out.

This is mostly a garden update but also a short post about potting up some small coffee, and citrus starts. I haven’t posted updates in a while because of some life changes, relocation, blah blah, etc.

While in California I took a few cuttings, touched up some irrigation issues, and potted up some plants in the garden and the fore-mentioned ones that traveled with me. The lychee tree that started as an air layer a couple years ago needed to be lifted about 10 inches. It was intentionally planted low to shelter it from hot Southern California winds that deform new leaves and stress the plant. It was a little root bound, and giving it a deeper spae to root should help it handle stress, and flourish. A root bound Latarula fig was also potted up.

I re potted Liberica Coffee seedlings, and a Mandarinquat from coco starter medium, to a more nitrogen, humus, and microbiota rich potting soil. Yes… I used E.B Stone organic fertilizer starter. Its great stuff in a pinch.

The dragon fruit also flowered a ton this summer, but some combination of heat stress, nutritional issues, or poor pollination caused them to abort the fruits.

Tags: , , , , , | Comments

Figs

| June 17, 2017
Young Figs on a Coffee Table
Photo Credit: Keith Knoxsville
A Hen and a Drake Green Teal on the truck bed. Not a limit on anything, but a fun morning out.

Wyoming is a tough place to grow anything, but I was determined, and now I have figs. I started Lattarula fig cuttings last year, and a Petite Negri fig cuttings 3 years ago.

Both varieties are producing fruit this year! Sure I had to grow them under lights through winter in a warm-ish loft, and I continue to supplement their lighting to give them a full days worth of light, but it was worth it.

2 of 5 figs aborted on the Petite Negri, and only one developed on 1 of 2 Lattarula figs. So while my small young fig trees will only produce 4 figs this season, I’m pleased with the progress I’ve made with indoor container grown figs that are less than 18″ tall, and relatively young.

Have your own fig variety I should try? Let me know in the comments.

Tags: , | Comments