Chiladrona Rabbit Stew
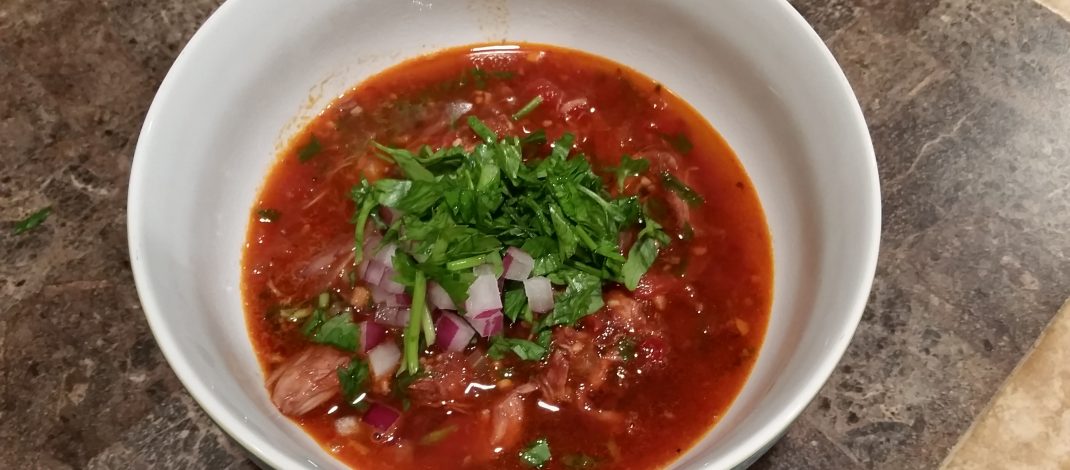
Photo Credit: Keith Knoxsville
A Hen and a Drake Green Teal on the truck bed. Not a limit on anything, but a fun morning out.
I came up with a new game meat stew recipe, specifically for rabbit meat. Although I am sure any good dense cuts of meat would work well.
So the name is a word play on the words ‘Chile’ and ‘Ladrona’, which means thief in Spanish. I wanted to do a chilindron rabbit dish, but am not the biggest fan of the bell peppers typically used in the dish. I wanted a tomato wine base like a chilindron or a cioppino, and a chile pepper base like a posole. Because I ‘stole’, different concepts to make the dish, but they all had pepper in it, its called Chiladrona.
I have only tested with a couple servings, and its pretty good. But I tweaked it a bit at the time of serving.
Start by stewing rabbit, or meat of choice, in a slow cooker with salt black pepper and a bay leaf for a couple hours. To tenderize it prior to finishing and serving the meal.
Ingredients
Olive oil
32 Ounces of beef stock
1 tbsp paprika
2-3 Bay Leaves
Salt to taste
8 whole black peppercorns
1 onion finely chopped (a blend of sweet and red is nice)
1 large bunch of parsley
1-2 lbs rabbit meat
2 tbsp chopped garlic
4 ounces of red wine
1 can of finely diced tomatoes
6 Dried California Chilies
2 Dried Guajillo Chilies
2 tbsp Bacon bits, or little bacon fat (Optional)
1/2 tbsp oregano
Recipe
Add a teaspoons of olive oil to a medium sized stock pot, and saute 3/4 of the onions until opaque. Add bacon to this step if desired.
Add 2 tbsp garlic and stewed de-boned rabbit meat.
Once the meat and onions have browned, add 4-6 ounces of wine.
Reduce liquids until half remains.
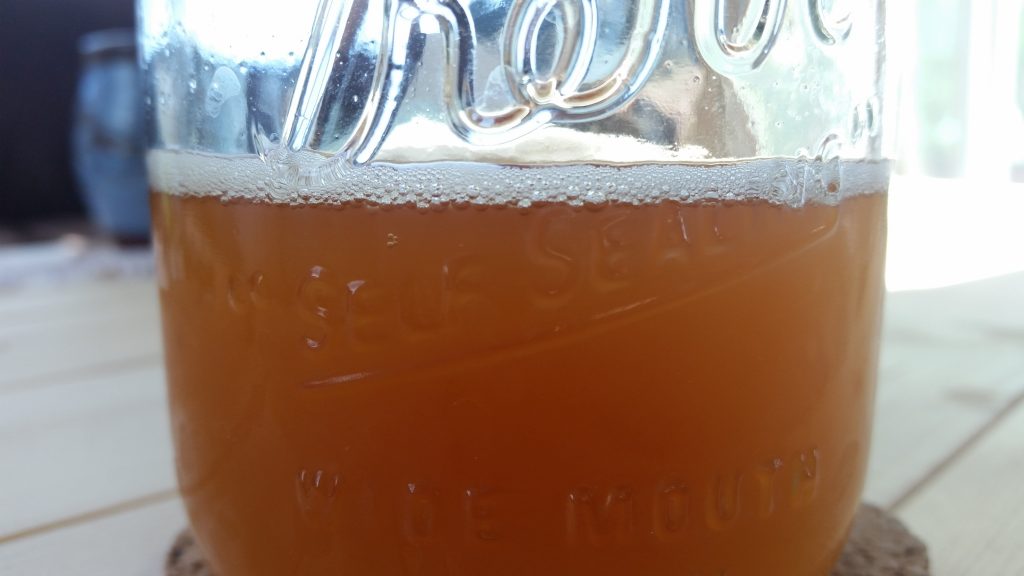
While the liquids in the stock pot are reducing, prepare your chilies in a separate container. I use a tall wide mouthed jar. Add a pinch of salt, half a can of tomatoes, and all of your chilies. Process in to a runny base with an immersion blender, or use a regular blender if you don’t have an immersion blender. Add a splash of stock or water if too thick to completely blend.
Add the rest of the cans of petite diced tomatoes to the stock.
Add the runny chili paste to the stock pot.
Add the beef stock to the stock pot.
Add paprika, oregano, and salt to taste.
Crack the whole black peppercorns in a mortar and pestle, or a mocajete. Add the cracked black pepper to the stock.
let simmer on the lowest setting, string occasionally, until the flavors start becoming well incorporated. 20 minutes to 30 minutes is a good time estimate.
Add 3/4 of the chopped parsley to the soup and simmer for 5 more minutes.
Serving
Serve with chopped onion and chopped parsley liberally garnished on top. Its a very attractive dish, my photo doesn’t do it justice. I’ll have to work on getting a better photo.
Tags: catch, chilindron, clean, cook, posole, rabbit meat, rabbit stew
|