Seed Starting Guide Part 1

| May 11, 2014
Germinating Seed
Photo Credit: Keith Knoxsville
A Hen and a Drake Green Teal on the truck bed. Not a limit on anything, but a fun morning out.
Seed germinating can yield a spectrum of results; from complete failure, to great success. Given the additional care required to successfully start plants from seed, it makes sense that many opt to purchase already established plants.

Sometimes high value plants, or greater value growing from seed, will justify the extra effort. Whatever the reason for starting from seed, there are quite a few things that can be done to improve germination rates. We’ve put together a comprehensive guide to successful seed germination, to help you increase your rates of success.

Germination Chambermore seedling brainseed coat breaking
Seed germinating involves: Seed Preparation, Seed Treatment, Imbibing, Pre-Germination, Sowing, Continued Care in the ideal conditions for your plant species, and hardening off.

Part 1 of the Seed Starting Guide covers: Seed Preparation, Seed Treatment, Imbibing.
Part 2 of the Seed Starting Guide covers: Pre-Germination, Sowing, Continued Care in the ideal conditions for your plant species, and hardening off.

Seed Preparation
The goal of seed starting is to give seeds ideal conditions, and no hurdles to growth. It may be necessary to simulate the seeds natural growth by doing a combination of the below seed preparations.

  • Drying: In some seed starting scenarios the fresher the better. Other times the seed has to be dried to simulate a natural environment, and stimulate germination. Refer to a seeds plant data to determine if you should allow additional drying.
  • Stratify: Some seeds, especially from plants evolved to endure freezing winters, need to be chilled. Seeds from many Raspberries, currants, blueberries, etc., need to be wrapped in a freezer bag, and chilled at freezing temperatures for 30 to 90 days.
  • Scarify: Seed coats can be tough, and prevent the seed from becoming imbibed. Knicking seeds with a knife edge, or rubbing with an abrasive sand paper will help some seeds to absorb water. This works by mechanically damaging or partially removing the outer seed coat.
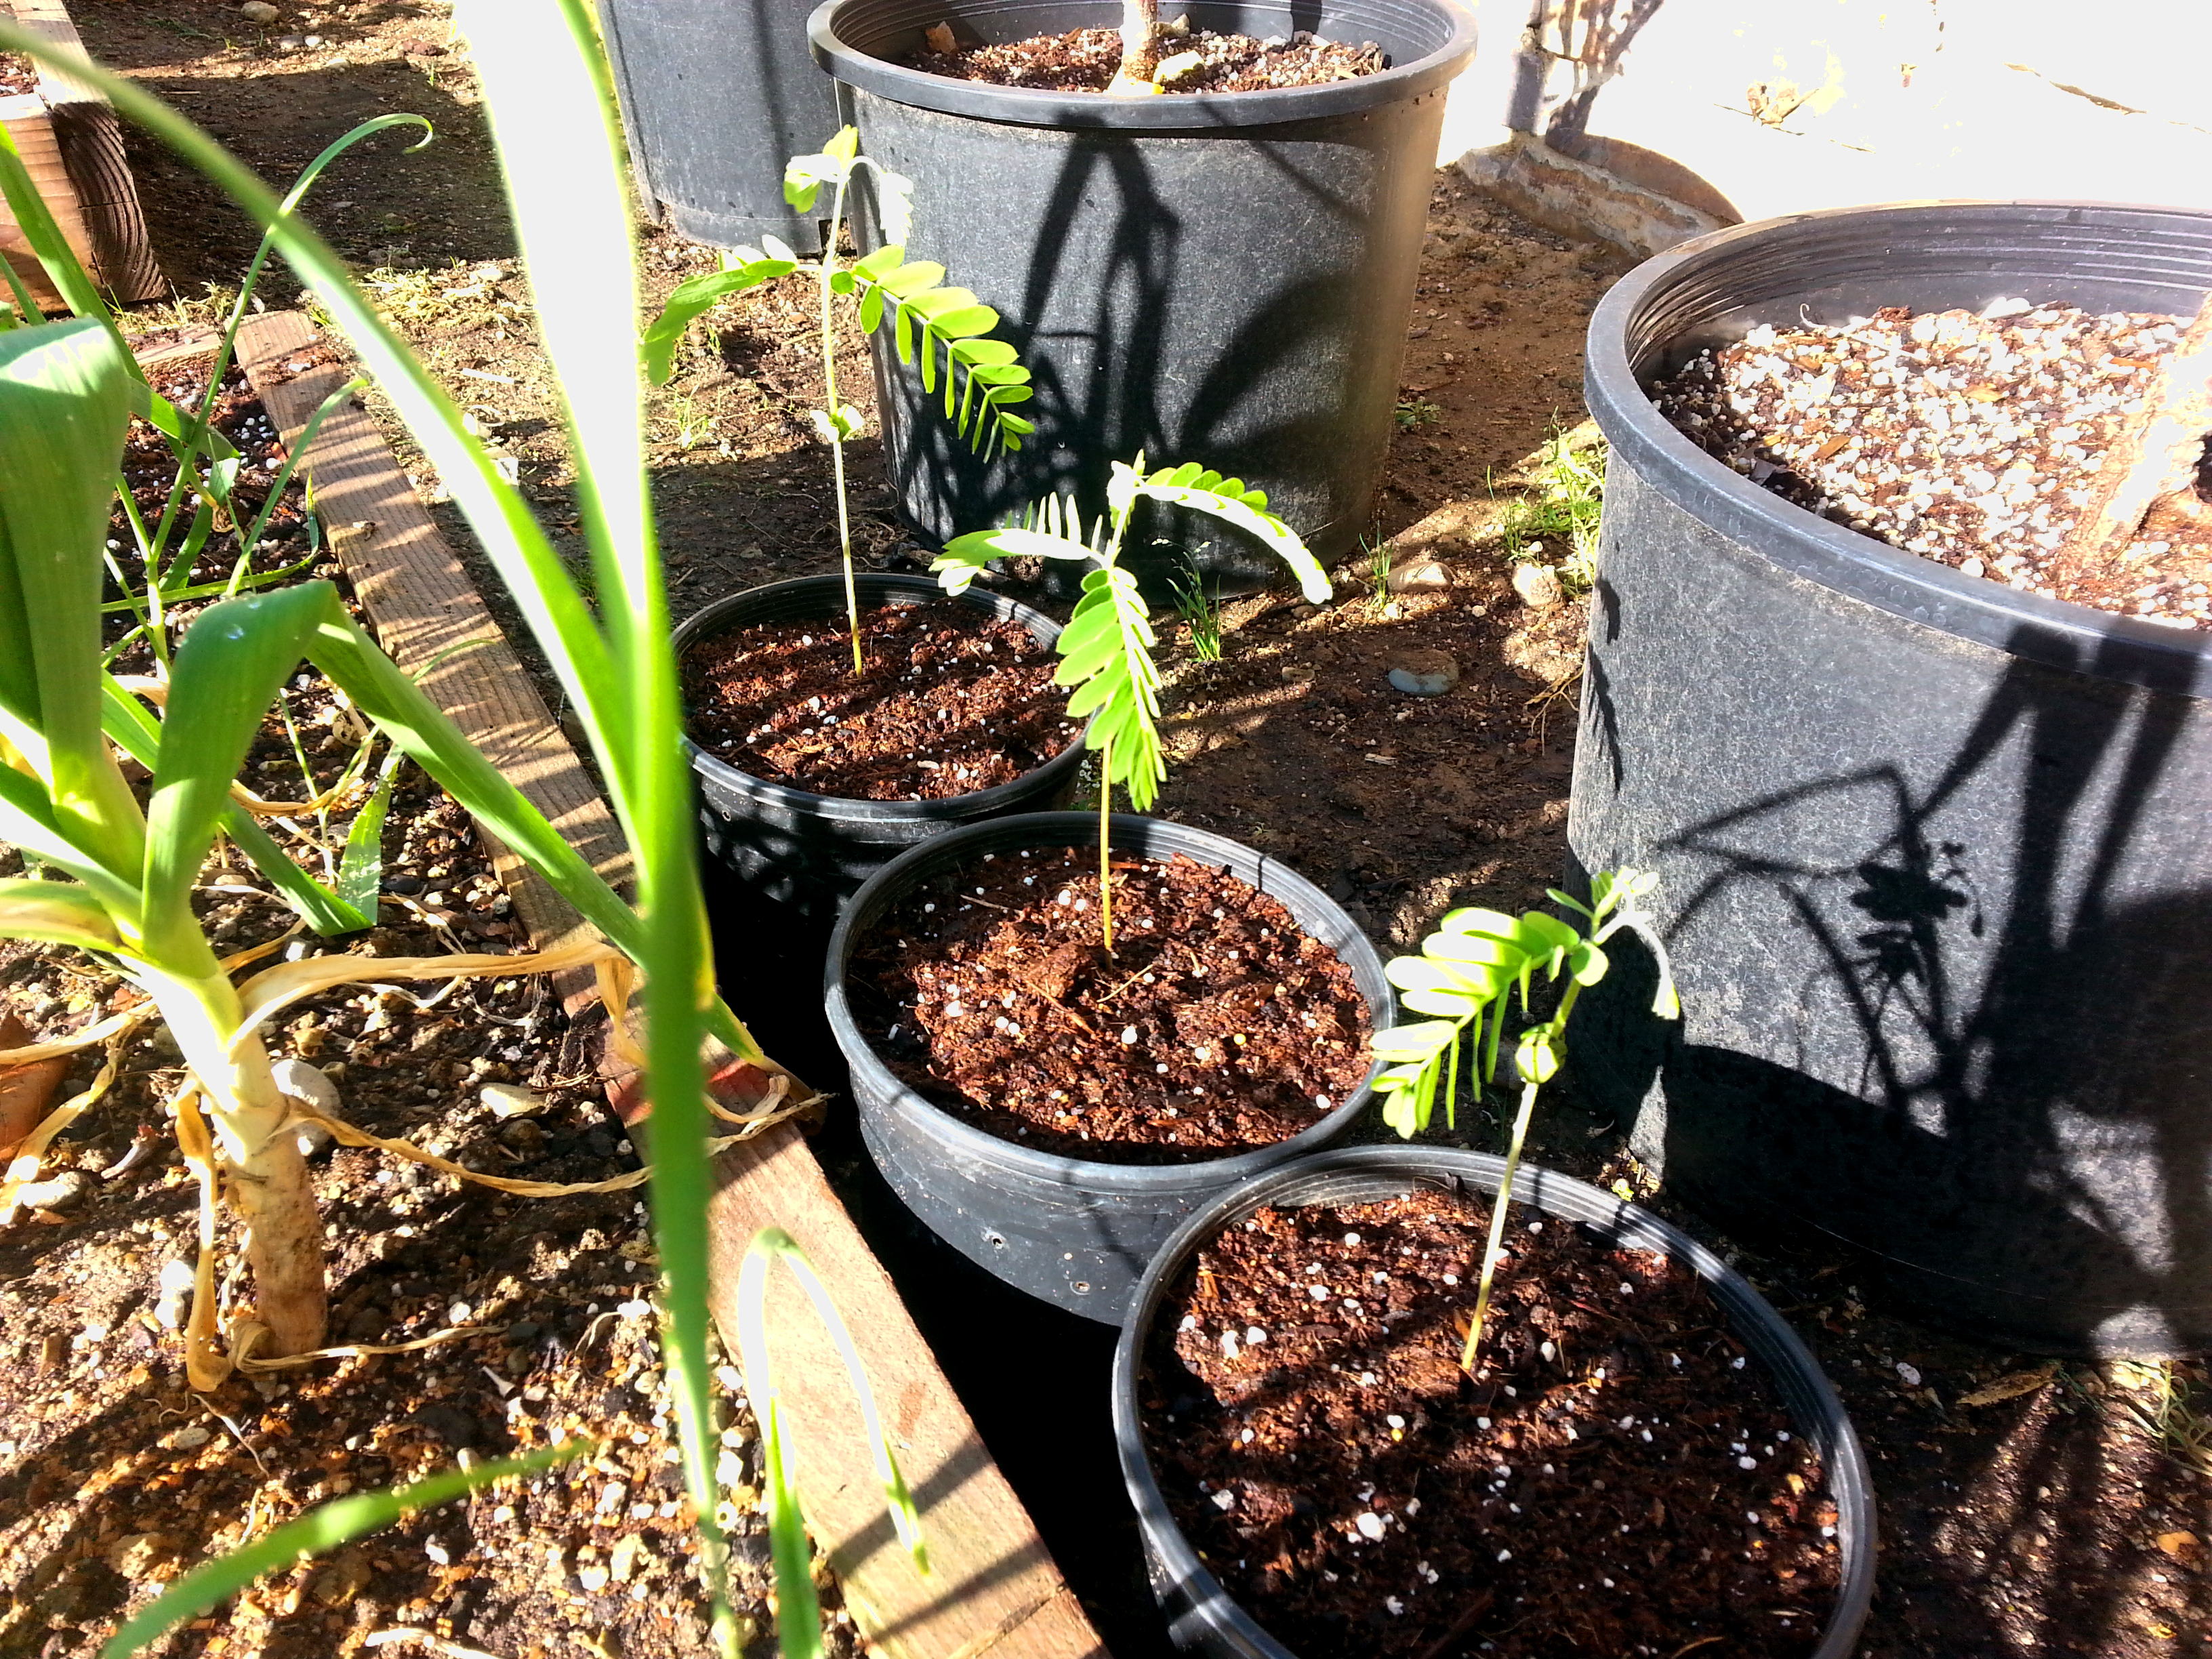
  • Seed Coat Removal: Some seeds do better or germinate faster with the seed coat removed. The seed coat can be blanched till softened, being careful not to cook the seed inside, and then mechanically removed. For better instruction on seed coat removal, refer to our post Growing Tamarind from Seed.

Seed Treatment
Seeds can harbor unwanted fungus or bacteria, and lead to the die out of a germinating seedling. Cleaning the seed of any pathogens that could lead to die out will increase the chance of successful germination. Typical seed treatments include the following.

  • Bleach: A 10 minute soak in a dilution of of bleach, that does not contain additives like sodium hydroxide or fragrances, is sufficient to kill most unwanted nasties on a seed coat. To make the bleach dilution add 90ml of water with 10ml of 6-9% sodium hypochlorite.
  • Hydrogen Peroxide: The United States EPA recognizes Hydrogen Peroxide as an organic treatment for agricultural crops. A dilution can be made by mixing 3 parts Water to 1 part 3% hydrogen peroxide. Hydrogen Peroxide should be unadulterated(no preservatives added) food grade H2O2, or ‘organic’ practices according to the US EPA won’t be satisfied. OMRI also lists Hydrogen Peroxide as a safe disinfectant.
  • Alcohol: (Isopropyl or Ethanol) This is less common for seeds, and more common for explants in tissue culture, but a dip into alcohol for 10 seconds, followed by a quick rinse can also be effective.
  • Other Fungicides, Insecticides, and Mutagens: Many other treatments exist. Some are very toxic to humans, and you should investigate or ask your local agricultural extension more about them before use. The treatments have a wide range of purpose and complexity. We don’t recommend any of them for basic seed starting, but thought it pertinent to the guide to provide some basic information for the curious. Other treatments include Copper, Potassium Bicarbonate, Thiram, Salicylic acid, common aspirin(Acetyl Salicylic acid), Bacillus Thuringiensis, Colchicine(a highly toxic mutagenic treatment), and even genetic modification through recombinant DNA so plants express genes from Bacillus Thuringiensis.

Imbibing
Sterile or close to sterile seed, can now be imbibed. This is simply soaking seeds in water until they become fully hydrated. Soak seeds in water, changing water once or twice a day, for up to 72 hours. 4-18 hours is usually sufficient. Diluted hydrogen peroxide can be used, with a much lesser concentration than the sterilizing soaks, to help prevent contamination during the soaking process.

Sterile IBA hormones, GA3 hormones, or even sterile raw young coconut water, can be added to this stage to promote seed germination and a breaking of seed dormancy. Hormones may increase success rates, but are not necessary. Alternative treatments such as chamomile tea, or worm tea can also be used, but are also not necessary. Because the process we adhere to is a mostly sterile and pathogen free process, we don’t actually recommend any sort of tea treatment, at this stage.

Continue to Part 2 of the Seed Starting Guide: Pre-Germination, Sowing, Continued Care in the ideal conditions for your plant species, and hardening off.

Tags: , , , , , , | Comments

Seed Starting Guide Part 2

| May 11, 2014
Seedlings Under Fluorescent Lights
Photo Credit: Keith Knoxsville
A Hen and a Drake Green Teal on the truck bed. Not a limit on anything, but a fun morning out.
Welcome to Part 2 of the Seed Starting Guide. We’ll continue our guide by covering Pre-Germination, Sowing, Continued Care in the ideal conditions for your plant species, and hardening off. If you missed it, go to Part 1 of the Seed Starting Guide. Otherwise, we’ll continue.

Pre-Germination
During the process of imbibing a seed, its not uncommon for a seed to sprout a primordial root. If a seed exhibits a radicle or primordial root, lightly sow the seed bottom side facing down, in a seed starting medium. If you are uncertain about the seeds orientation, place it on what you can best discern as ‘its side’. At this stage a lot of people use the baggy method, wherein seeds are sandwiched between damp coffee filters or paper towels, placed inside a sandwich bag, and left on the warm spot on top of a refrigerator.

Although many people may have great success with this method, the majority of us here at Gardenisto couldn’t care less about this method. We simply sow directly into a container filled with mixed strand coco coir, appropriately sized for growing a seedling.

Sowing & Media
seedlings in various mediaSowing involves choosing a medium. For example, the many options and methods picture to the left. Lots of premixed starter mediums can be purchased off the shelf. However, mixing your own media is the best method. Many store mixes also use Peat Moss. Peat moss is a renewable resource, if you consider that it takes 5 to 10 years for a mined bog to once again become a functioning wetland, and 25 years or more to restore only 90% of the original flora of the peat bog. As horticultural enthusiasts, its ironic to destroy beautiful and bio diverse wetlands to help us grow our own plant life, when great alternatives like coco coir readily exist.

Coco Coir stays well aerated, is ph neutral, void of nutrients, and retains water for long periods of time. Its perfect at providing oxygen and moisture to germinating seeds, without risking burn or die out due to fertilizers and unwanted pathogens. Coco Coir vendors are everywhere too, Online Coco Coir Vendors

Find and recycle small clear plastic containers with lids, like the ones used for ‘to go’ or ‘takeaway’ foods like soups, salsas, or sides. Use deeper ones so that seedlings will have room to root, and grow above the ‘soil‘ line. Saturate coco coir with water, and then squeeze off the excess. Ideally you would use a distilled or purified water, with some minerals added back to it for ph balance. Typically, unless your have terribly hard or soft tap water, your tap will be okay. When wet, coco coir expands to about 5 to 8 times its dry size, so be mindful and only create as much media as needed.

Fill the container with a ‘mixed’ coco coir fiber, but do not pack or tamp the media! ‘Mixed’ means that coir contains chunks, dust, and strands of coco fiber. It makes the media more soil like, and provides slightly better anchoring for roots than pure ground fiber or dust. Its also fine to add perlite, 1:1 with coco coir, to change the consistency and aeration should you decide you need to. Use your best judgemet, and do so at your discretion.

Hydrofarm Heat MatSow seeds in the starter media, and cover lightly. Close the lid of the container, but leave an edge open for ventilation. Place the container on a seedling heat mat under a seed starting light. A 5600k CFL light bulb in a brooder lamp base, will work just fine. If a 2700k soft cfl is all you have, it will suffice, unto the point your seedlings show true leaves. If you do not have a seed starting light, or heat mat, get one. Many people say a warm window sill is okay, but most homes don’t have the ideal conditions in any window sill to properly germinate seed.

Without ranting too badly about the hundreds or thousands of useless and generic copy cat seed germination posts and videos incessantly pumped to the world wide web by the completely inexperienced, some of which seem to exist only to produce content and have no experience whatsoever beyond the skills necessary to plagiarize other misinformed articles, the best advice you can receive is to get a heat mat and a small cfl light bulb.

Don’t gamble on a window sill, or you might as well have just cast seed into the garden and hoped the weather was good. As for the massive strings of Christmas lights method, just don’t do it. Hundreds or thousands of tiny glass light bulbs have no business being stuffed into a small box to generate heat. Compare a minor difference in cost, as well as practicality, and a heat mat is many times better.

  • The Germination Chamber
    If you have an old 5 to 10 gallon fish tank, with a lid or a large piece of plexiglass, you have a germination chamber. Place the tank on top of the heat mat, and the seedling containers inside. Place a thermometer inside the chamber, and monitor the temperature. It may be necessary to shim the lid to prevent an excess of moisture and condensation build up, and to prevent overheating. The additional layer of environmental insulation and stability increases success rates, and helps prevent exposure to unwanted pathogens.
    Germination ChamberPlants being babied indoors
    If you use a Germination Chamber, that may be enough to maintain temperature and moisture for seeds in open starter plugs. If there is space inside your chamber around your containers, experiment with less valuable seeds in the empty space.

Continued Care of Seedlings
Try to maintain a temperature between 68 and 85 degrees, with a night time fluctuation of 10 degrees cooler. The ideal temperatures depend on seed type, and correlate logically with a plants natural environment. Every couple of days, very gently excavate the media covering seeds to see if any are rotting. Remove any that look unhealthy. Gently cover healthy seeds. Eventually healthy seeds will green up, and they should be left alone, to lift their seed head from the media. Halfway remove the lid or leave uncovered once cotyledon leaves are showing. The seedlings will eventually need water, so use the moisture on the clear sides of the container as an indicator as to when seedlings need water.

Be sure to provide plenty of light so that plants do not get too leggy, but if you provide too much light, they will wilt or die. As new leaves start to show, provide the plants with a very dilute water soluble fertilizer. Repeat every two weeks. Don’t use more than 1/4 to 1/10 the recommend amount of fertilizer. A good seedling fertilizer should contain a well rounded balance of both macro and micro nutrients, as well as thiamine and good levels of calcium and magnesium.

Inoculate your seedling. At this point, seeds have been treated aseptically. Not completely, but the goal has been cleanliness. As a result, plants have to natural immune defense to pathogens. Inoculating seedlings with a mycorrhizae will create strong symbiotic relationships between the seedling and good bacteria. The good bacteria should out compete any bad bacteria moving forward. Check out the side bar for a link to purchase mycorrhizae.

Hardening off Seedlings
Sheltered Young Plants As the seedlings get larger transplant the seedlings into their own pots or containers. Be sure to provide adequate drainage and aeration, or your plants will succumb to seedling rot or dampening-off. Shuttle the plants into an area closer to its ultimate destination for a half an hour. Every day increase the time the plants spend in or nearer their final destinations. Be patient, and don’t expose your plants to extremes too quickly. Don’t forget your plants in the sun or filtered sun, or you will burn or kill them, and don’t over water your young plants at the first sing of stress.

Success
The methods in this guide have yielded great results, more so than the baggy method, and direct sow to soil or seed plugs.

Tags: , , | Comments

Tillandsia Stricta

| May 9, 2014
Tillandsia Stricta
Photo Credit: Keith Knoxsville
A Hen and a Drake Green Teal on the truck bed. Not a limit on anything, but a fun morning out.
Tillandsia StrictaStricta Pup
Tillandsia Stricta is one of the most common species of air plants. It is very easy to grow, fast growing, and tolerates a wide range of growing conditions. The most common have grey leaves, but can be blackish, or even silver in color.

Like most Tillandsias, Strictas are simple to care for. Completely soak in water once a week for 30 minutes, and supplement with misting from a spray bottle when hot or dry. Watering should be done in the earlier part of the day. Strictas are tolerant to limited direct sunlight, but thrives in bright filtered light, or under a fluorescent bulb.

The flower grows at the tip of a spike, is very colorful, but only occurs once in the Tillandsia Stricta life cycle.

Propagation can be done by seed, or by offsets commonly referred to as “pups”, produced during and after the flowering of a parent plant.

Tags: , | Comments