Seed Starting Guide Part 1

Sometimes high value plants, or greater value growing from seed, will justify the extra effort. Whatever the reason for starting from seed, there are quite a few things that can be done to improve germination rates. We’ve put together a comprehensive guide to successful seed germination, to help you increase your rates of success.
Part 1 of the Seed Starting Guide covers: Seed Preparation, Seed Treatment, Imbibing.
Part 2 of the Seed Starting Guide covers: Pre-Germination, Sowing, Continued Care in the ideal conditions for your plant species, and hardening off.
Seed Preparation
The goal of seed starting is to give seeds ideal conditions, and no hurdles to growth. It may be necessary to simulate the seeds natural growth by doing a combination of the below seed preparations.
- Drying: In some seed starting scenarios the fresher the better. Other times the seed has to be dried to simulate a natural environment, and stimulate germination. Refer to a seeds plant data to determine if you should allow additional drying.
- Stratify: Some seeds, especially from plants evolved to endure freezing winters, need to be chilled. Seeds from many Raspberries, currants, blueberries, etc., need to be wrapped in a freezer bag, and chilled at freezing temperatures for 30 to 90 days.
- Scarify: Seed coats can be tough, and prevent the seed from becoming imbibed. Knicking seeds with a knife edge, or rubbing with an abrasive sand paper will help some seeds to absorb water. This works by mechanically damaging or partially removing the outer seed coat.
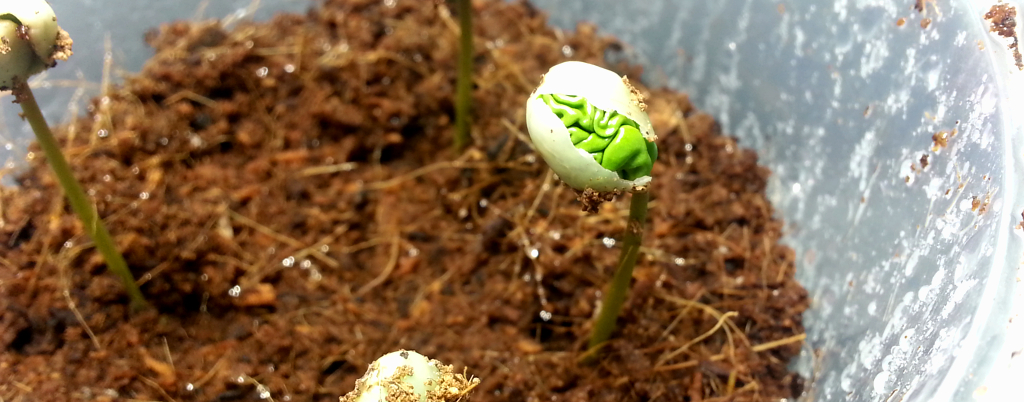
- Seed Coat Removal: Some seeds do better or germinate faster with the seed coat removed. The seed coat can be blanched till softened, being careful not to cook the seed inside, and then mechanically removed. For better instruction on seed coat removal, refer to our post Growing Tamarind from Seed.
Seed Treatment
Seeds can harbor unwanted fungus or bacteria, and lead to the die out of a germinating seedling. Cleaning the seed of any pathogens that could lead to die out will increase the chance of successful germination. Typical seed treatments include the following.
- Bleach: A 10 minute soak in a dilution of of bleach, that does not contain additives like sodium hydroxide or fragrances, is sufficient to kill most unwanted nasties on a seed coat. To make the bleach dilution add 90ml of water with 10ml of 6-9% sodium hypochlorite.
- Hydrogen Peroxide: The United States EPA recognizes Hydrogen Peroxide as an organic treatment for agricultural crops. A dilution can be made by mixing 3 parts Water to 1 part 3% hydrogen peroxide. Hydrogen Peroxide should be unadulterated(no preservatives added) food grade H2O2, or ‘organic’ practices according to the US EPA won’t be satisfied. OMRI also lists Hydrogen Peroxide as a safe disinfectant.
- Alcohol: (Isopropyl or Ethanol) This is less common for seeds, and more common for explants in tissue culture, but a dip into alcohol for 10 seconds, followed by a quick rinse can also be effective.
- Other Fungicides, Insecticides, and Mutagens: Many other treatments exist. Some are very toxic to humans, and you should investigate or ask your local agricultural extension more about them before use. The treatments have a wide range of purpose and complexity. We don’t recommend any of them for basic seed starting, but thought it pertinent to the guide to provide some basic information for the curious. Other treatments include Copper, Potassium Bicarbonate, Thiram, Salicylic acid, common aspirin(Acetyl Salicylic acid), Bacillus Thuringiensis, Colchicine(a highly toxic mutagenic treatment), and even genetic modification through recombinant DNA so plants express genes from Bacillus Thuringiensis.
Imbibing
Sterile or close to sterile seed, can now be imbibed. This is simply soaking seeds in water until they become fully hydrated. Soak seeds in water, changing water once or twice a day, for up to 72 hours. 4-18 hours is usually sufficient. Diluted hydrogen peroxide can be used, with a much lesser concentration than the sterilizing soaks, to help prevent contamination during the soaking process.
Sterile IBA hormones, GA3 hormones, or even sterile raw young coconut water, can be added to this stage to promote seed germination and a breaking of seed dormancy. Hormones may increase success rates, but are not necessary. Alternative treatments such as chamomile tea, or worm tea can also be used, but are also not necessary. Because the process we adhere to is a mostly sterile and pathogen free process, we don’t actually recommend any sort of tea treatment, at this stage.
Continue to Part 2 of the Seed Starting Guide: Pre-Germination, Sowing, Continued Care in the ideal conditions for your plant species, and hardening off.


Leave a Reply